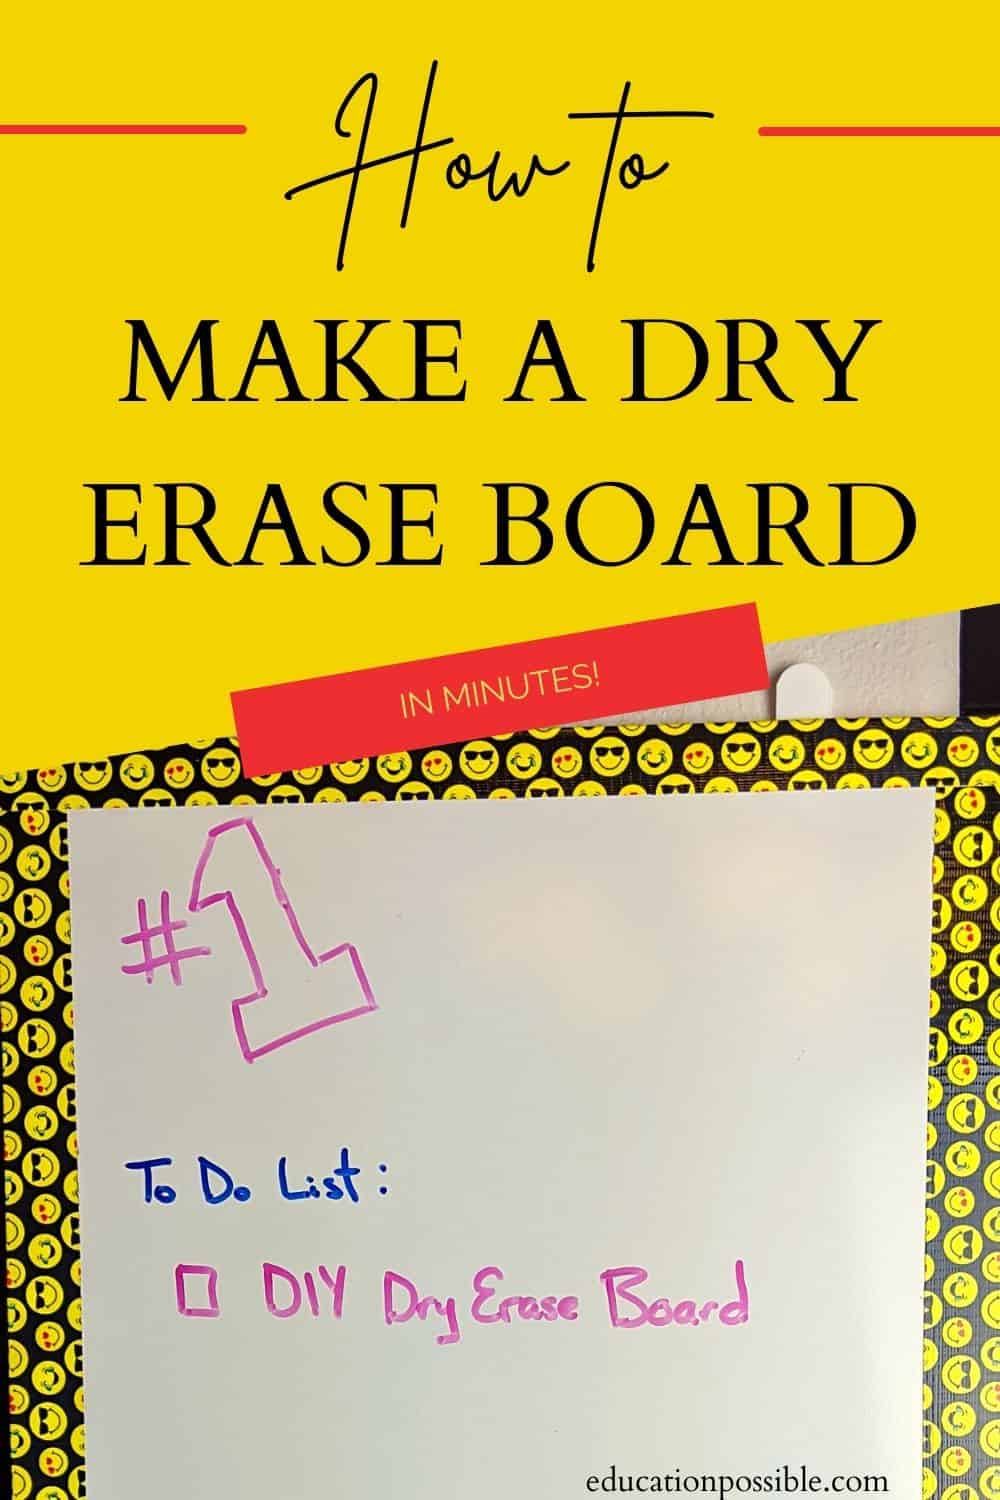
How to Make a DIY Dry Erase Board in Minutes
Interested in making your own DIY dry erase board? It’s actually a super easy craft.
Whiteboards are a practical tool, especially for homeschoolers. They offer a large blank canvas for sharing images, thoughts, and ideas.
But what if you can’t find exactly what you’re looking for? Small boards may be easy to find, but large ones can be a bit trickier. Plus, big boards are expensive!
You can easily make a homemade dry erase board that exactly fits your needs in less than 30 minutes and for just a few dollars.
In fact, it’s so simple that your middle schoolers can do it themselves!
I don’t know about you, but our family has used dry erase boards for a long time throughout our house for lesson plans, project lists, grocery items, etc.
So we were thrilled to work on this big board project.
DIY Dry Erase Board
Is it really that easy to build your own dry erase board? Yes! With just a few items from your local hardware store, you can create several boards to use in your home.
Below, I’m sharing the step-by-step instructions for how to make two sizes, one large dry board and a smaller one. Making one on the smaller side is great because it is portable, so you can use it all around the house and even take it in the car to homeschooling on the go.
Should you take the time to make your own whiteboard? Definitely!
What is a Dry Erase Board?
A dry erase board, also called a white board, is a tool used for quick and easy writing or drawing. It’s usually made from melamine boards.
It has a smooth, glossy flat surface that makes it simple to erase any markings.
How to Clean a Whiteboard
To care for the surface of your whiteboard, follow these steps.
- Only use dry-erase markers to write on the board. Never use permanent markers or a chalk marker on a dry erase surface.
- Clean off the markings with a dry whiteboard eraser or soft cloth. If you’re in a pinch, a paper towel will do.
- Wipe it down regularly to avoid staining the whiteboard’s surface.
- If you can’t completely wipe away the markings, scribble over them with fresh marker. This will help to break down the old markings or stains and make it easier to clean.
- Regularly wipe down the entire surface with a whiteboard cleaner. Or use household products like vinegar and water, hand sanitizer, or isopropyl alcohol. Just test any cleaner out on a small section of the board.
For the best results, don’t use abrasive cleaners.
Benefits of a Homemade White Board
There are several advantages to creating your own dry erase board instead of purchasing one.
First, these tools can be crazy expensive, especially wall-sized models. But it costs a fraction to make your own large whiteboards.
Plus, with a DIY whiteboard, you get to choose the finished size. You’re not limited to what they sell at the store. This is great if you’re trying to fit a specific wall space, like a homeschooling room.
It’s also completely customizable. The sky’s the limit! You can wrap the edges in whatever style of duct tape you want or you can add a wood frame and personalize it with paint.
While it may seem easier to just go to the store and buy one off the shelf, this project is so simple that it makes sense to do it yourself.
Tips for Using a Dry Erase Board in your Homeschool
So what should you use your new boards for? The ideas are limitless.
It’s more than just a blank space for writing; it’s the perfect way to work through problems and equations, create charts and graphs, draw maps, review spelling words and much more.
Some ideas include:
- Homeschool lesson plans
- To-do list
- Daily schedule
- Brainstorming ideas for a project
- Document narration/writing outlines
- Showing math problems
- Drawing pictures
- Chore charts
- Games like this Summer Pictionary Game
There’s no shortage of ways to use your marker board in your home school.
HOW TO MAKE A DRY ERASE BOARD
Here’s a quick rundown on how to make a dry-erase board in just a few minutes with a handful of supplies.
First, think about what size(s) you want for your finished boards.
For this project, you’ll need a piece of 24″ x 48″ smooth white panel/hardboard. We actually made two boards out of our piece. The first one was 24” x 14” and the second was 24” x 34”. Keep in mind that you get to choose the size for yours.
You can either have someone at the store cut the board to your size specifications or do it yourself at home.
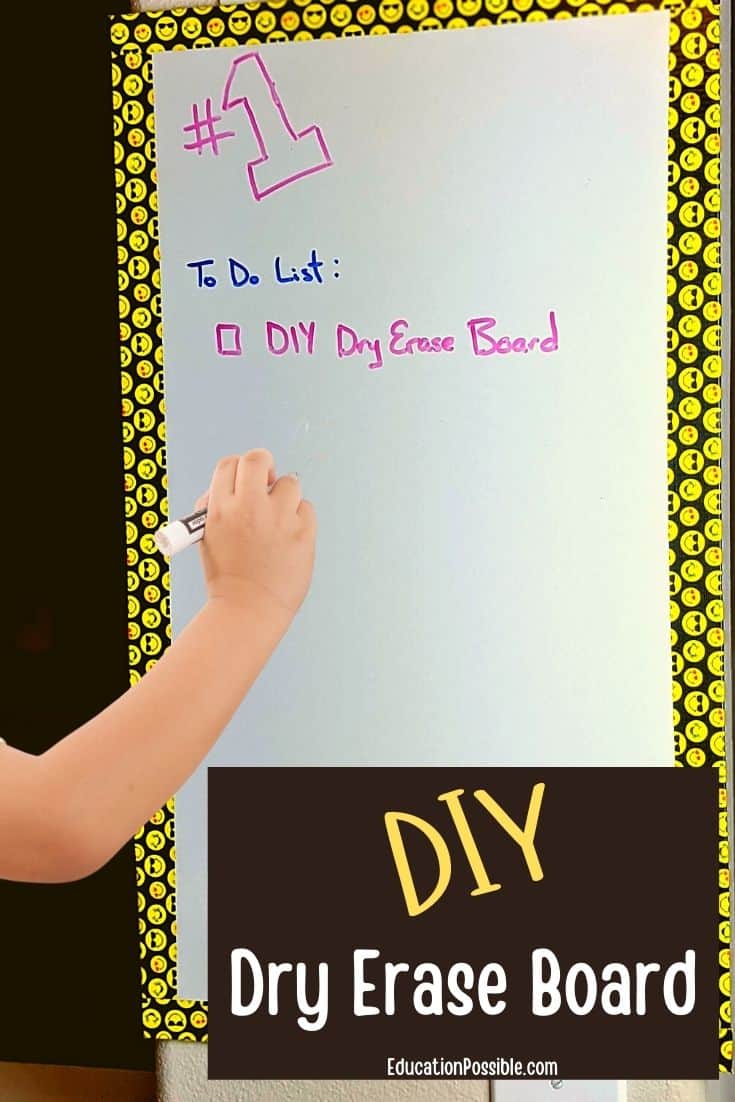
After you wipe the board with a clean dry cloth to remove any dust, cover the edges in duct tape.
Just like that, your project is done and you can hang it up on the wall.
Below, you’ll find more detailed instructions along with a printable supply list.
Any links in this post may be affiliate links. See my disclosure statement.
Materials Used for This Project:
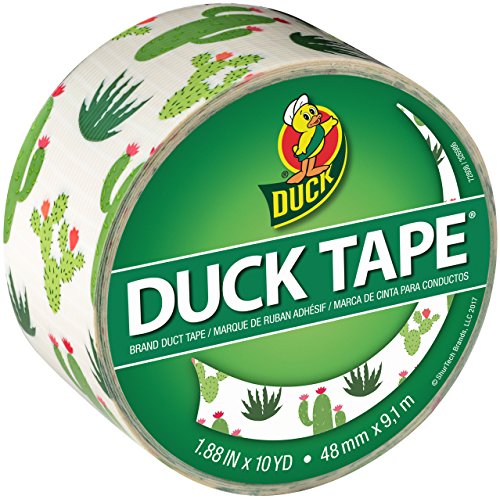
Printed Duct Tape, Cacti Printed Duct Tape, Unicorn

As you can see, it’s incredibly easy and cost-effective to make your own whiteboards. After you finish your first one, you’ll be hooked and will never buy one again.
These were some of our most-used DIY projects in our homeschool. It’s the perfect back-to-school craft or whenever you need to update your home school room.
More School Supply Crafts
Check out these fun school-themed crafts you can use in your homeschool.
Ready to get started? Here are the easy steps for your homemade dry erase board.

How to Make a Whiteboard
Make your own homemade dry erase board. It's an incredibly simple project that's completely customizable.
Materials
- (1) 24" x 48" Piece of Smooth White Panel/Hardboard/Melamine
- (1) Roll of Duct Tape
- Command Strips
- Dry Erase Markers
Tools
- Dry Cloth
- Scissors or Utility Knife
- Saw (if you want to cut the board down on your own)
Instructions
- Purchase a 24" x 48" piece of white panel/hardboard or chalk/market board from a home improvement store.
- Figure out how many boards you'd like and their end sizes. Either cut the large piece into smaller ones yourself using a saw or ask someone at the store to cut it down for you. They'll usually do it at no extra cost, saving you a step. If you're doing any cutting yourself, see the notes below to help prevent splintering.
- Wipe the board with a dry cloth to remove any dust.
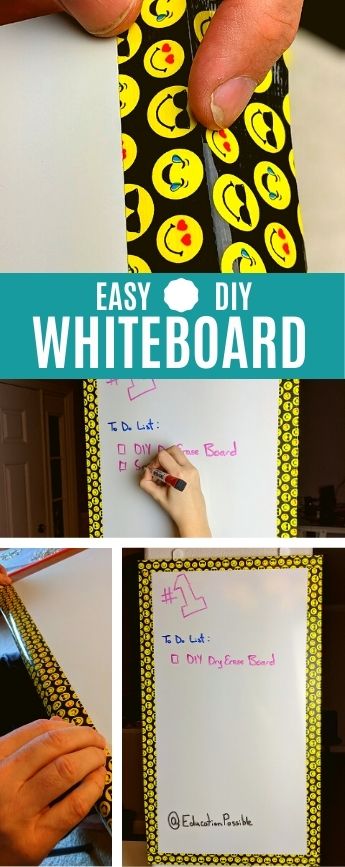
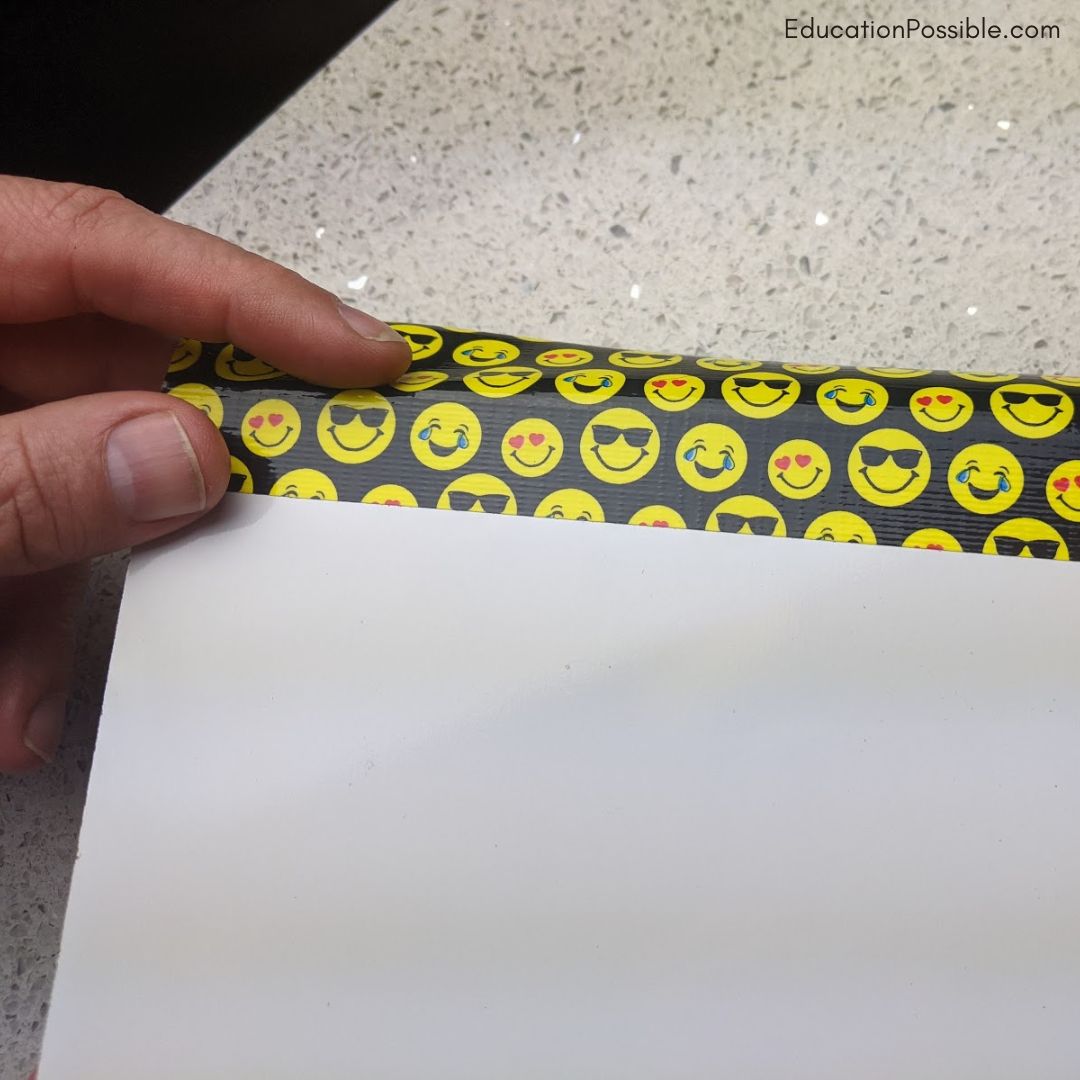
- Place the tape along the edge with half the tape sticking to the front of the board. Cut the tape the length of the edge.
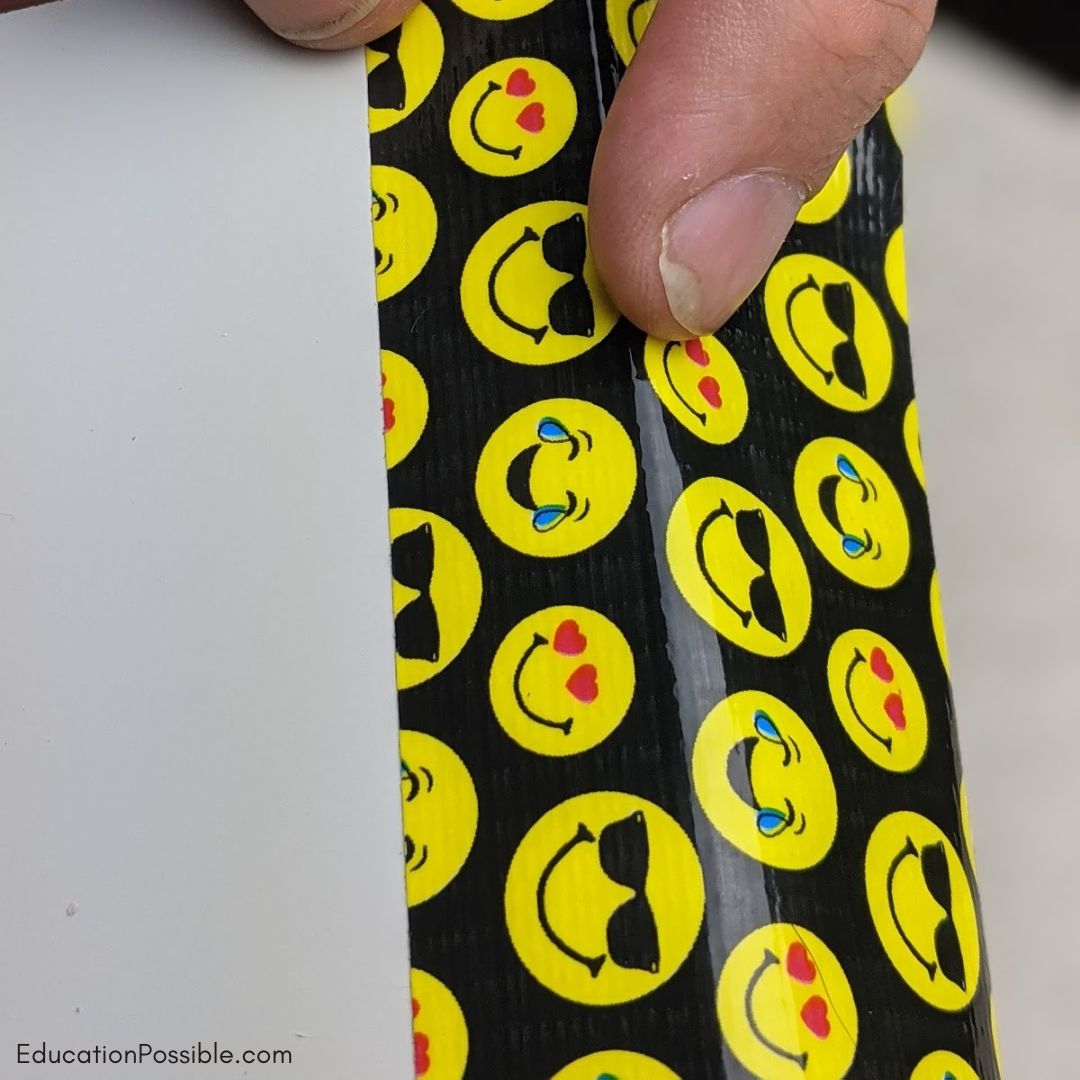
- Wrap the other half of the tape over the edge and attach it to the back of the board. Smooth it out.
- Repeat this step for the other three sides of the whiteboard.
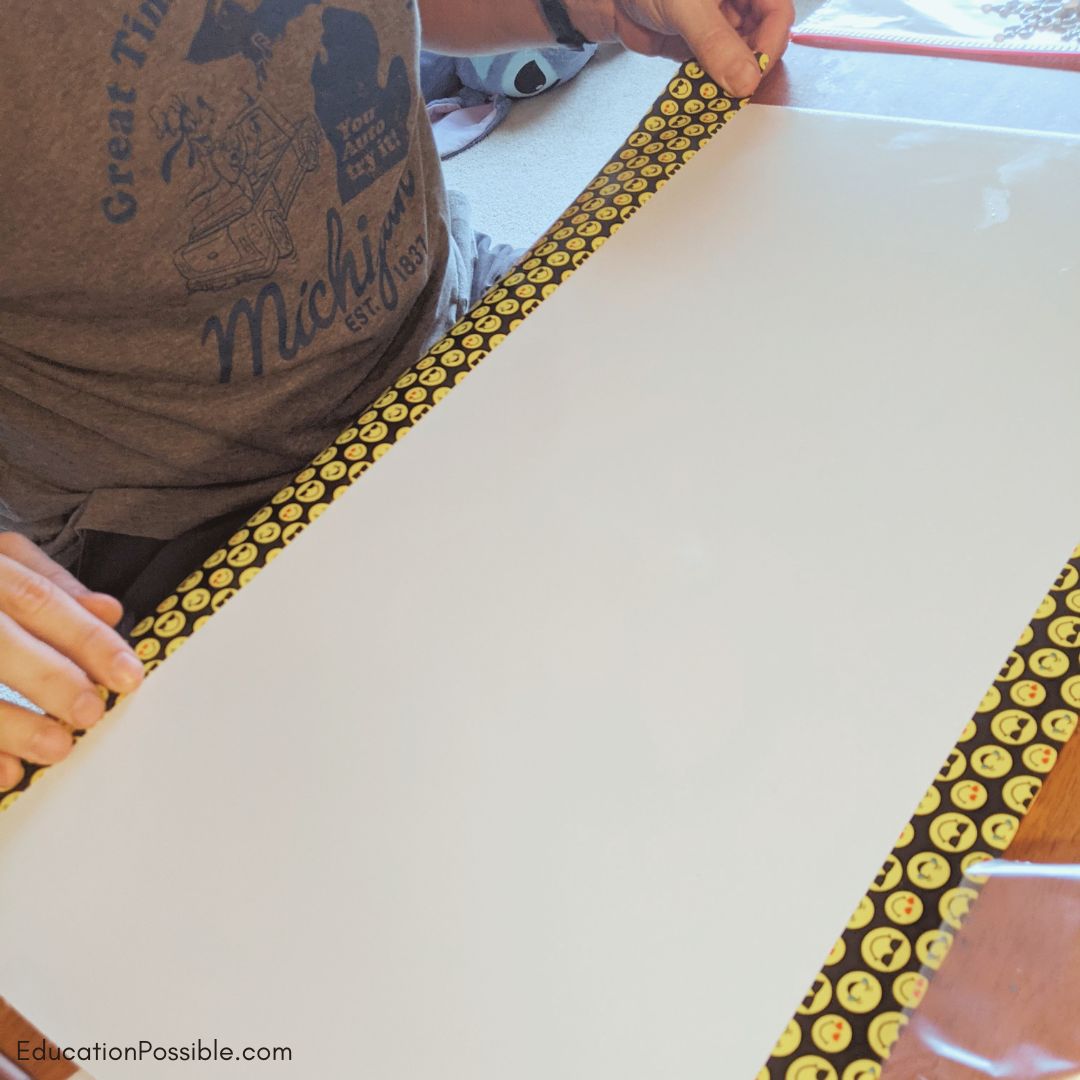
- Hang it on the wall using command strips or wall screws.
Notes
The board we found at Home Depot was called chalk/market board.
If you decide to cut the board yourself, place a width of painter’s tape on the board, draw your line and then cut through the tape and board. The tape will help prevent your white board from splintering at the edge.
Be careful around any sharp edges after you've cut the board, before you've covered the edges.
Recommended Products
As an Amazon Associate and member of other affiliate programs, I earn from qualifying purchases.


Are you ready to make your own DIY dry erase board?

Latest posts by Megan Zechman (see all)
- Easy Pumpkin Crafts - August 21, 2023
- Middle School Geography Curriculum - August 11, 2023
- Outdoor Geography Activities - August 4, 2023
Brilliant! I’ve used white boards to make lap desks for car travel by sewing a beanbag and gluing it to the back. This would be a cheaper alternative to purchasing the white boards.
What a great idea Shecki! I may need to make a few more travel boards with that suggestion 🙂
What an awesome idea to make them into lap desks!
I am adding this idea to my to do list for this school year! 🙂
Thanks for sharing!
Simple and effective and so easy to personalise. DIY Whiteboards are the way to go!
Agreed! My guys continue to look for interesting ways to personalize just about anything with duct tape!!
I’m doing a series this week on “Unexpected School Supplies” and making a whiteboard this way is on my list. Do you mind if I link to you? Love it!
Hillary – Yes!! We would be thrilled if you linked to this! Please come back and include a link to the series on your blog so we can share even more great ideas with everyone!
I am pinning this one for sure! Thanks for the inspiration:)