Pioneer Braided Rug Craft
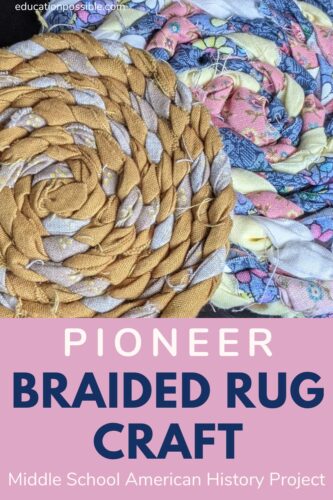
Tweens can make this cute Pioneer braided rug craft using fabric scraps.
As part of your study of early American history, add some crafts, like this rag rug project, to your lesson plans to help bring the time period to life. History lessons become more engaging and meaningful with hands-on activities.
This DIY braided rug is simple to make and requires minimal materials. It’s easy to add to your homeschooling day.
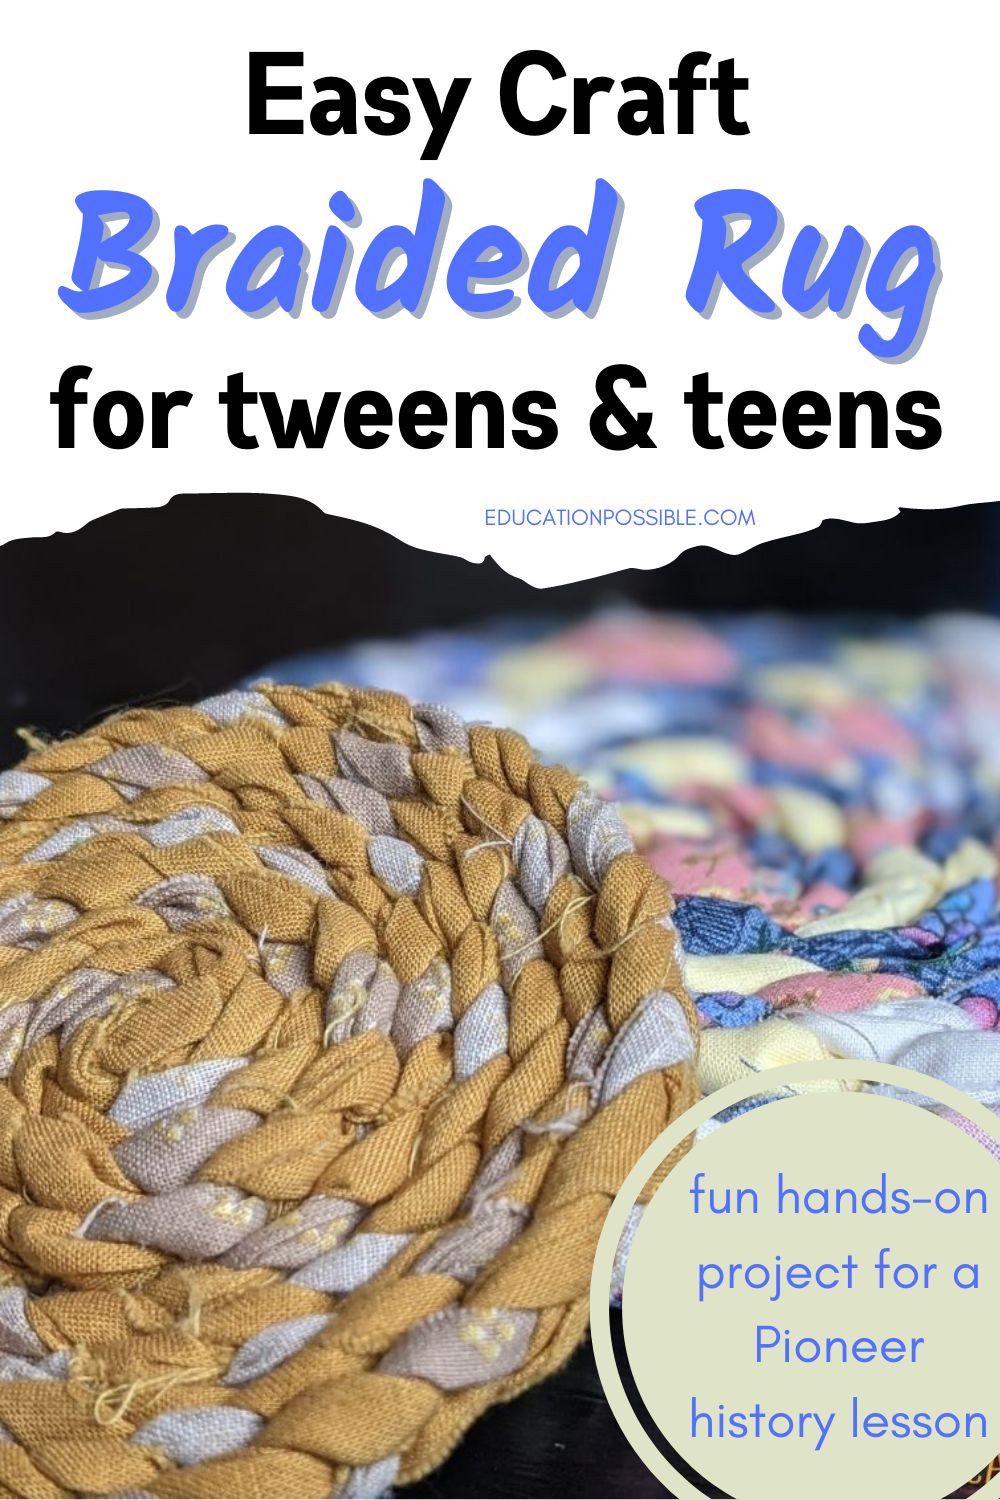
This is a great craft for older children. They’ll love being able to use their creativity to construct their own patterned rug.

So, while you’re studying the American Pioneers, let your teens turn the old fabric, bed sheets, or t-shirts you have lying around the house into a braided rug or coaster.
Table of Contents
Pioneer Braided Rug Craft
This unique project will help tweens understand more about life on the frontier. They’ll see why people of the time had to be so resourceful and they’ll gain a new appreciation for their struggles.
Pioneer crafts, like this rag rug, give kids a glimpse into early American history. Plus, they get to create something beautiful.
Tweens can make theirs whatever size they’d like. Create a mini braided rug, braided coasters, or a full sized rag rug.
It’s an excellent project for your middle school history lessons, a Little House on the Prairie unit, or as a fun tween craft.
Braided Rag Rugs in Pioneer Days
Frontier women frequently made rag rugs. Before the railroads paved the way for cheaper textiles, they primarily made them with recycled household fabric.
Women on the prairie used the rug-braiding technique to make rugs of all shapes and sizes. They typically worked with fabrics like wool, denim, and canvas. Whatever they had on hand.
This is a perfect example of how they used their creativity to make sure that nothing went to waste.
In the late 1800s, times were changing and an Arts and Crafts movement arose, making scrap rugs more popular than ever.
To make a braided rug, the pioneers would cut strips of fabric one to two inches wide. They’d then braid the strips together by hand, alternating colors to give the rug a striking look. Once the braiding was complete, they would stitch the edges together.
What they once considered a necessity is now a creative project. It’s also a fun pioneer life activity for kids.
How Do You Make a Braided Rug Out of Fabric Scraps?
People today create rag rug crafts in the same way that women did centuries ago.
Start by cutting strips of fabric one to two inches wide and into a long strip – about 24 inches long. Tweens can use any pattern or color combination they’d like.
How much material you’ll need depends how large you’d like your finished product. Obviously a full size braided rug will take a lot more strips than a smaller version.
Braid the fabric together until it’s long enough for your project.
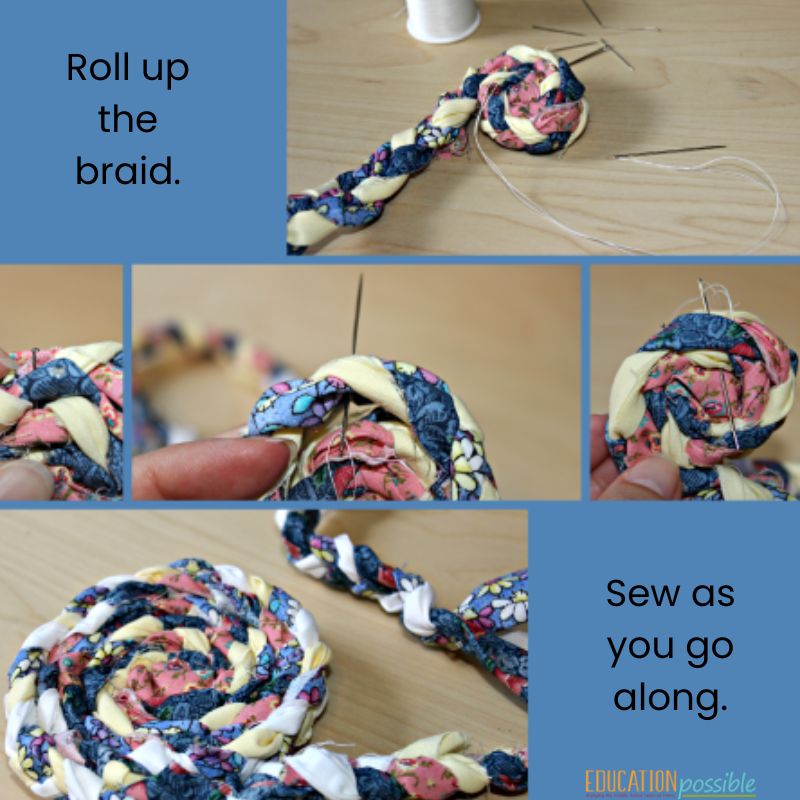
Carefully roll up the braid, continuously securing it with thread as you go along. When you reach the end of your braid, stitch it together to keep it from unraveling.
Keep reading for step-by-step instructions on how to make your own mini braided rug or rag rug coasters.
This post contains affiliate links.
Cotton Fabric Bundle 18 x 22 inch Polyester Quilting ThreadQuilting Hand NeedlesDisappearing Ink Marking Pen


Braided Rug Making Tools
This project requires very few materials. All you need is:
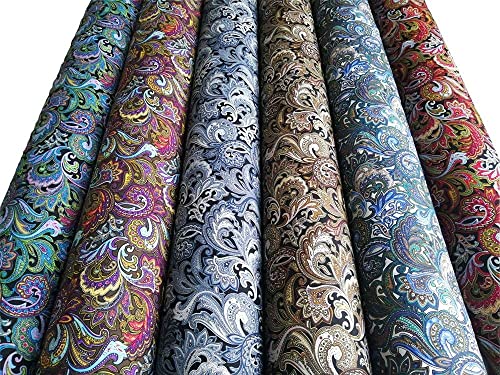
- Fabric scraps of various colors and patterns
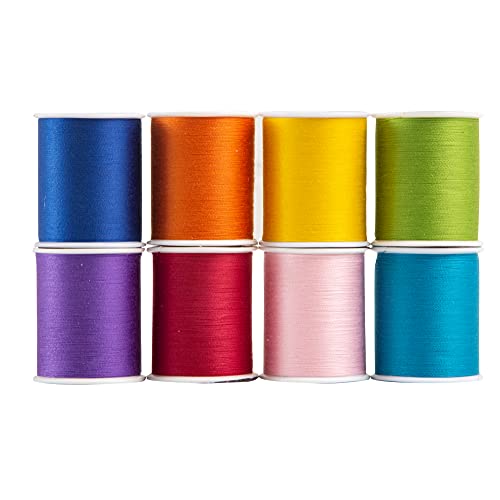
- Thread and hand sewing needle
- Scissors
- Tape measure or ruler
If you already have scraps of fabric lying around, you can easily create a unique braided rug or sew a quilt, with minimal cost.
This is such an easy craft for older kids to do and makes an excellent American history project.
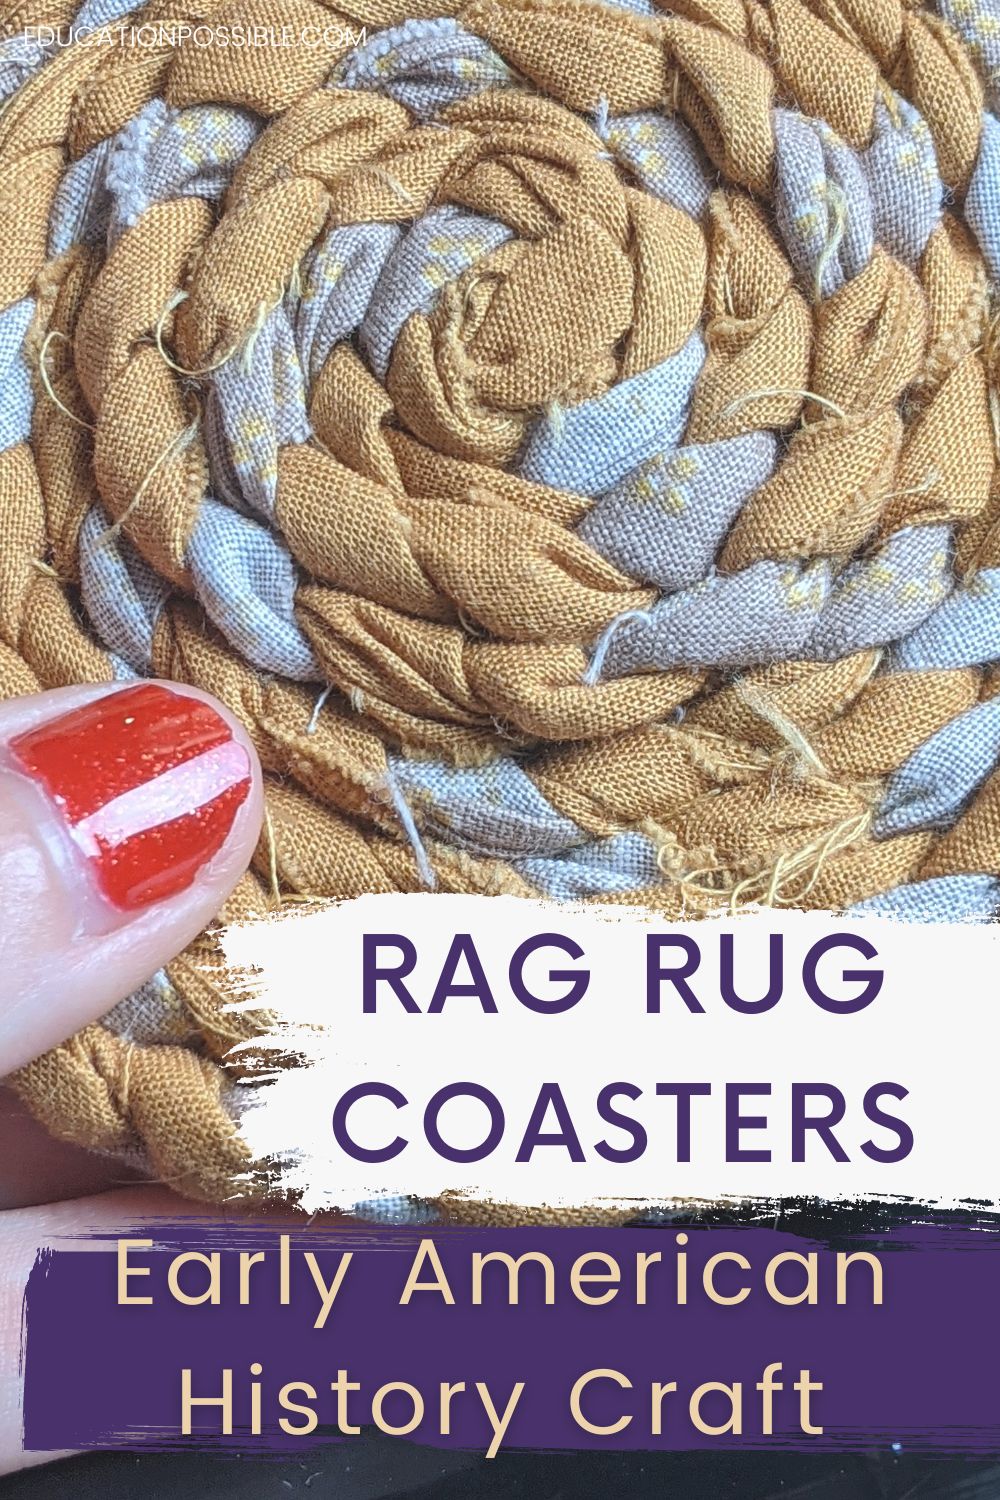
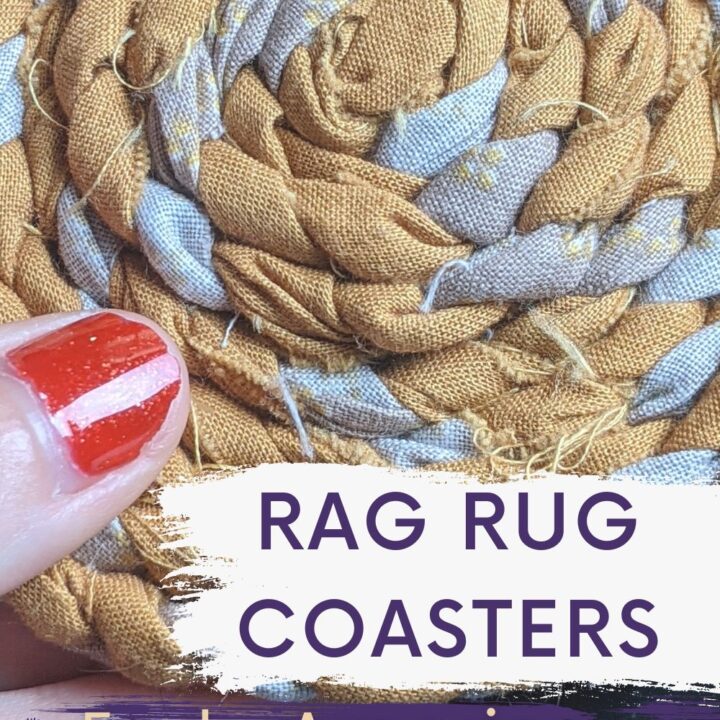
Pioneer Rag Rug Coasters
Does the thought of creating an entire rug seem daunting? Start smaller by making a set of braided coasters.
When we did this project as part of our history lessons, we didn’t want to make a full rug, so my girls made their own mini versions, the size of a coaster.
They used the same technique as for a rug, just on a much smaller scale.
Making these coasters is a perfect way to practice the rag rug braiding technique before committing to a full size rug.
They also make lovely gifts for family and friends.
It was a fun project that my girls loved, and the braided circles turned out so cute! They ended up using them as chair cushions for their American Girl dolls instead of coasters.
More Pioneer Resources
Looking for more hands-on ideas for your early American history lessons? Check these out.
- 6 Pioneer Recipes to Make with your Teens
- Build a Log Cabin
- American Pioneer Notebooking and Activity Unit
- No-Sew Prairie Doll
- Covered Wagon Activities for Middle School
There are tons of ways to make history fun for kids of all ages. Add this simple project to your history lessons and let your tweens create something unique!
With some fabric scraps, a bit of ingenuity, and a few simple steps, tweens can make their own pioneer-style braided rug in no time.
Overall, this was a fun craft to make and definitely gave us a new appreciation for the large rugs prairie women made for their families.
DIY Braided Rug
Turn scrap fabric or old t-shirts into a cute mini braided rug or rag rug coasters with these instructions. It's a great way to bring new life to old sheets and leftover fabric.
Materials
- fabric or old t-shirts in different colors and patterns
- a quilting needle
- quilting thread
- straight pins
- safety pins
Tools
- fabric scissors
- tape measure
- fabric chalk or marker
Instructions
- First, you need to make a bunch of fabric strips. Start with 12 (4 of each fabric you've chosen), but you may need to make new strips depending on how large you want your braided circle. To make the strips, use the tape measure and marking tool to measure out pieces that are approximately 20-24" long and 2" wide.
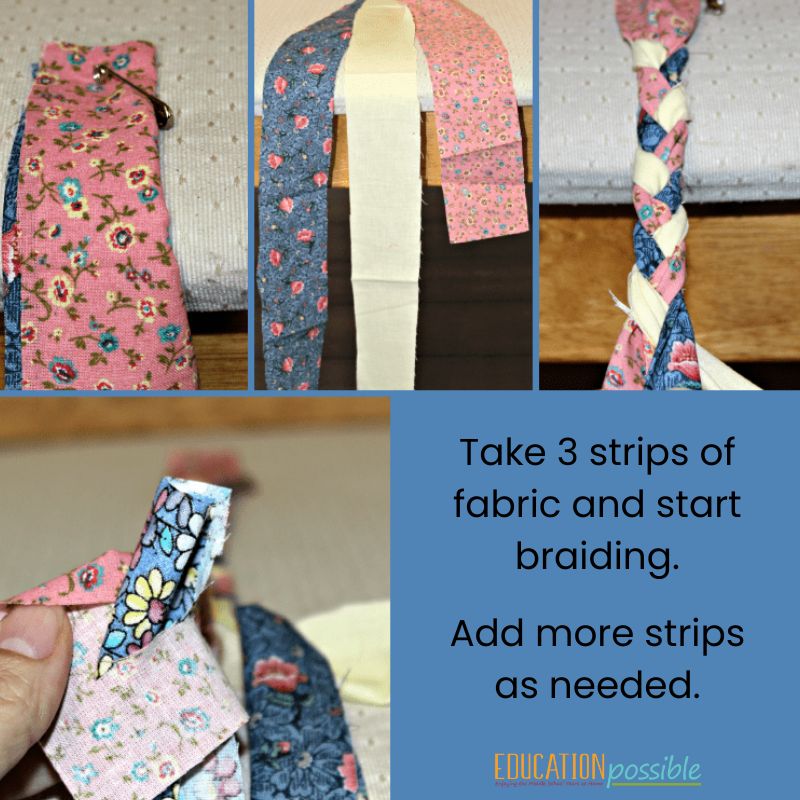
- Take three strips of fabric (in different colors/patterns) and lay them on top of one another. Grab an end and safety pin the three fabric pieces to a chair or couch. We found this to be the easiest way to keep everything in place while you're braiding.
- Cut two of the strips off at different lengths to vary the pattern.
- Start braiding.
- When you reach the end of one fabric strip, cut a small slit around two inches from the end and slide another piece of fabric through the hole. Fold it over the end. Then continue braiding. Keep adding strips until the braid is the length you want for your project.
- Once you've finished braiding, pin the end so it doesn't unravel as you roll it up.
- Unpin from the chair and lay the braided fabric on a flat surface.
- Take the end that you just unpinned from the chair and start rolling the braid against itself, creating a circle. Don't pull too hard as you wrap it up or it won't lay flat when it's finished.
- As you add a layer to the circle, pin it to the previous ring, so it will stay together.
- With the needle and thread, add a few hand stitches throughout the outer two layers of braid as you move along, stabilizing the circular rug.
- When you reach the end of your fabric, fold over the ends and secure them with thread.
Notes
To make a full sized rug, just keep adding material to your braid until it's the size and shape you want.
If you don't want to pin the fabric to a chair to braid, you could have someone hold the fabric ends for you or use a large binder clip.
When you're rolling up the braid, place it on a flat surface to make sure it's lying flat. Push any pieces down to make sure the rings are even.
Add enough hand stitches to each ring of the circle to make sure the braid stays in place.
Recommended Products
As an Amazon Associate and member of other affiliate programs, I earn from qualifying purchases.


Latest posts by Megan Zechman (see all)
- Easy Pumpkin Crafts - August 21, 2023
- Middle School Geography Curriculum - August 11, 2023
- Outdoor Geography Activities - August 4, 2023