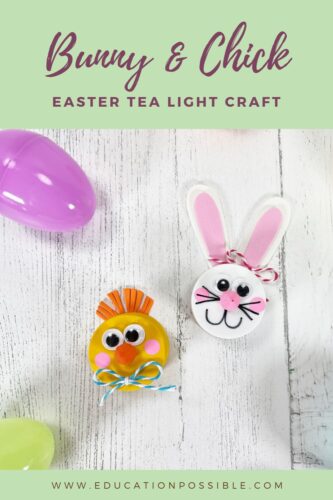
Cute Easter Tea light Craft
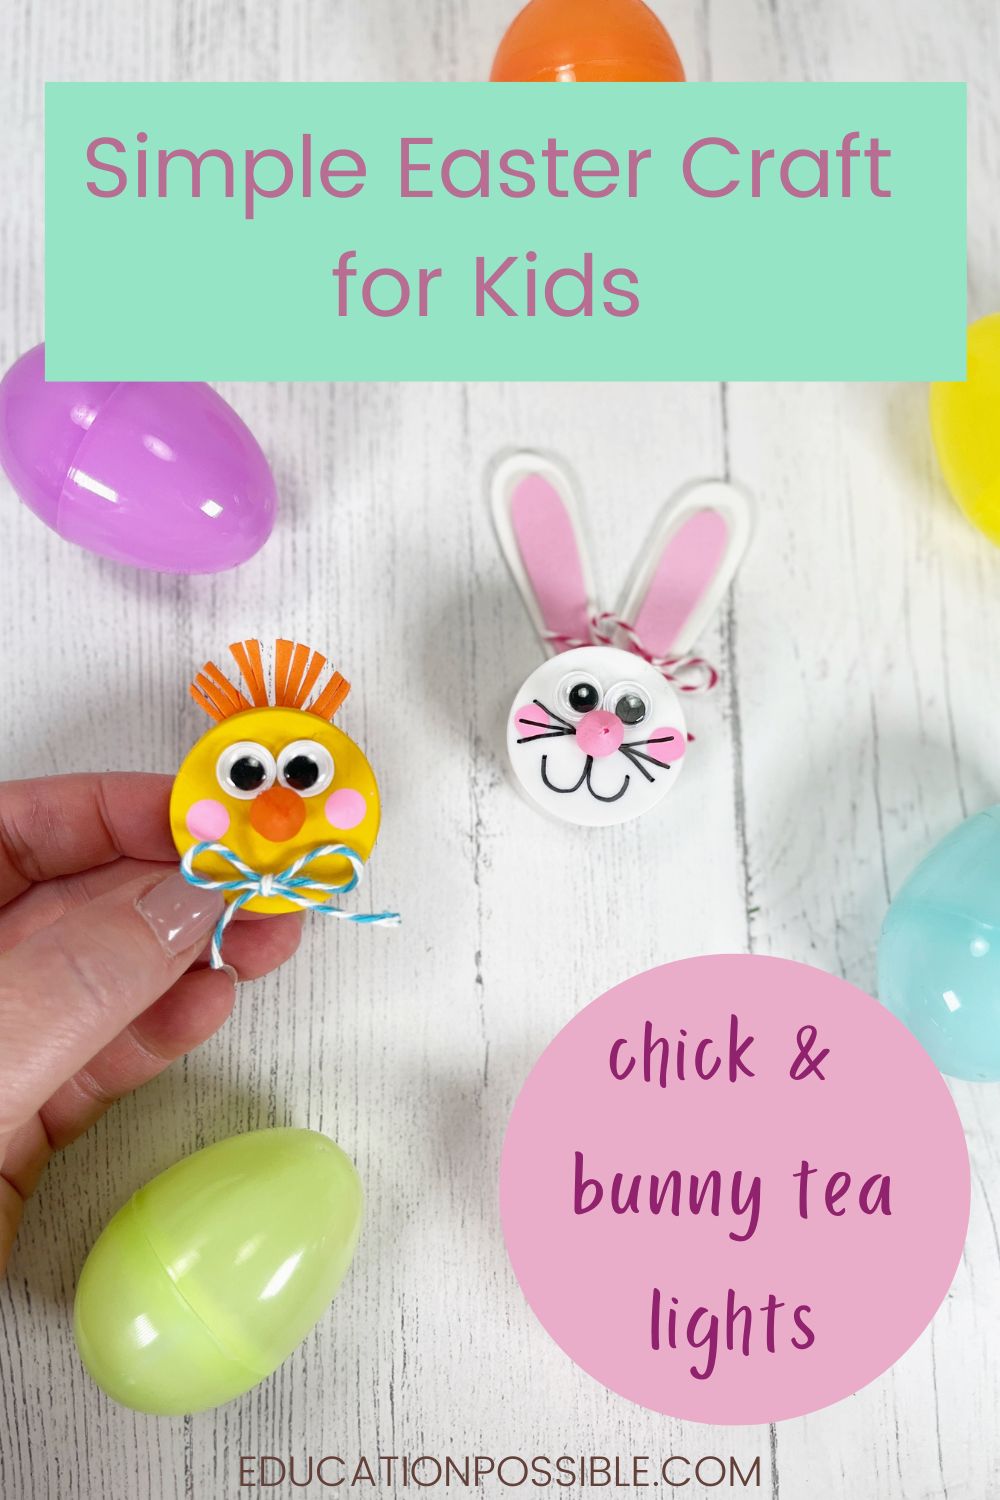
This year, make this Easter tea light craft together as a family. It’s a simple project for kids!
With just some simple crafts supplies from the Dollar Store, you can make a super cute bunny and chick that are sure to brighten up your home for the holiday.
Ready to turn a basic flameless candle into an adorable Easter icon?
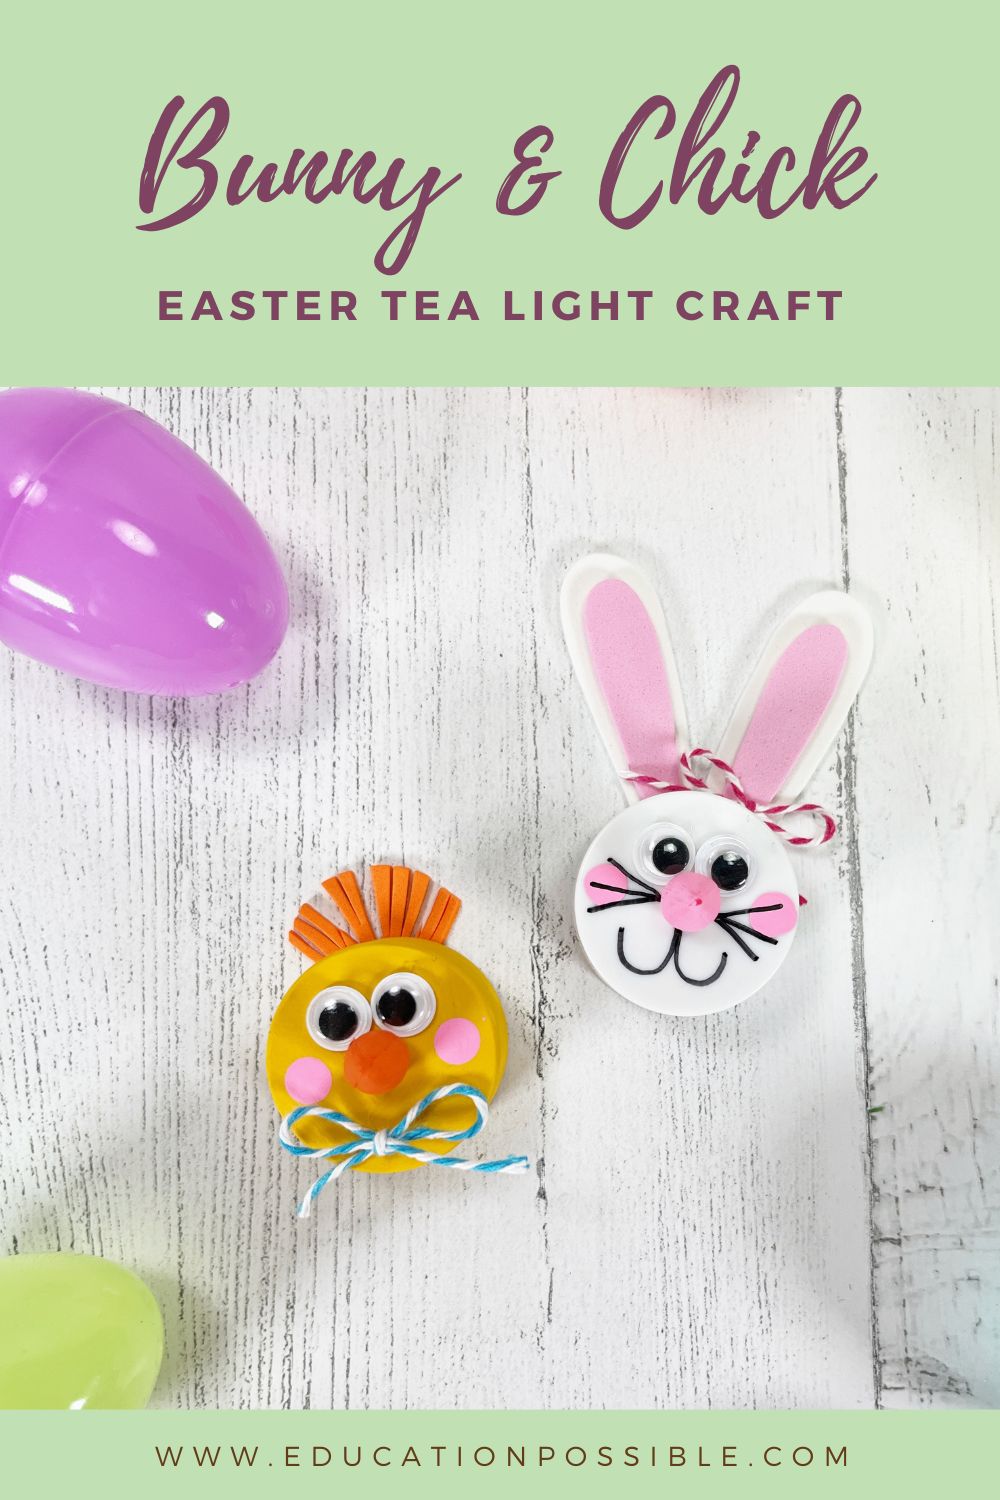
Follow the step-by-step instructions at the bottom of the post to make your own Easter-inspired votives.
You’ll be surprised at how easy they are to create!
Easter Tea light Craft
Easter is a time for family and fun, so why not create something special this spring?
In less than 30 minutes, using things from the Dollar Store or your craft closet, you can make adorable bunny and chick tealights that are sure to make your home look extra festive.
Your tweens will love these DIY Easter decorations. They’re simple to make, so don’t be surprised if your kids will want to make a whole pack of them!
Crafting is a great way for families to spend some quality time together. Everyone puts distractions aside and focuses on the project and each other.
So, it’s time to pull out the craft supplies and make some cute Easter décor.
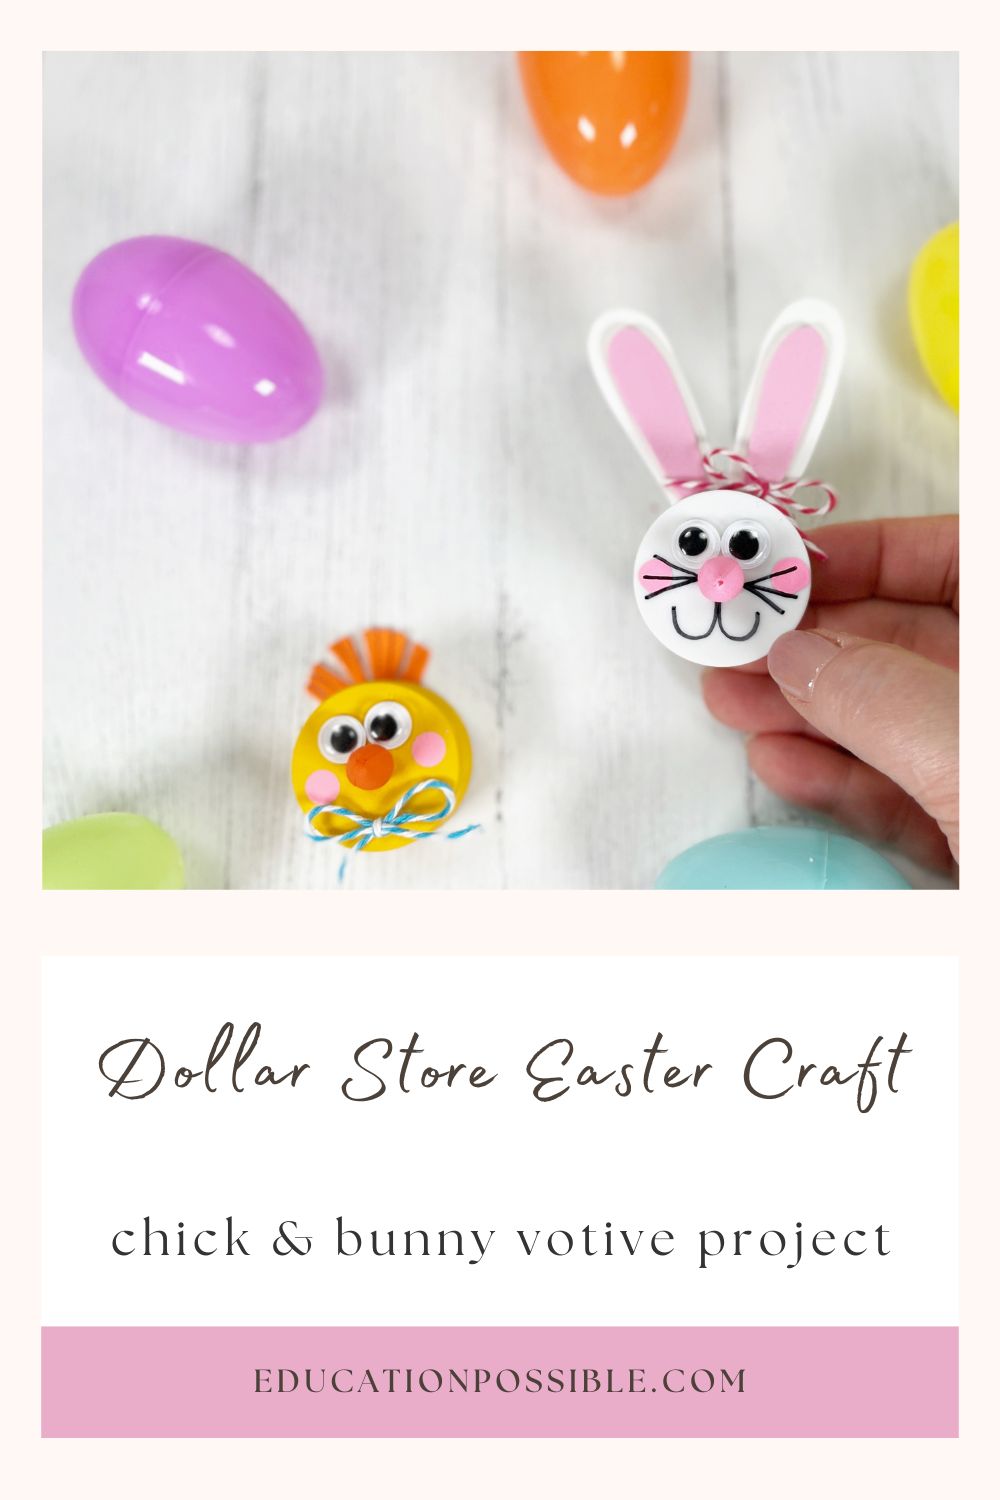
Bunny and Chick Craft Materials
One of the best things about this spring craft is that it uses fairly basic supplies. In fact, you can find most of them at the Dollar Store or in your craft closet.
It’s an inexpensive Easter craft that’s fun to make.
Use this list to gather the elements you’ll need to create these adorable tea lights. And if you don’t want to head out, you can always have them delivered to you.
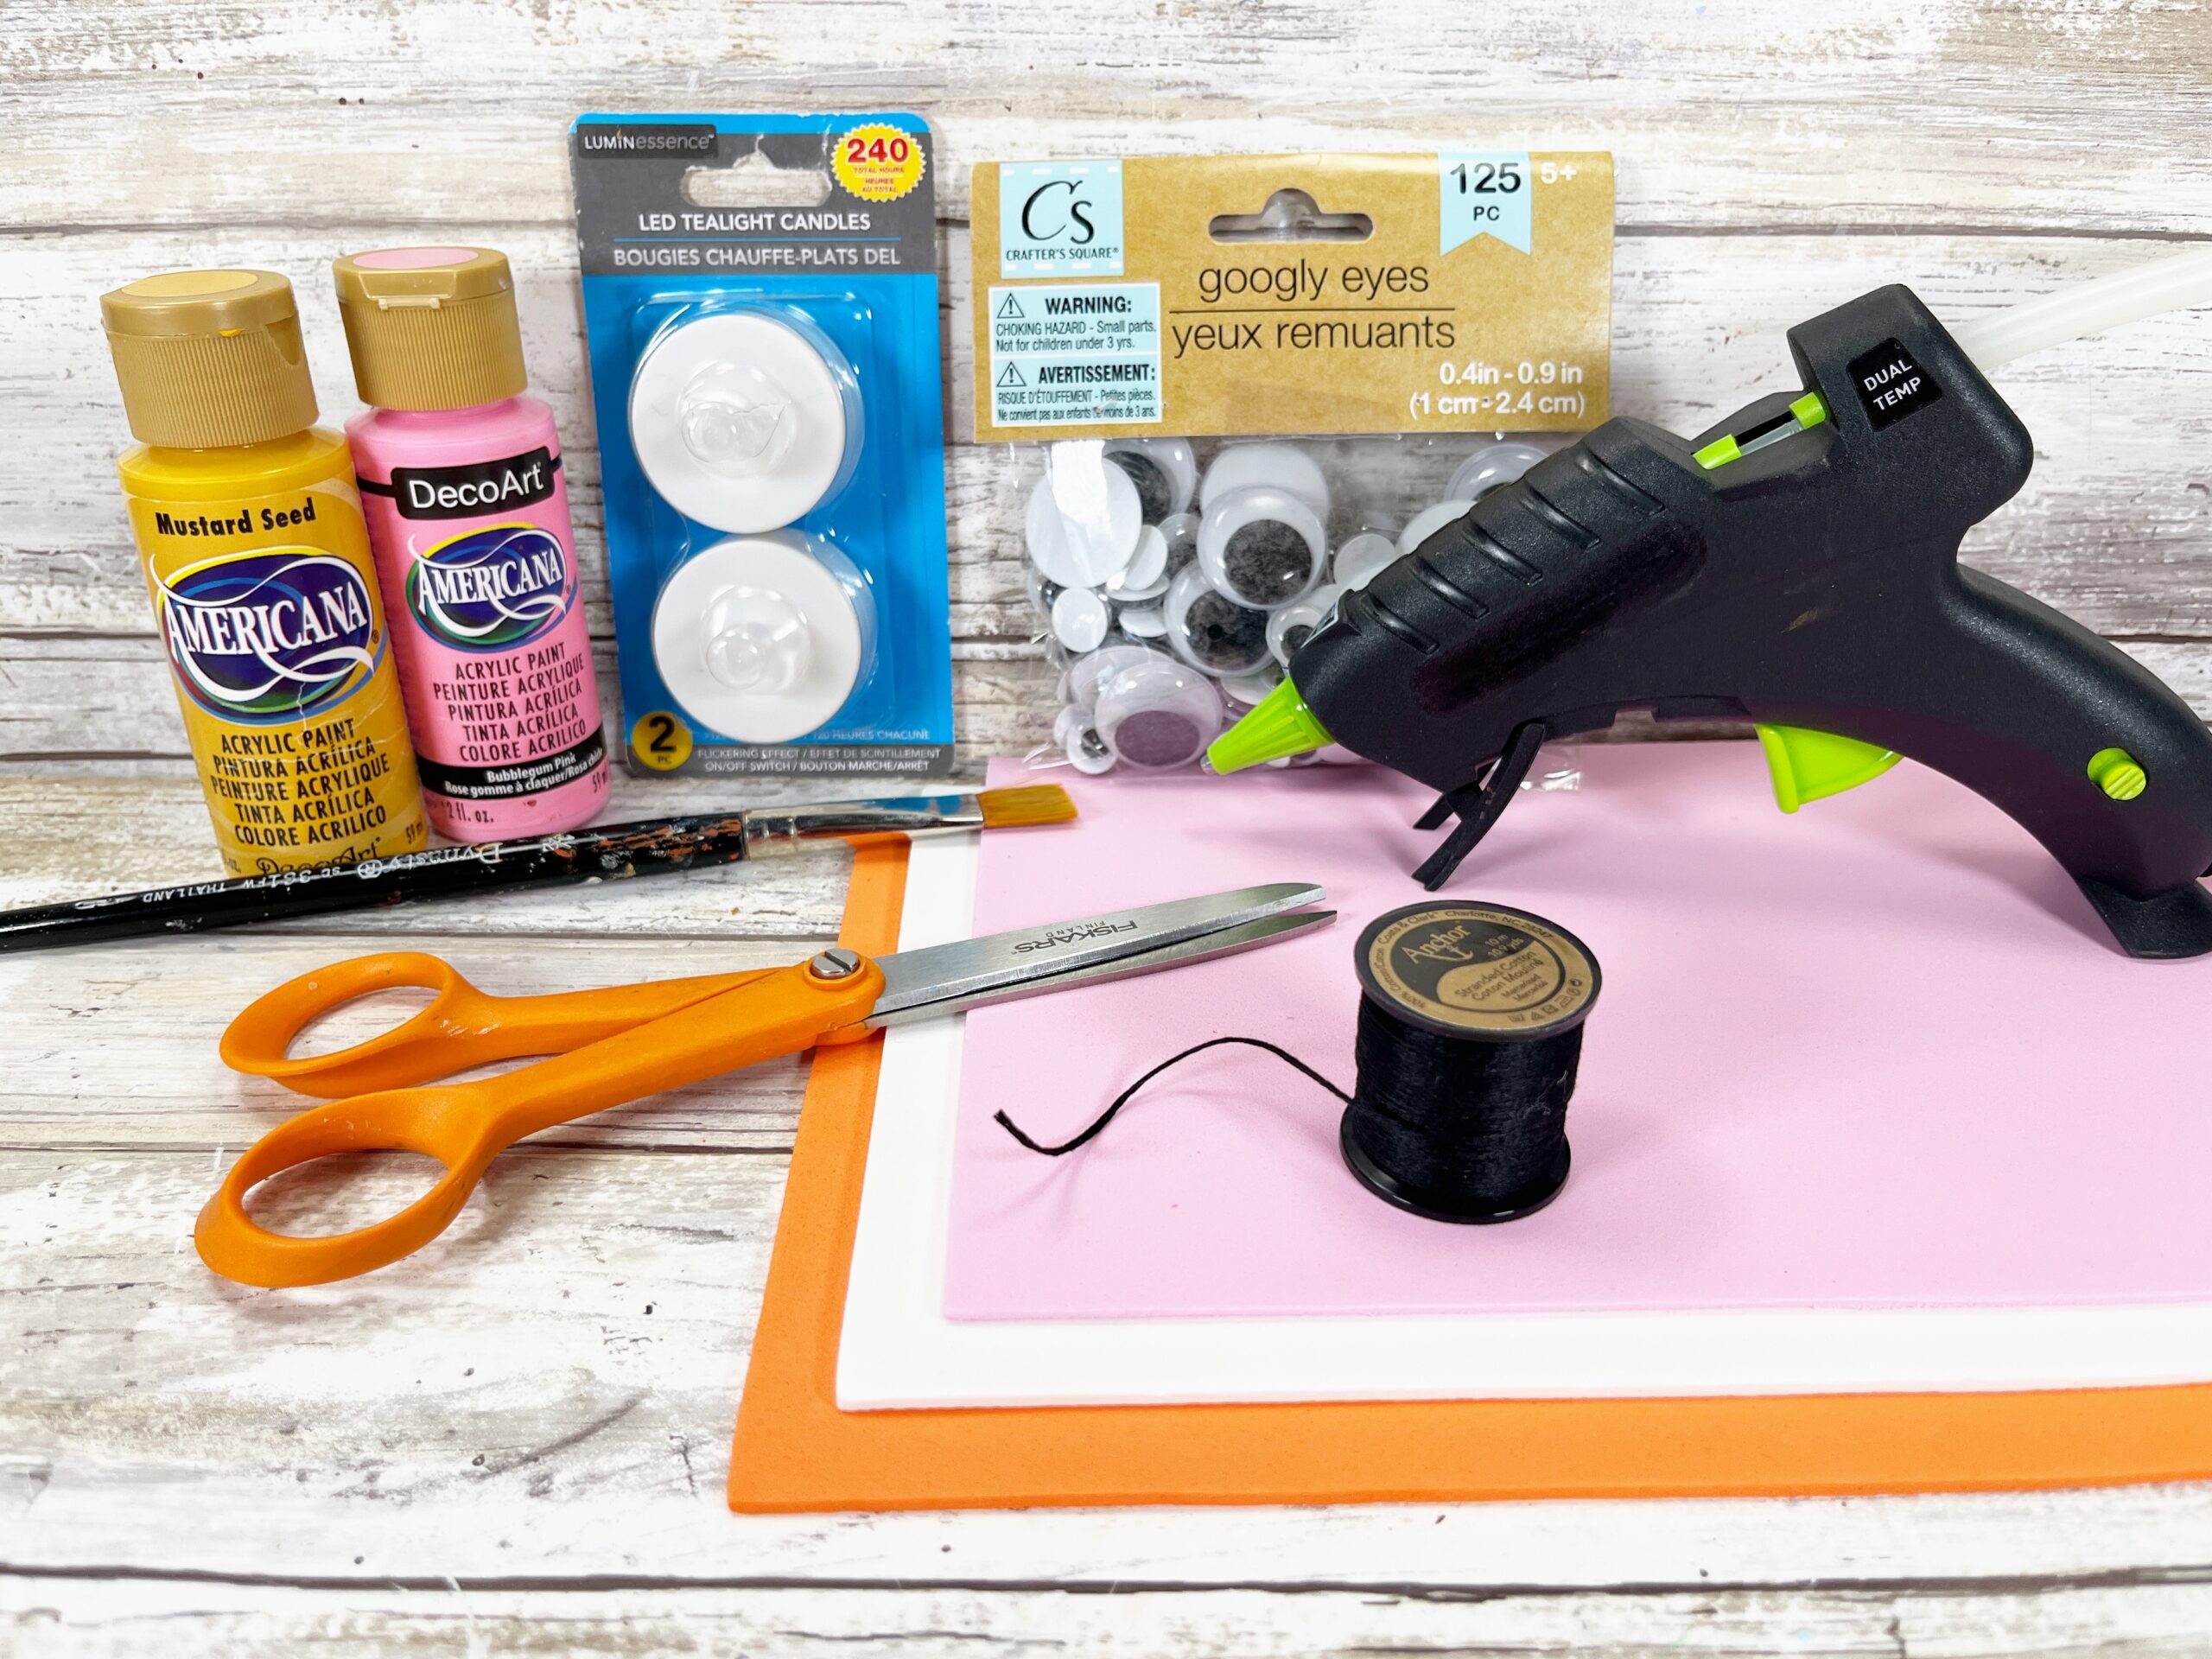
- Battery Powered Tea Lights
- Craft Foam in White, Pink, and Orange
- Wiggle Eyes
- Bakers Twine
- Acrylic Craft Paint in Yellow, Pink, and Orange
- Dollar Store Easter Votive Pattern
As you can see, it doesn’t take much to put together these handicrafts. You’ll have no problem finding the time to make some for yourself.
Battery Operated Tea Lights Candles Craft Foam Sheets
 Baker’s Twine
 Acrylic Paint in Assorted Colors
And when you’re finished, put them on your Easter table or let your tweens use them to decorate their room for the holiday.
Tea Light Craft Tips and Tricks
While this project is fairly straightforward, there are a couple of things you should keep in mind.
- If you’re using one of the tea lights you have at home, check that the battery still works before you start to paint. You don’t want to go through the whole process only to find out that the flame doesn’t light.
- Once you let the first layer of paint dry, if you can still see parts of the candle, just add another coat. You can paint as many layers as you need to get the color you want.
Overall, this is a simple project. That’s why it’s a perfect activity for families to do together.
Hopefully, this is just the start of your crafting this holiday.
More Easter Crafts
Ready to make something else? Give these projects a try.
There are so many fabulous ideas out there for Easter-themed crafts that tweens will want to make.
Paint Your Own Bunny Garden Stone Wooden Easter Ornaments
 Rainbow Color Scratch Paper Easter Ornaments
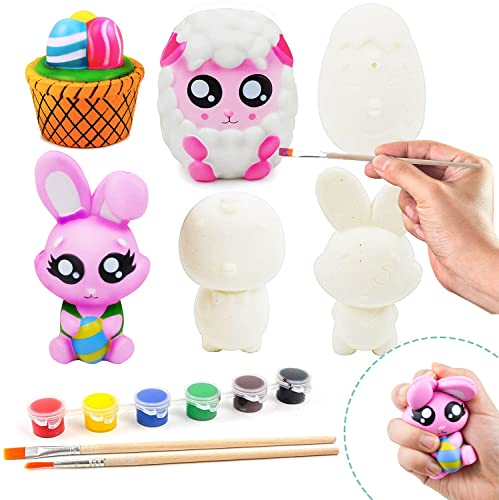
 Easter Squishy Coloring Craft Kit
Ready to make your chick and bunny tealights? Just follow the directions below.

Dollar Store Easter Tea Light Craft
A few simple supplies from the Dollar Store transform into a cute as can be Bunny and Chick to light the way to Easter!
Materials
- Battery Operated Tea Lights, White (2)
- Craft Foam, in White, Pink, Orange
- Wiggle Eyes
- Bakers Twine
- Black Permanent Marker
- Acrylic Craft Paint in Yellow, Pink, Orange
- Easter Tea Light Craft Pattern
Tools
- Glue Gun and Glue Sticks
- Scissors
- Pencil with New Eraser
Instructions
Gather all supplies.
STEP ONE
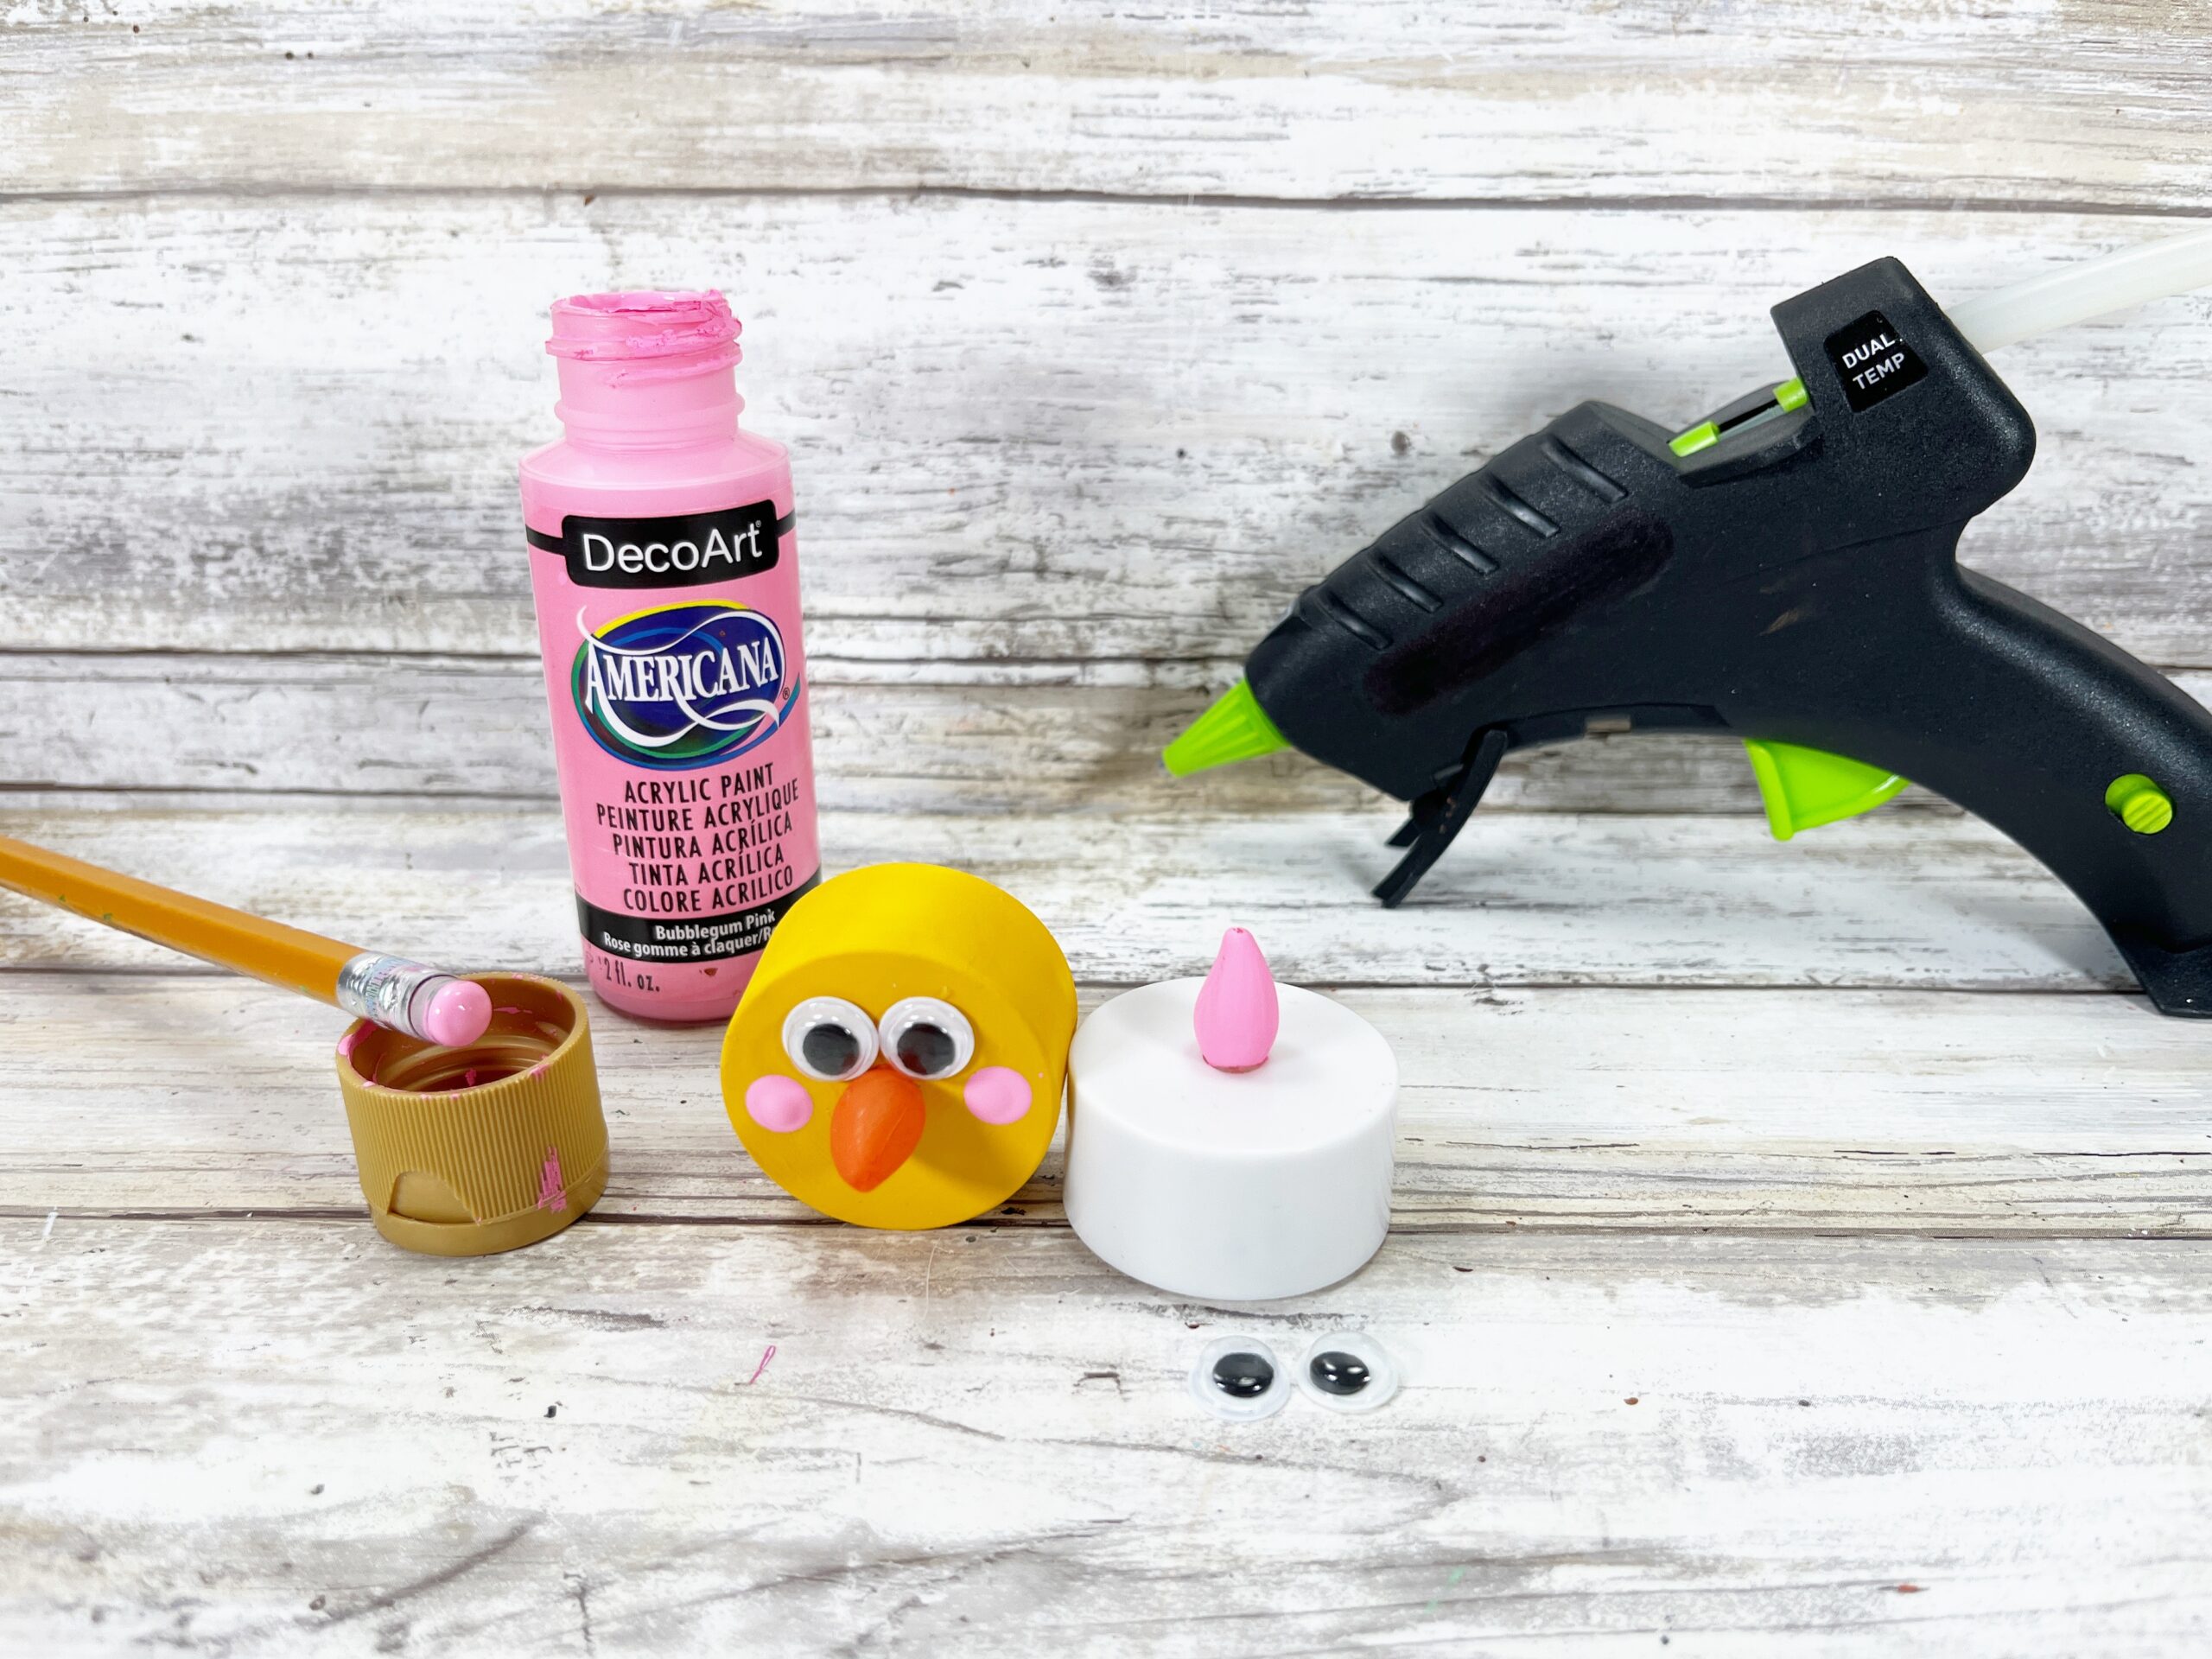
Remove the battery operated tealights from the packaging. Pull the tab in the back and make sure the flame lights.
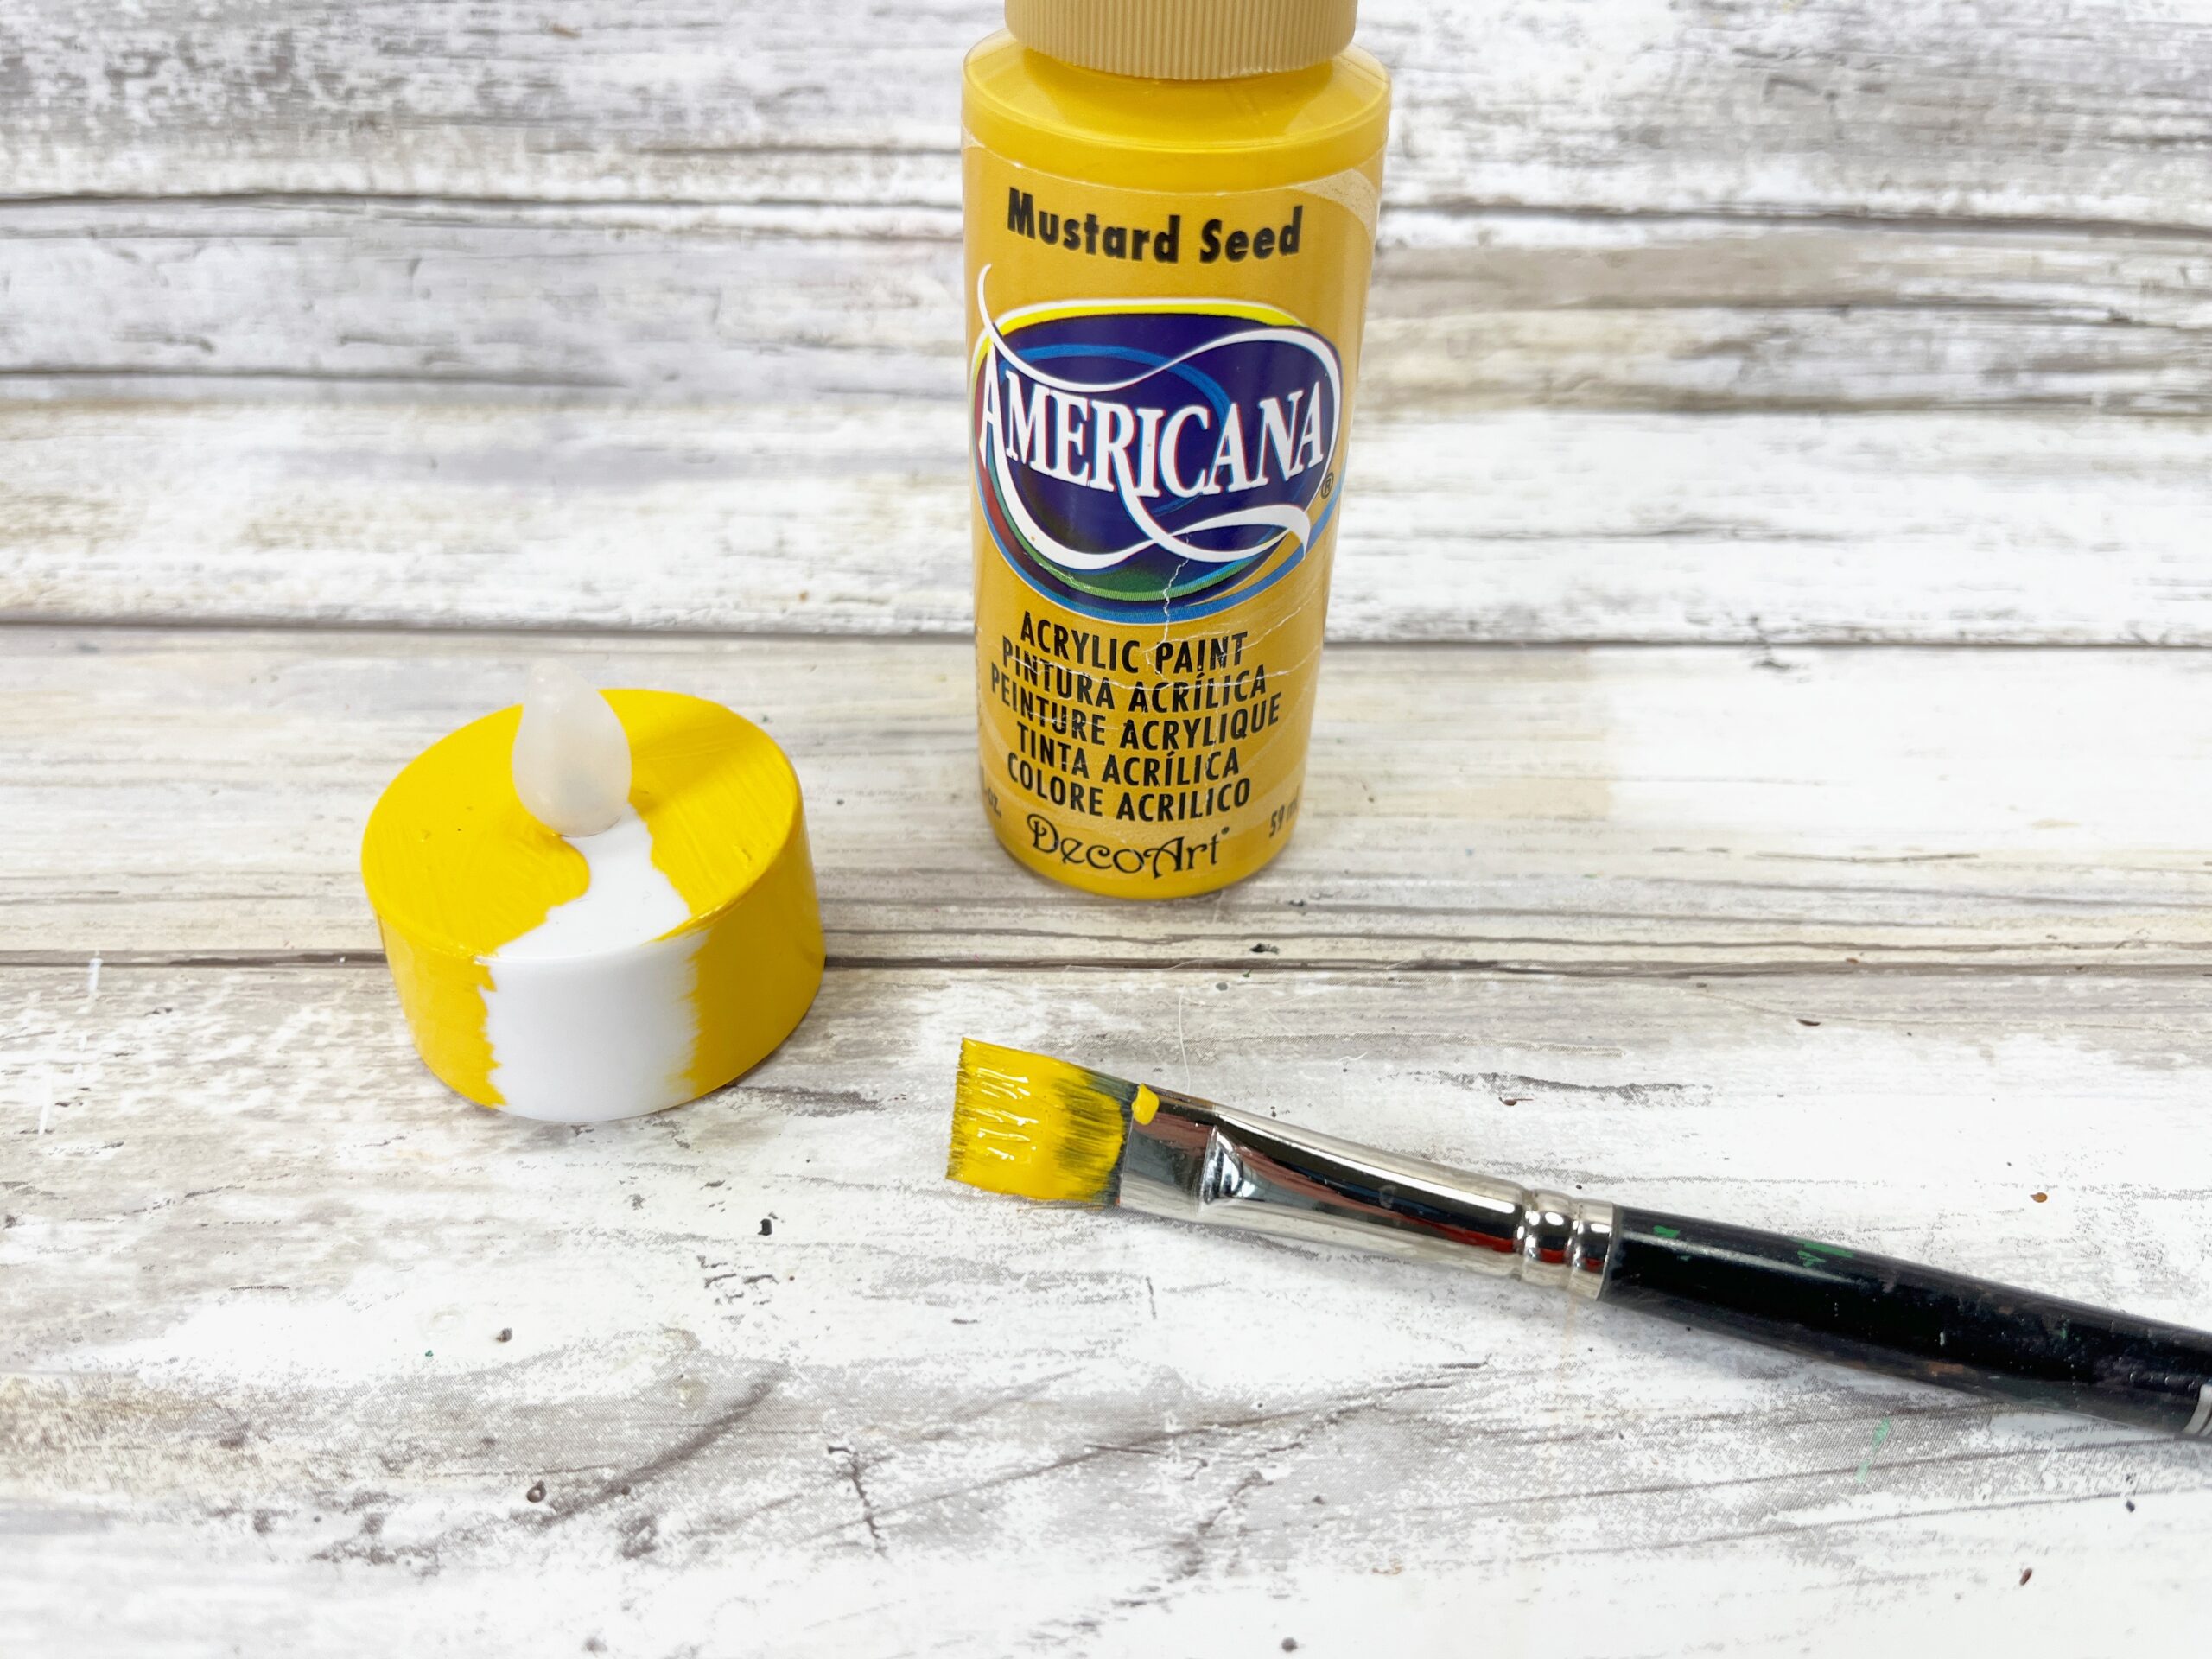
Paint the base of the chick tea light with yellow acrylic craft paint. Let dry. Apply a second coat if necessary.
STEP TWO
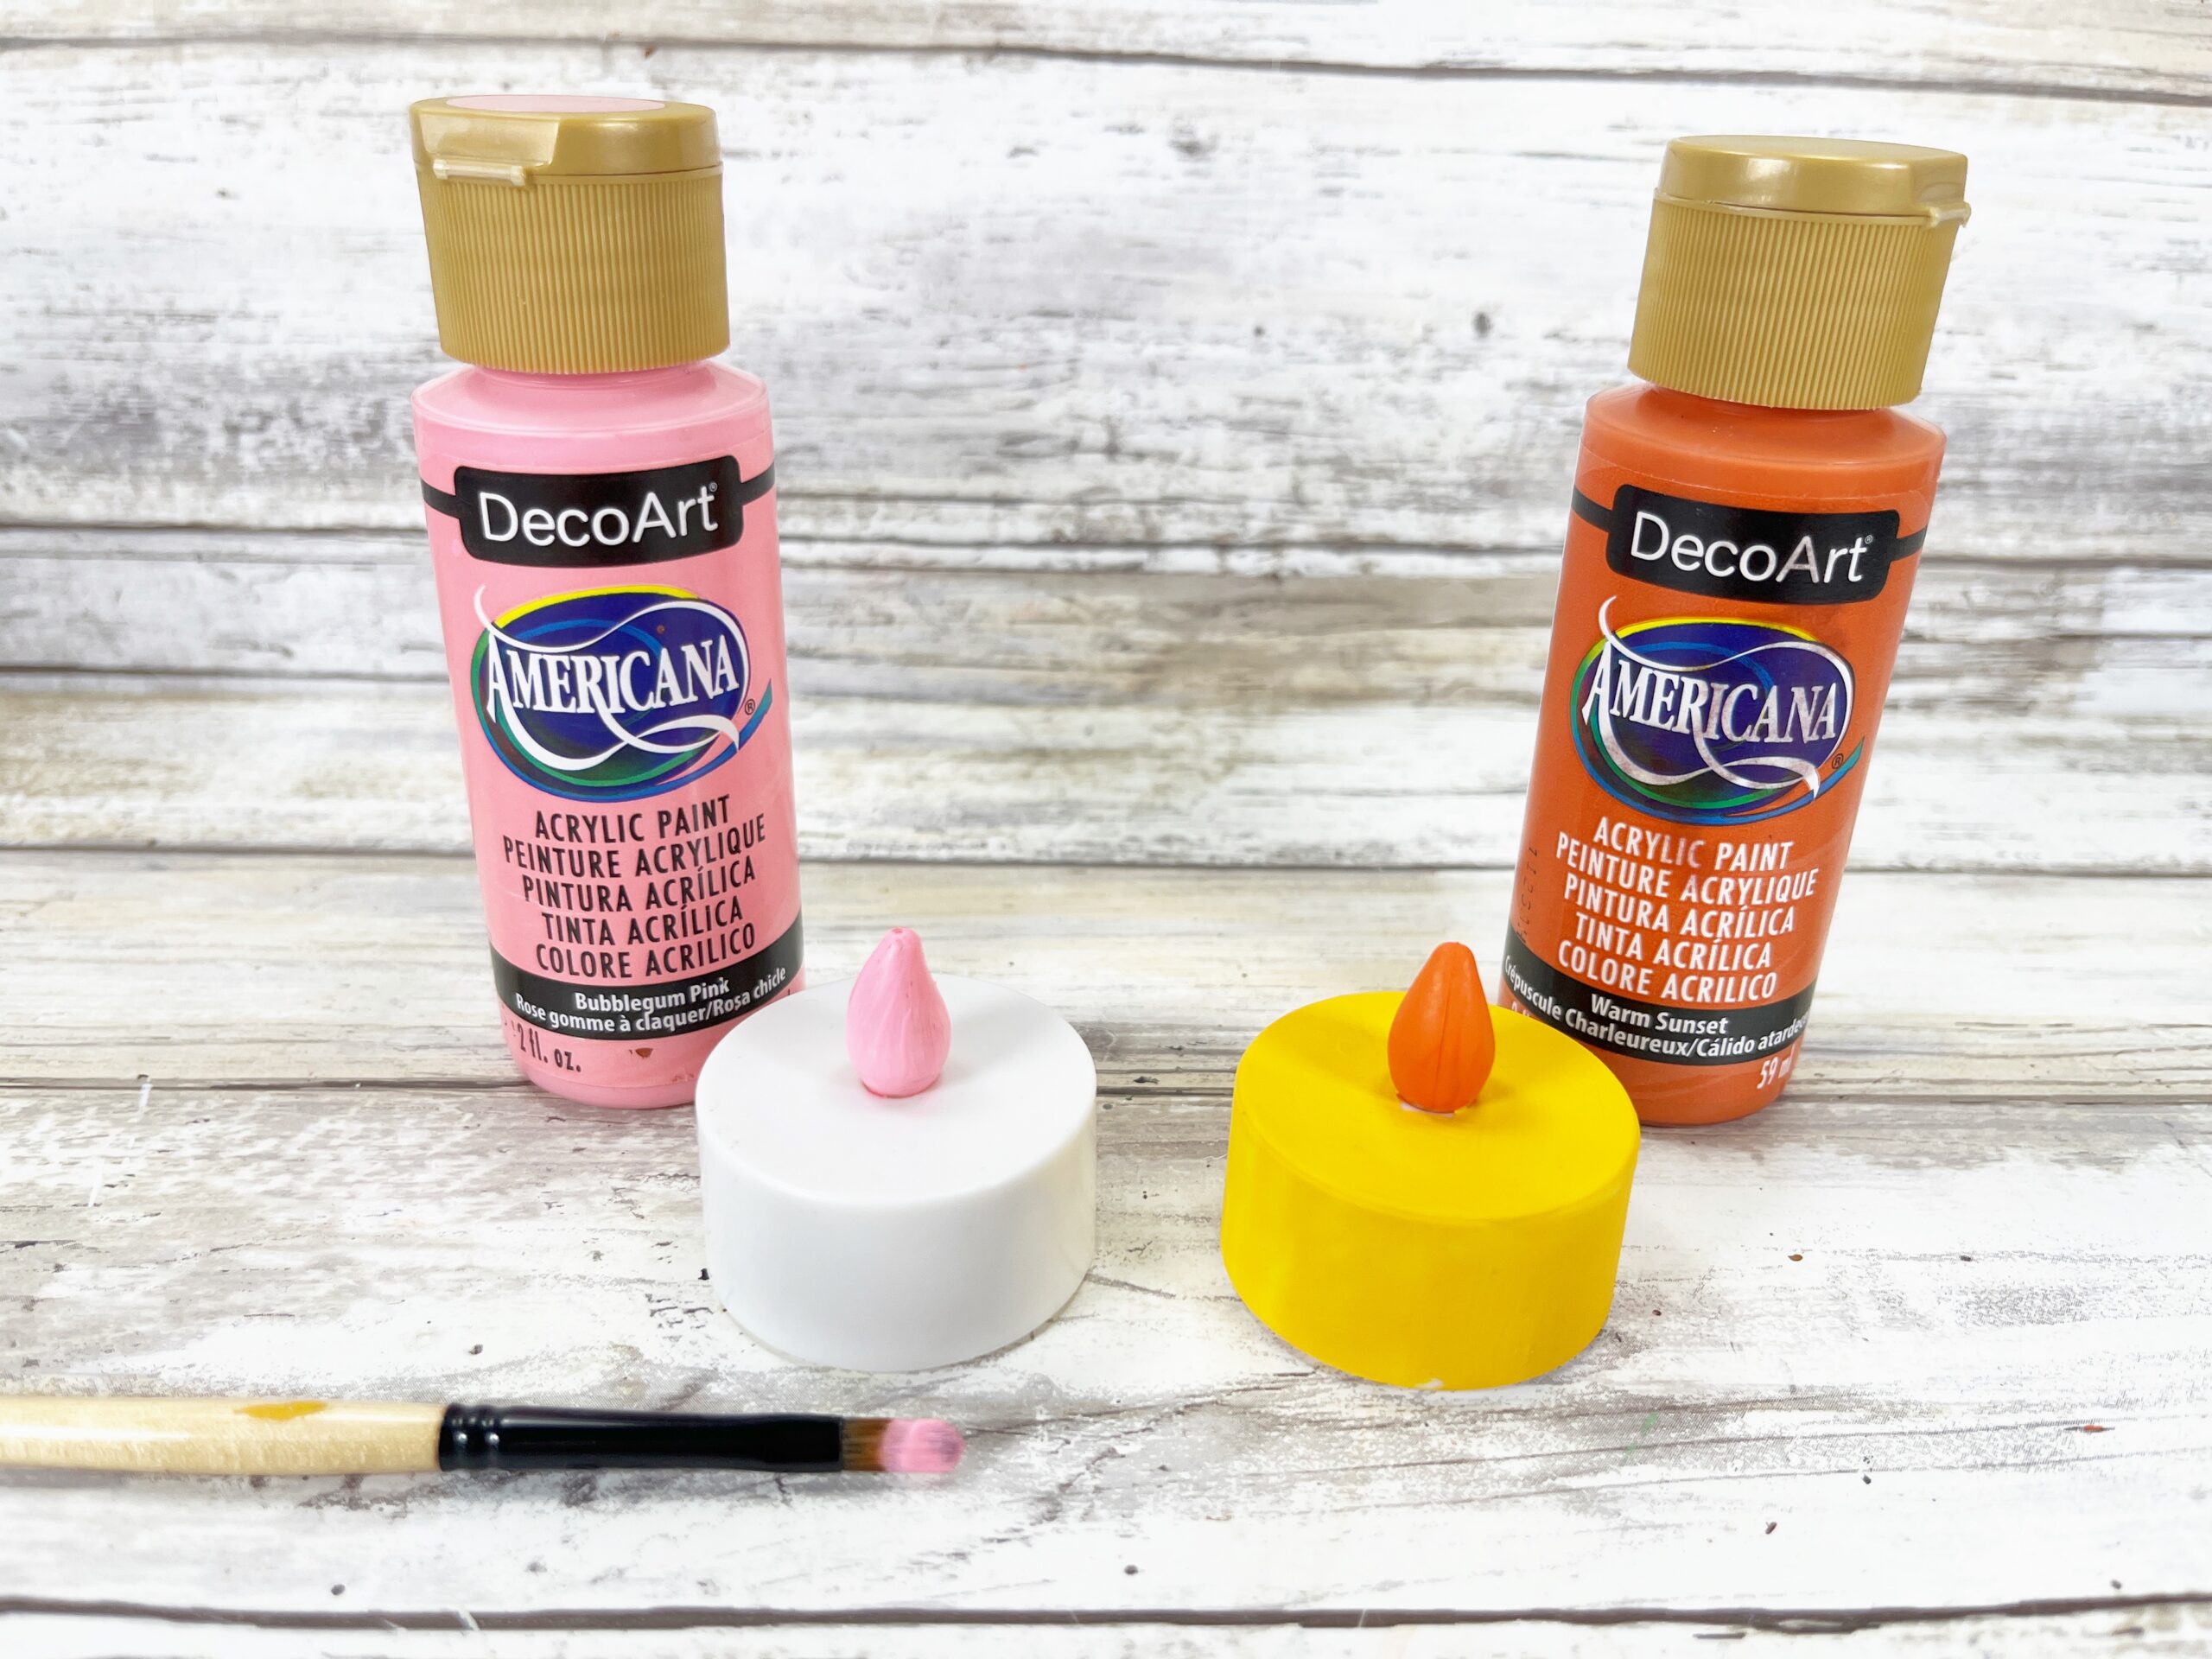
Paint the flame of the yellow chick votive with orange acrylic craft paint.
Then, paint the flame of the white bunny votive with pink acrylic craft paint. Let dry.
STEP THREE
Now, let’s add the faces!
The chick and bunny tea lights each get two wiggle eyes.
Add cheeks by dipping a new pencil eraser into pink acrylic craft paint and dotting on either side of the bunny’s nose and the chick’s beak.
STEP FOUR
Download, print, and cut out the Easter Tea Light Craft Pattern.
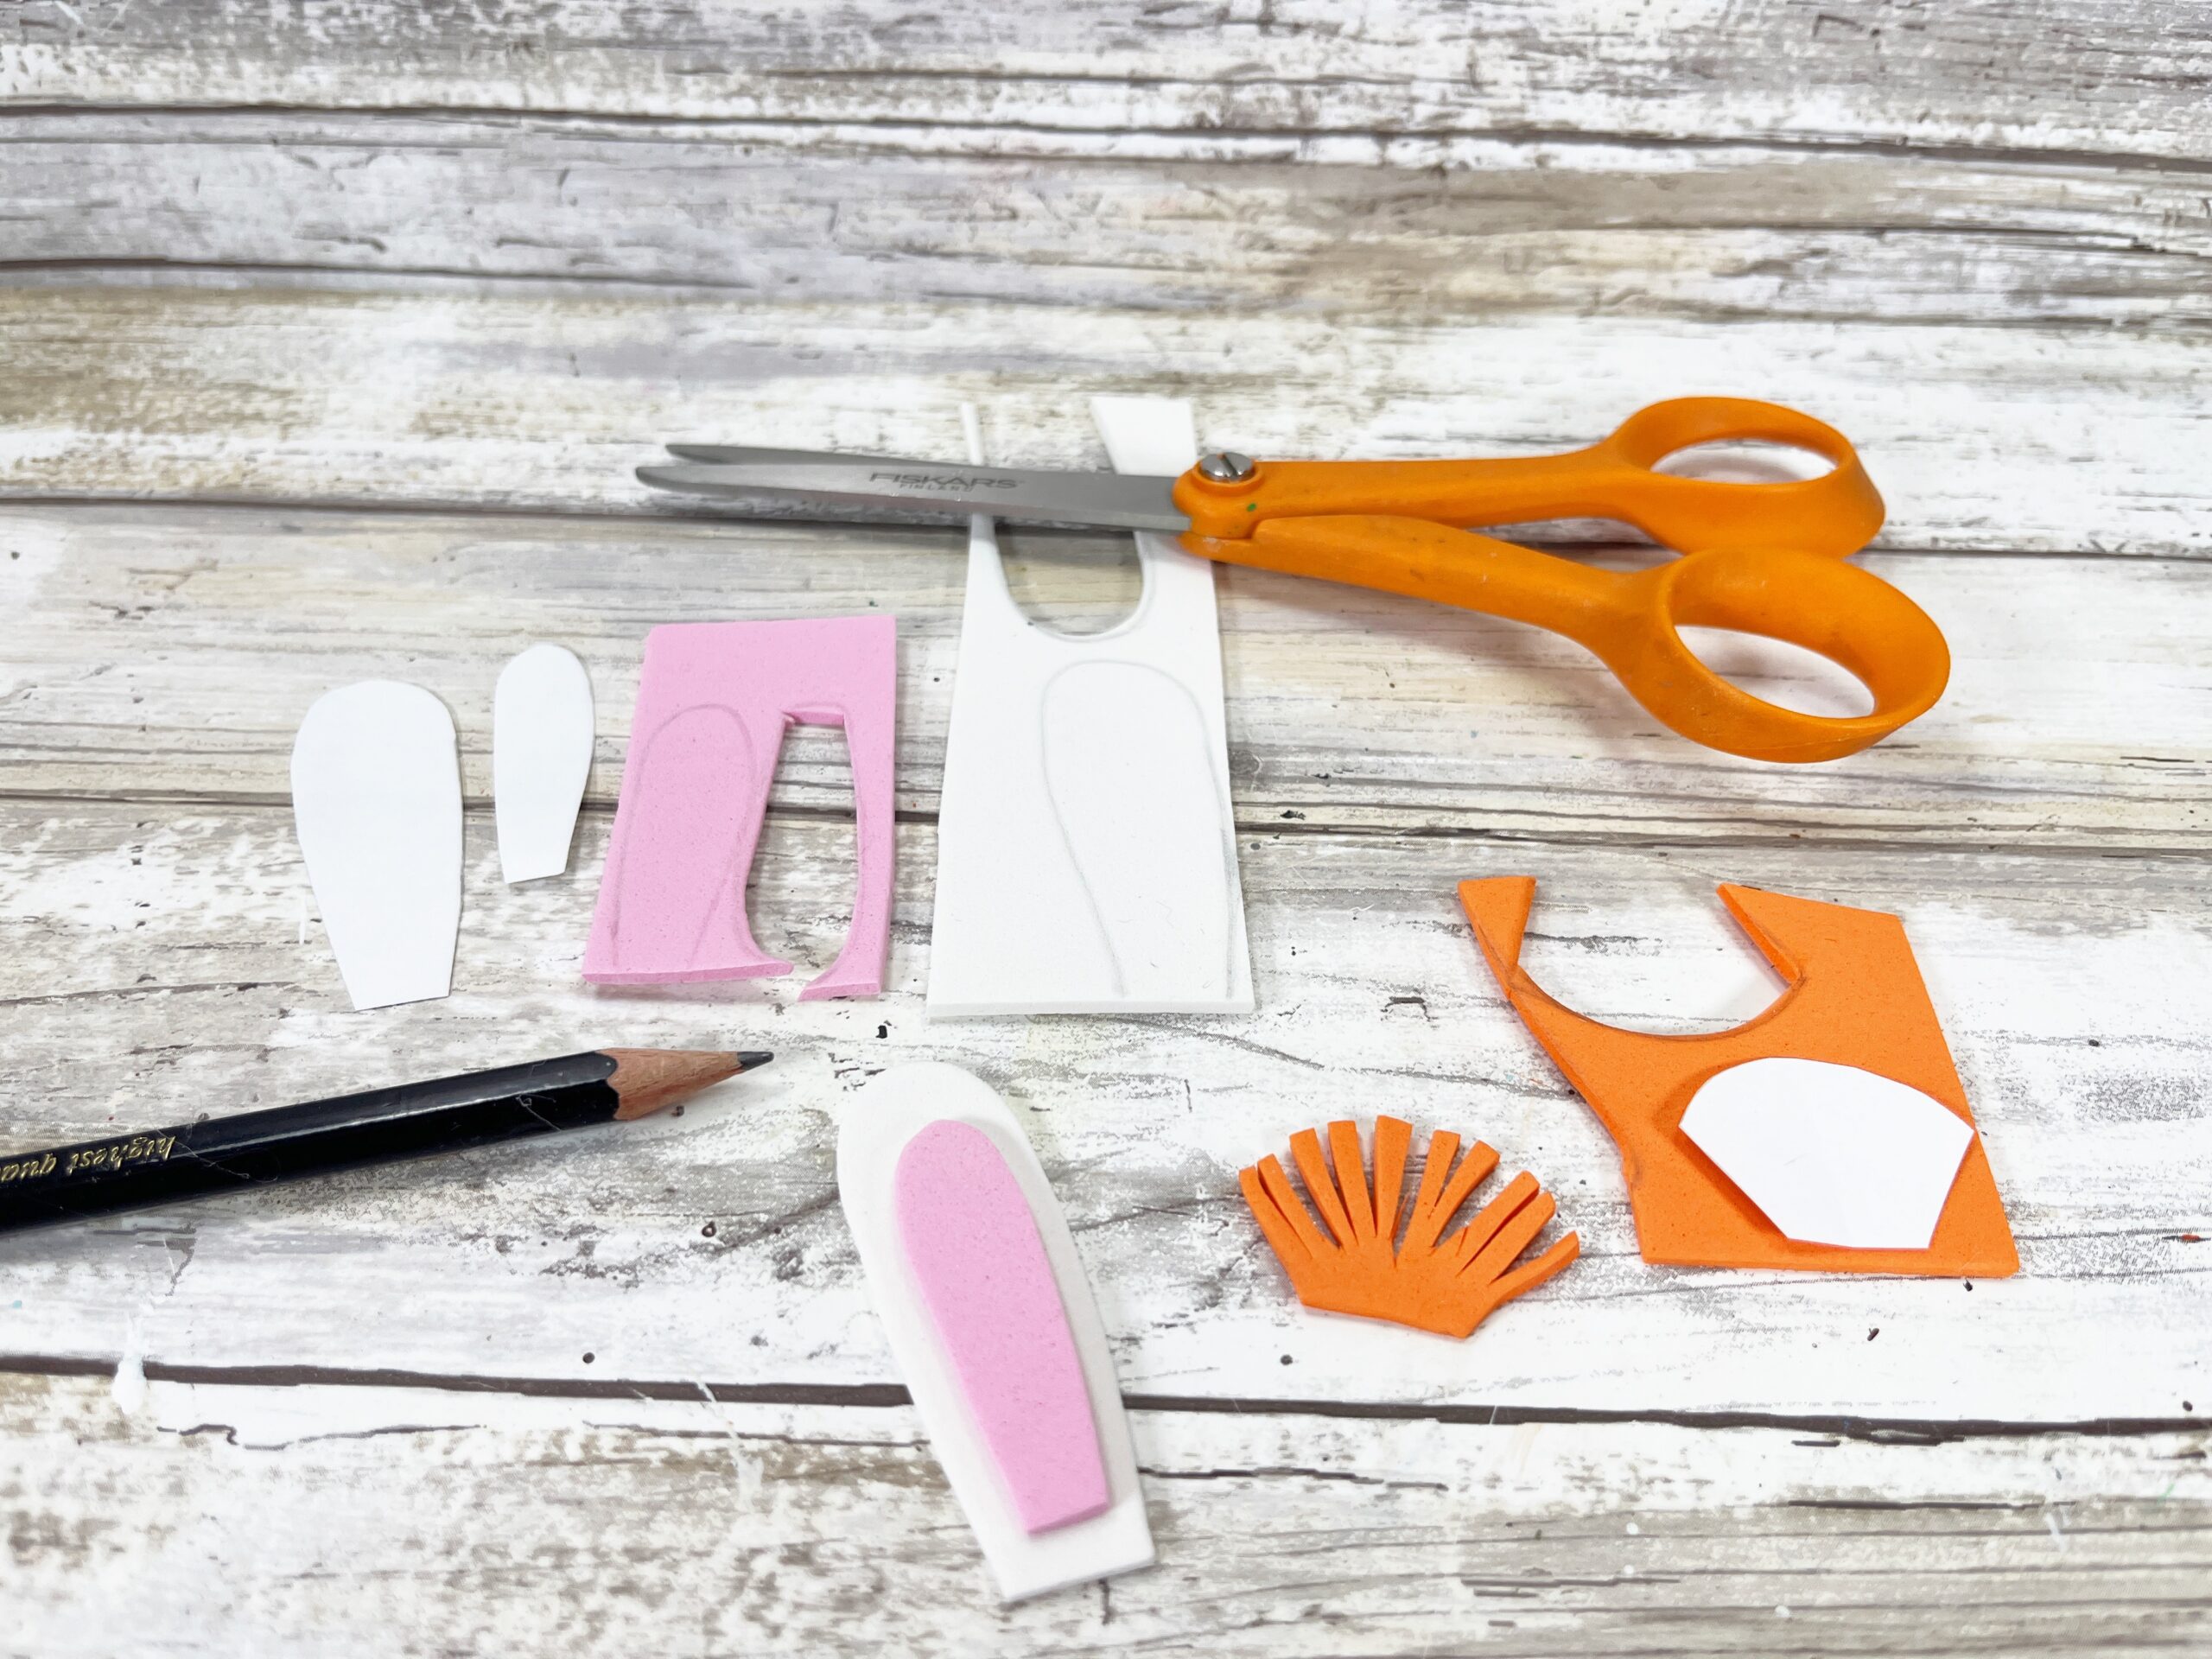
Trace the bunny’s outer ears onto white craft foam, the inner ears onto pink craft foam, and the chick’s feather onto orange craft foam. Cut out all patterns with scissors.
Fringe the chick’s feather by cutting slits around the edge of the orange craft foam.
STEP FIVE
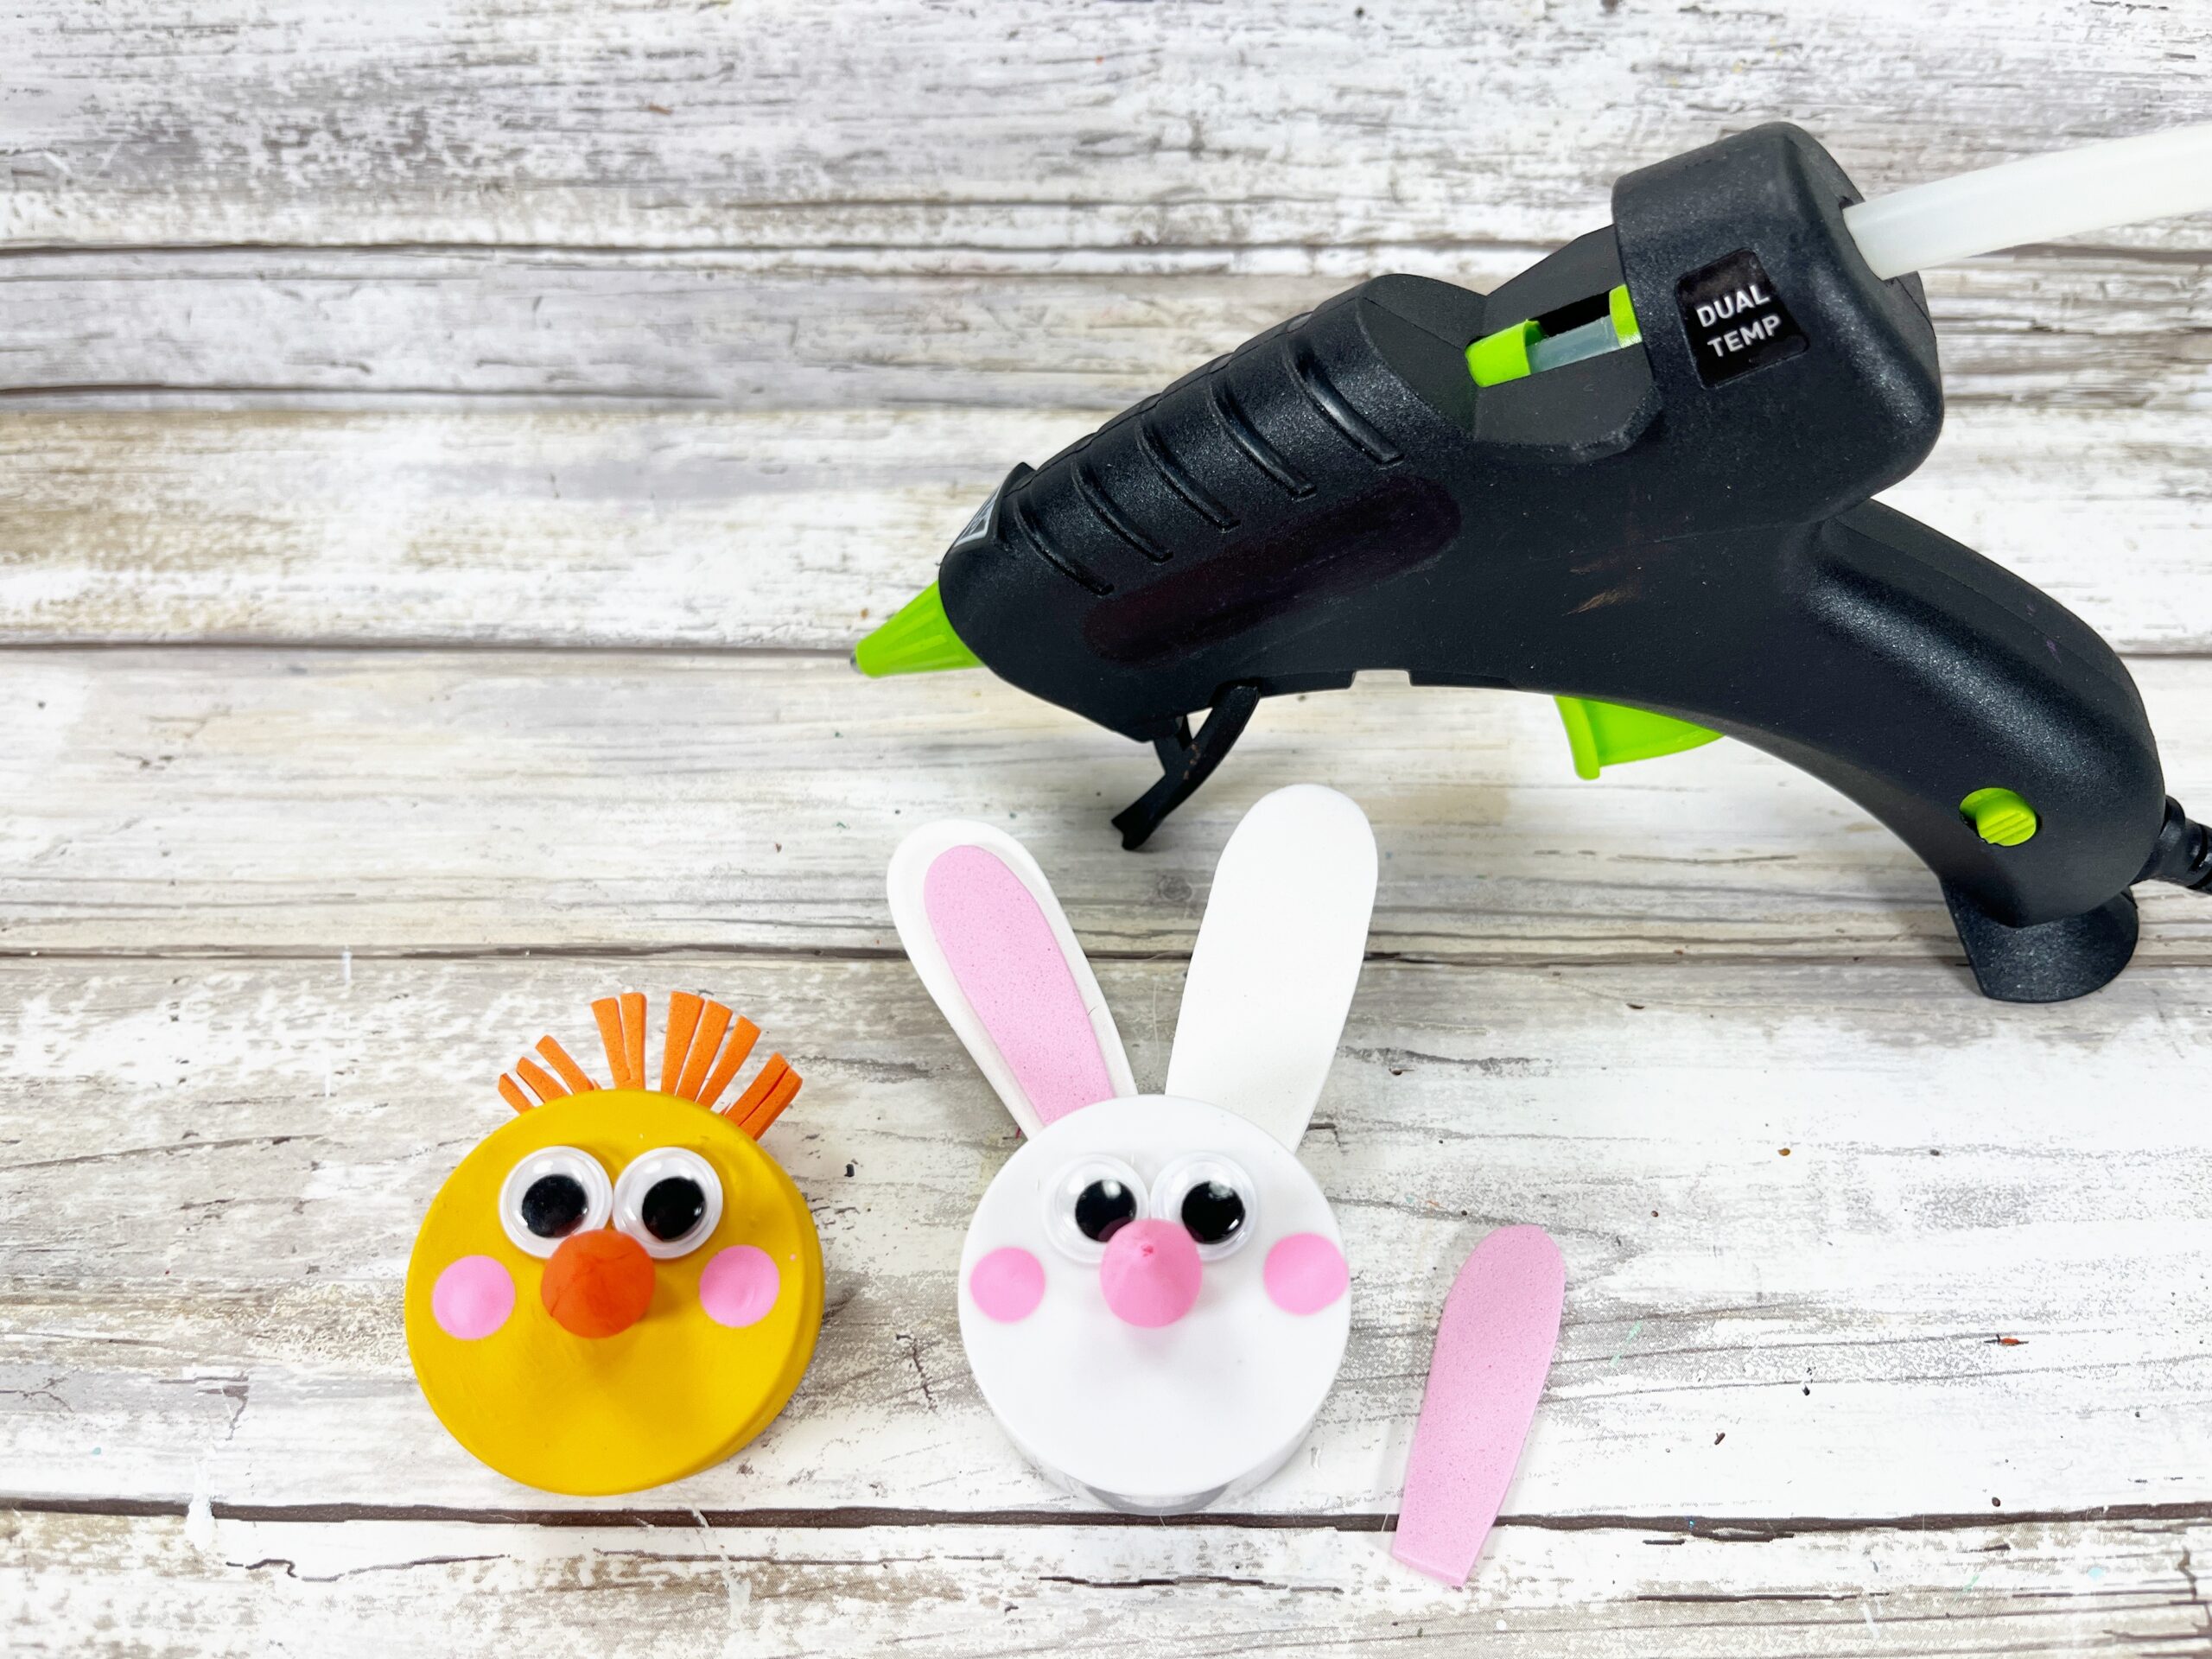
Using hot glue, attach the feather to the top of the back of the chick tea light. Glue the white outer ears to the top back of the bunny tea light, and then attach the pink inner ears. Use the photo for placement.
You can use liquid craft glue for this project, but you will have to wait for it to dry.
STEP SIX
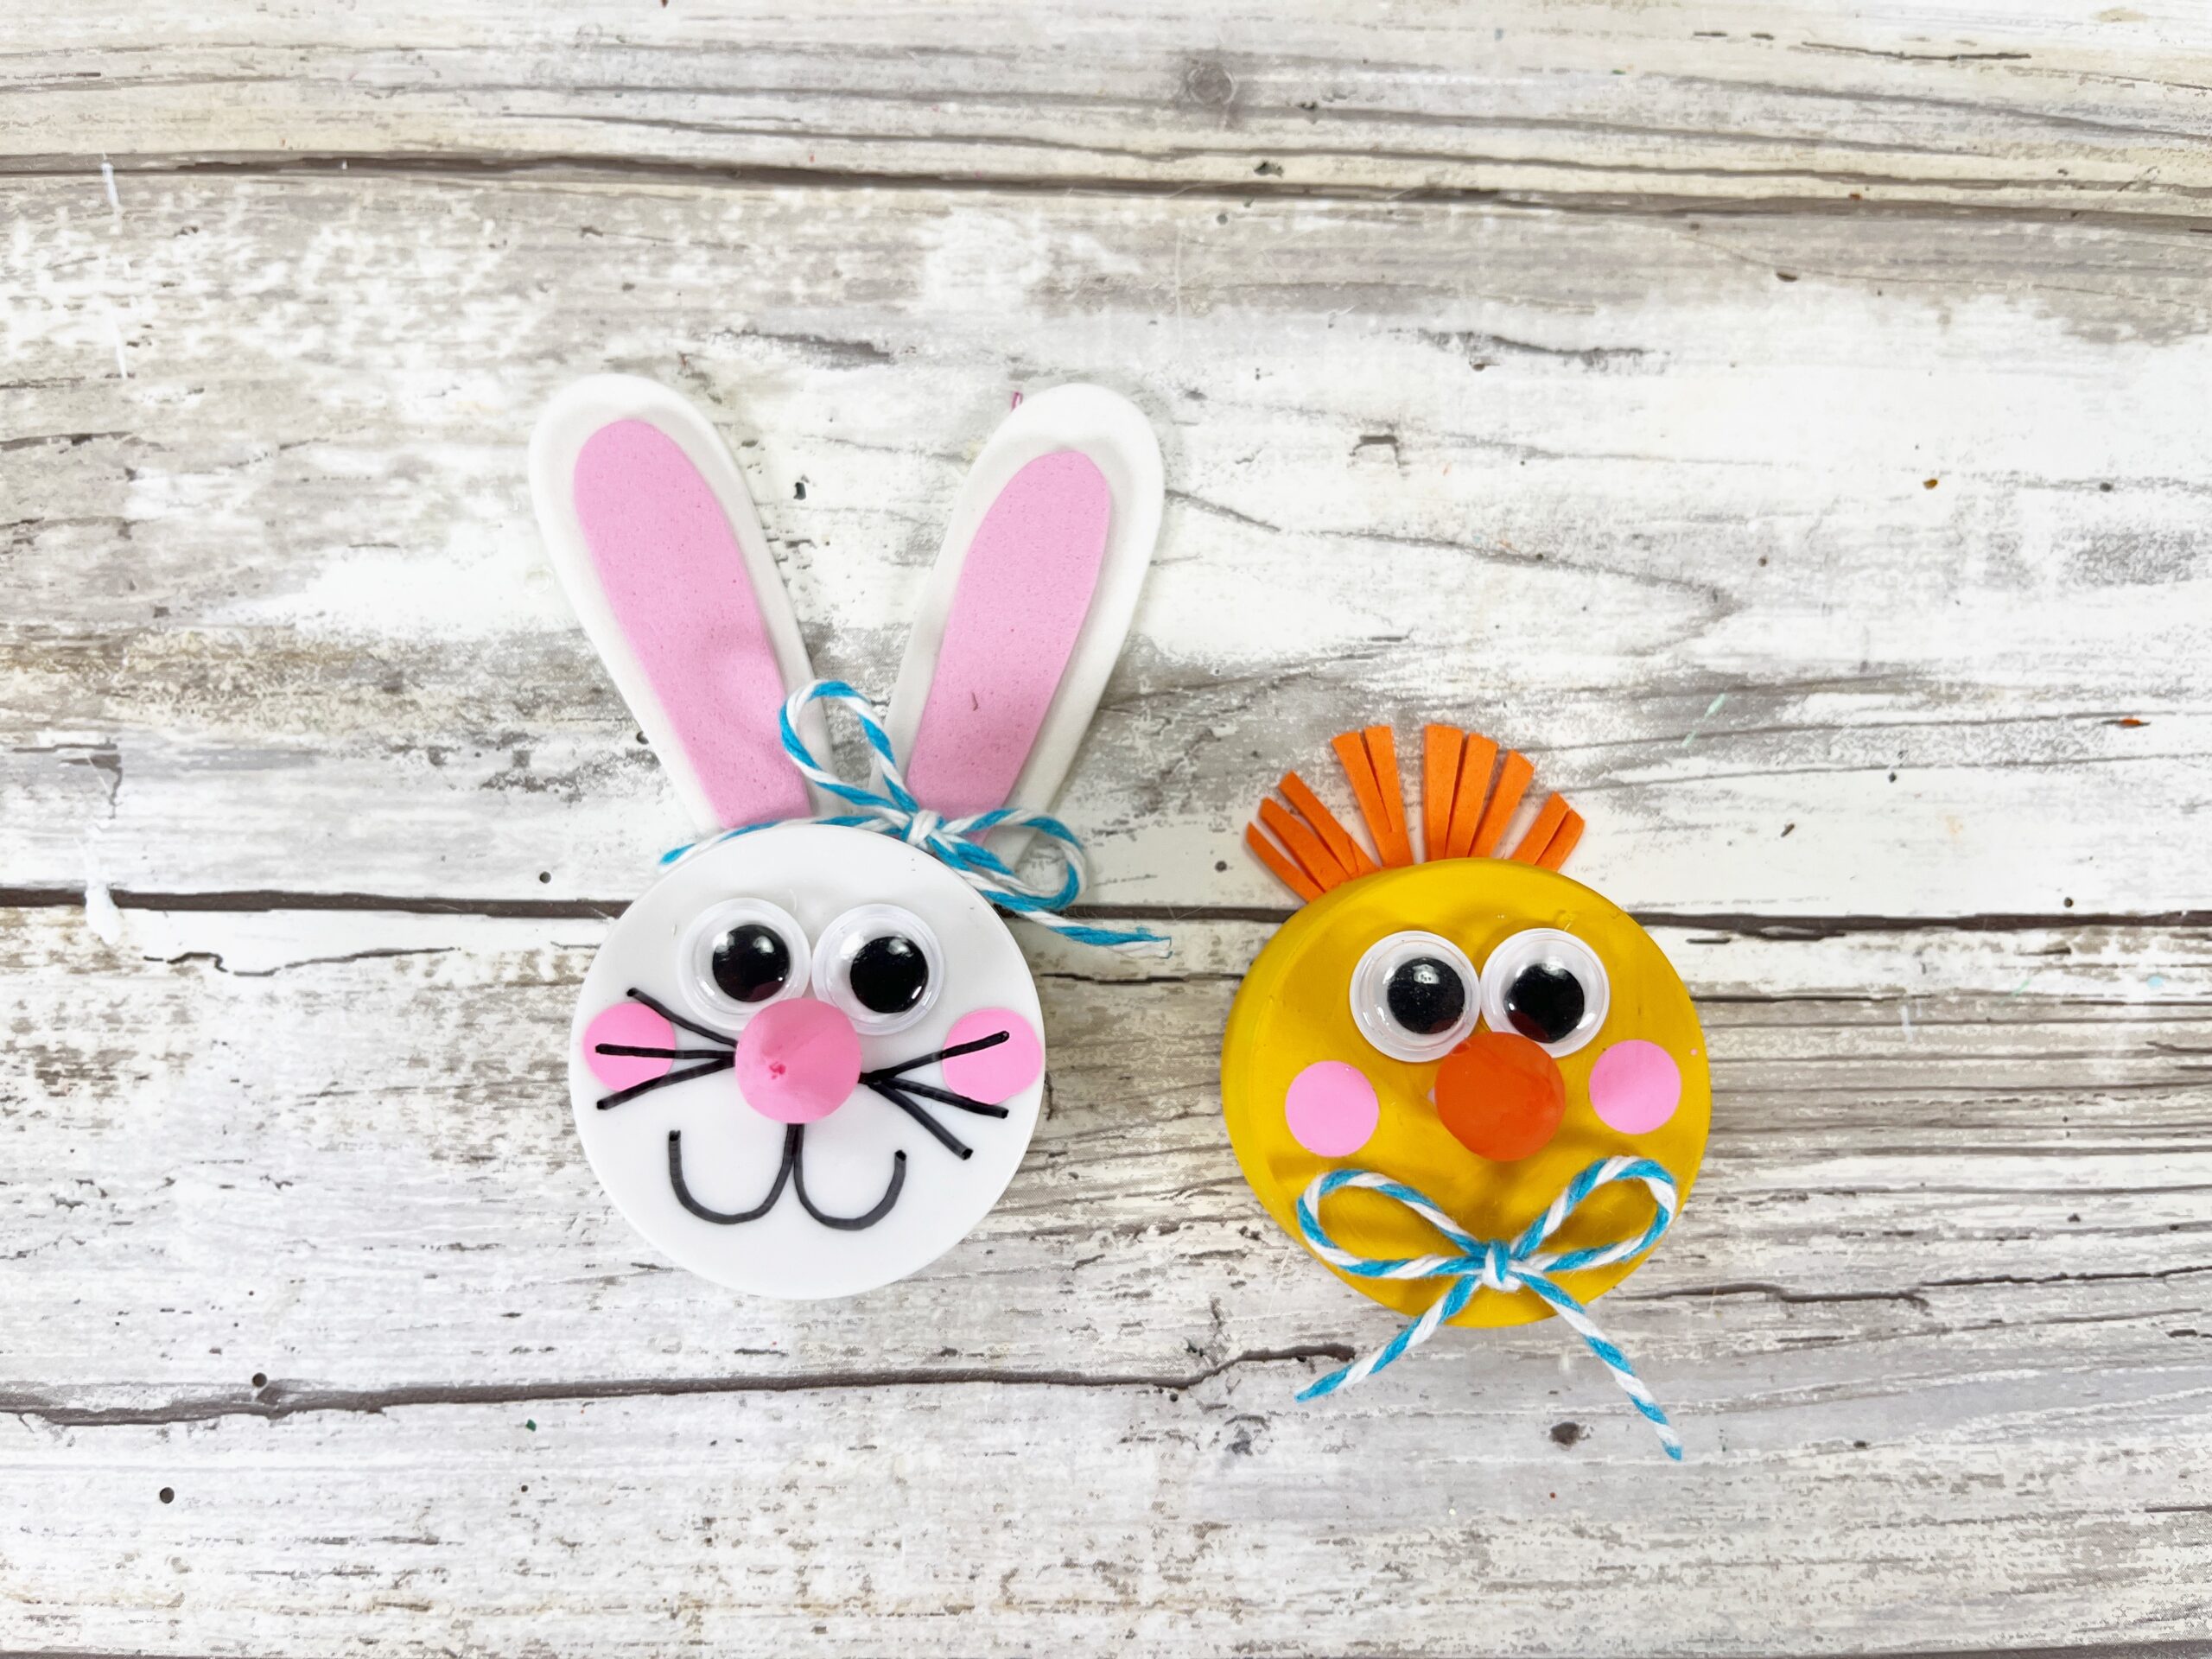
Add the bunny’s whiskers and mouth with a permanent black marker.
Tie two bows with colored baker’s twine and glue one to the chick and one to the bunny.
Notes
If you want to give your creation a whimsical look, use two different sized wiggle eyes.
Tweens will love creating these adorable crafts. Add these Easter votives to your table decorations or string them together to create a cute banner!
Recommended Products
As an Amazon Associate and member of other affiliate programs, I earn from qualifying purchases.
This Easter, take a bit of time and make these adorable bunnies and chicks out of battery-powered tea lights that are sure to make your home look extra festive.
Share your experience making these Easter tea light crafts with us!
