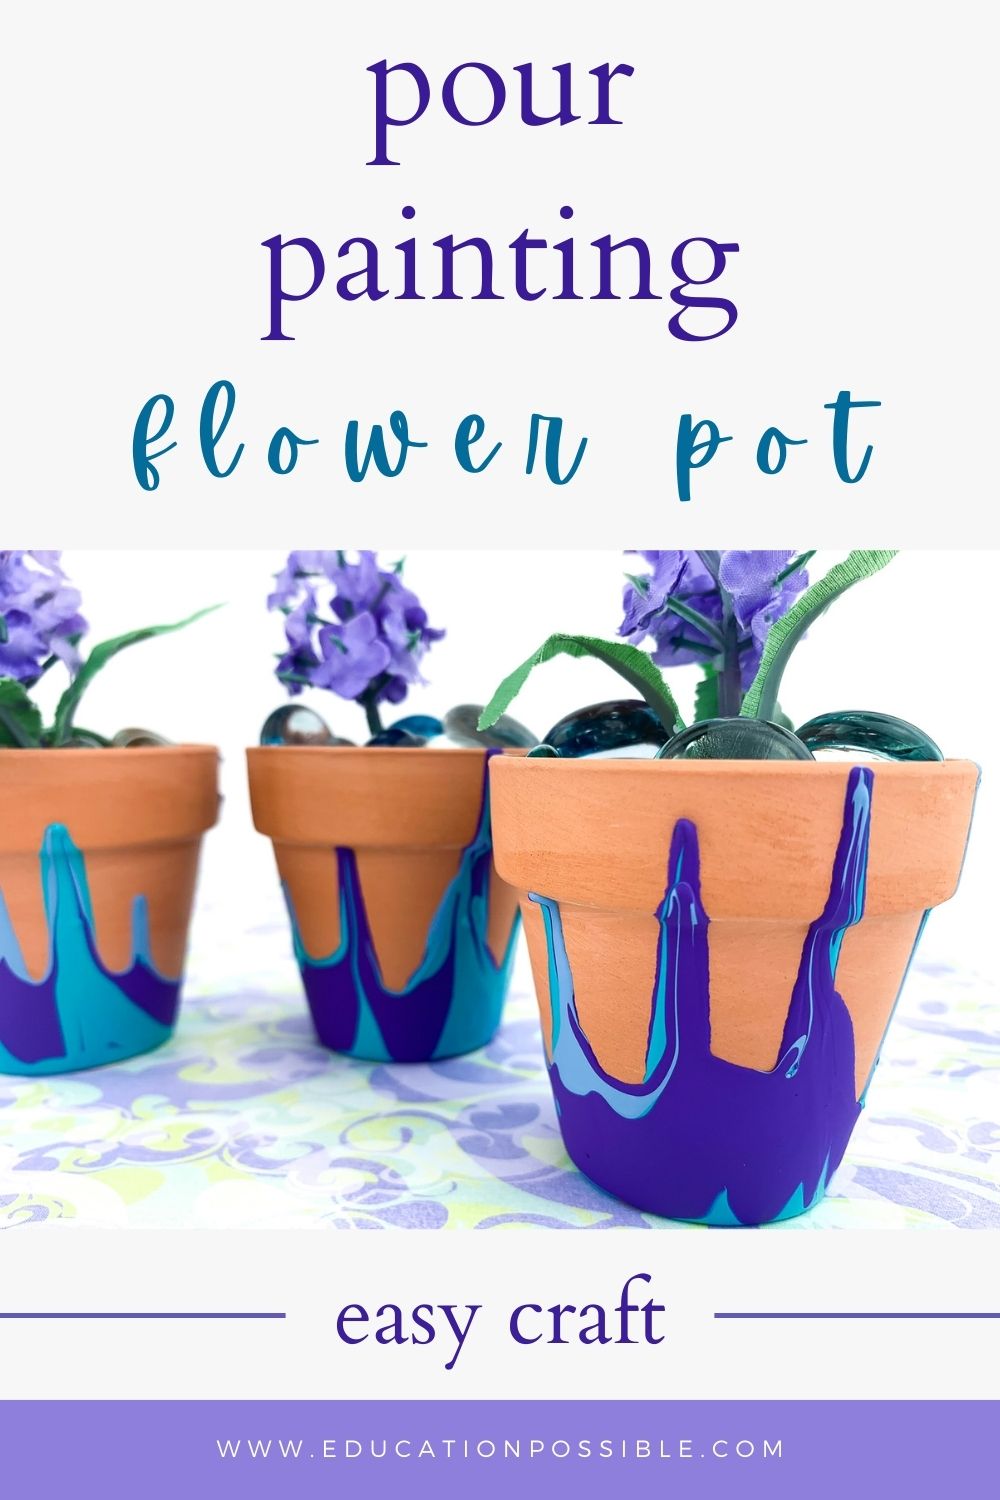
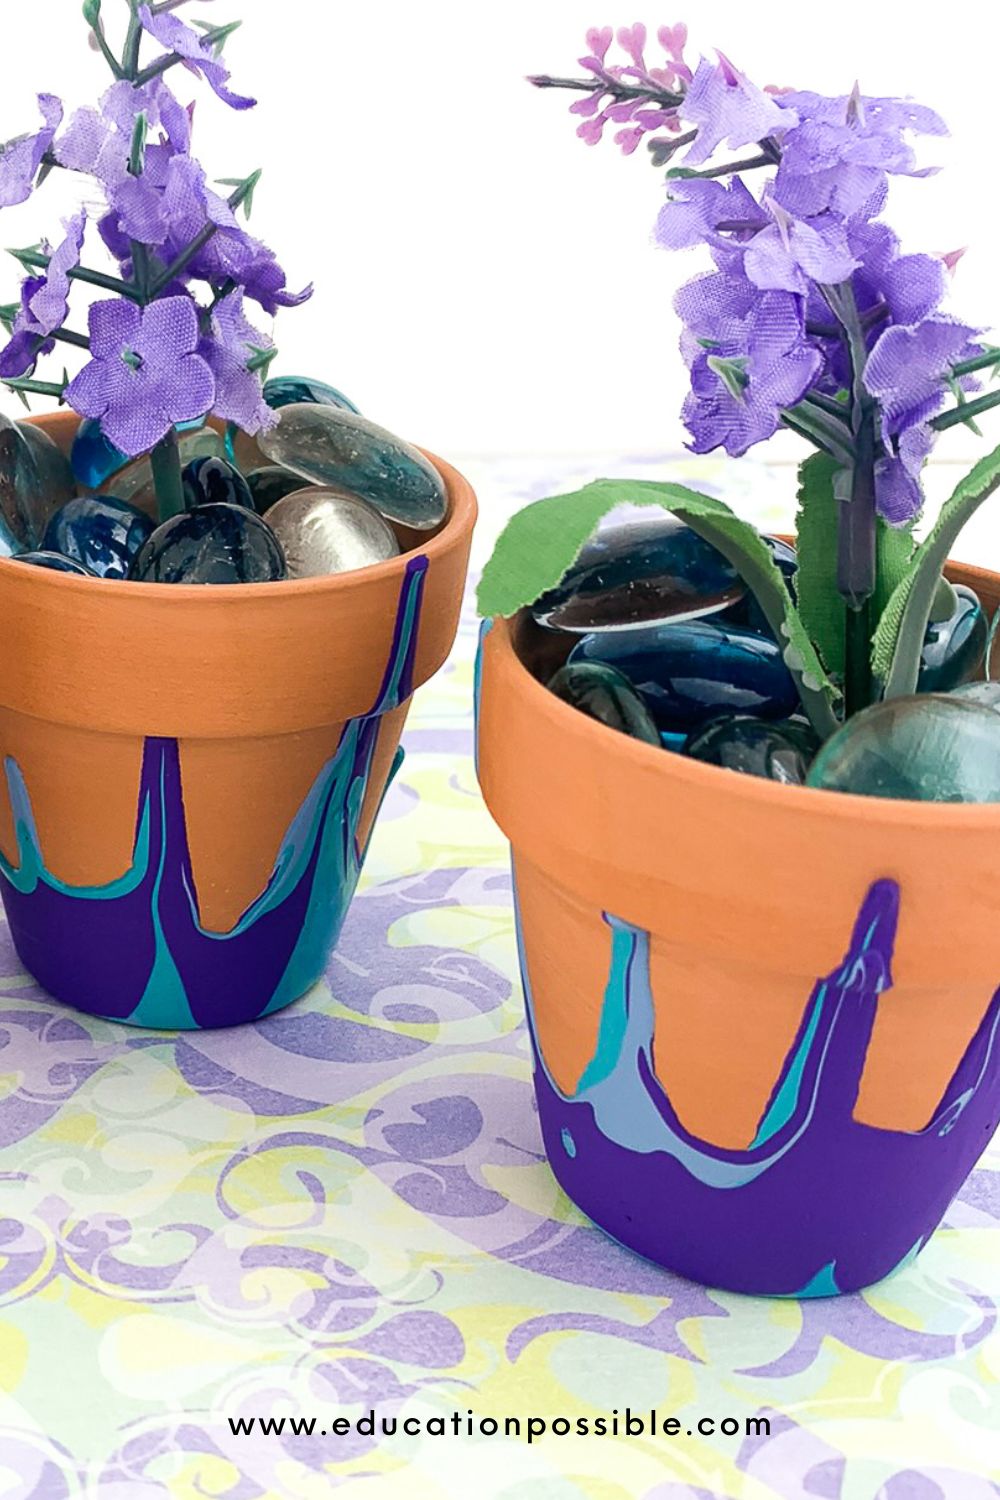
Pour Painting Flower Pot

This Spring, make this pour painting flower pot craft with your kids.
With just a few supplies and a little bit of creativity, you can transform a plain terracotta pot into a colorful masterpiece that will brighten up any room or garden.
This craft is perfect for beginners or advanced DIY-ers who want to create something beautiful.
Tweens will love using the pour paint technique to make their own flowerpot!
Older kids will have a blast trying out different color combinations and techniques. With this project, the possibilities are endless.
So grab a pot and paint and get ready to let your creativity flow!
Table of Contents
Pour Painting Flower Pot
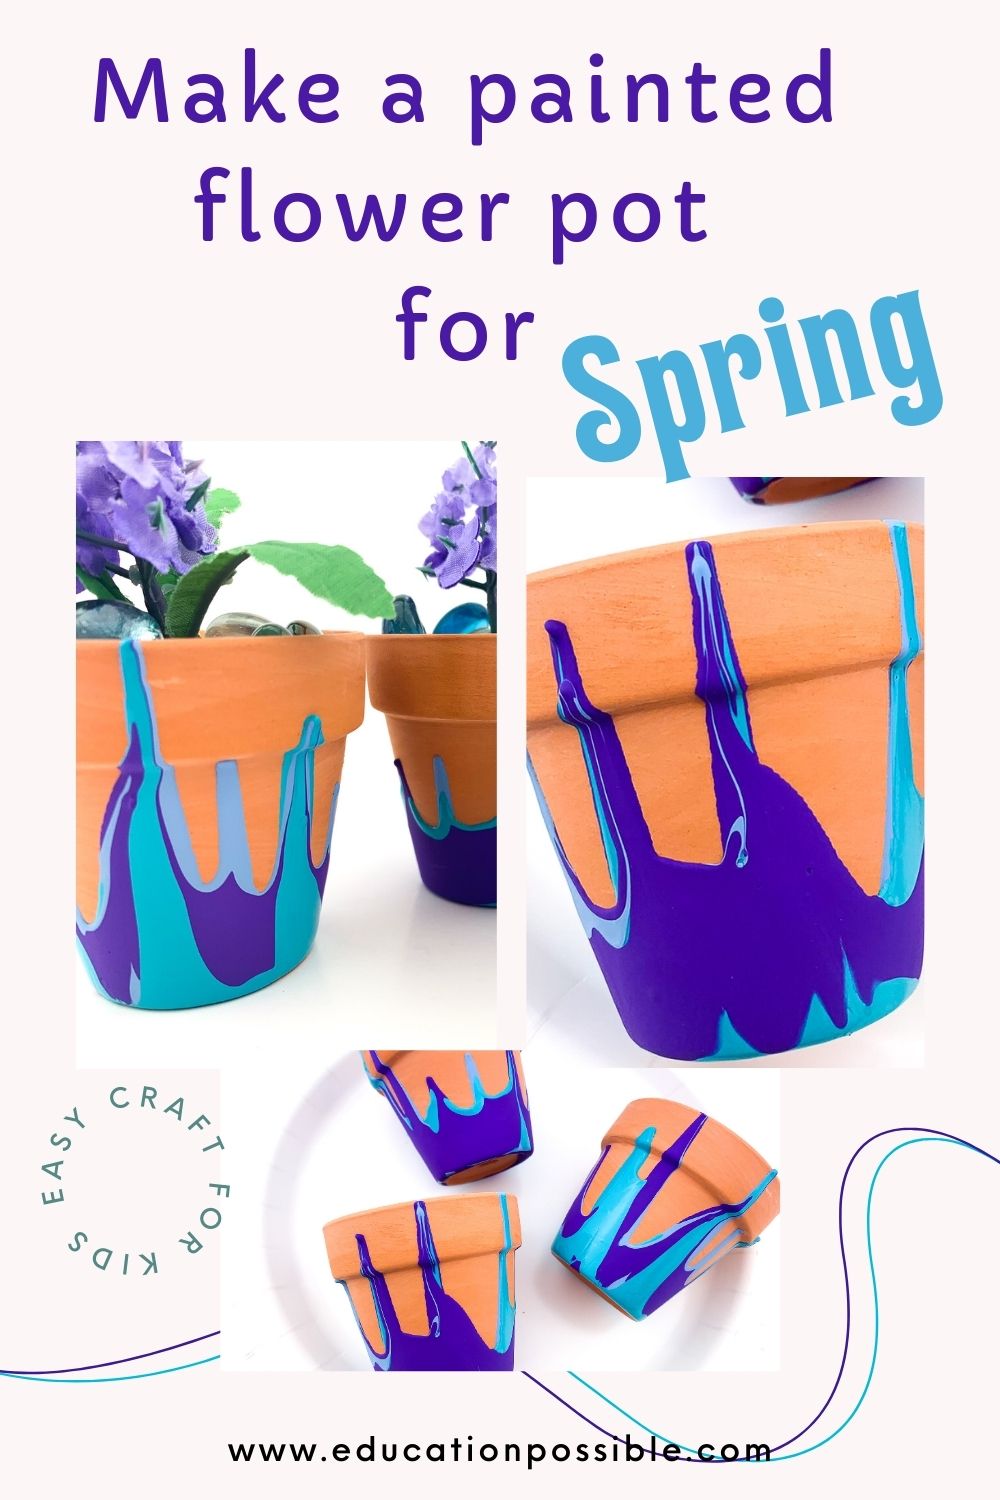
Spring is in the air and what better way to celebrate than by doing something fun with your kids, like making a seasonal craft?
This terracotta pot project is the perfect choice for families. It’s inexpensive, completely customizable, and simple to make.
All you need is a plain clay pot and acrylic paint. You don’t even need paintbrushes because you’ll be using the pour technique.
Pour painting is as easy as it sounds. Turn over the pot and just pour the paint over it in whatever colors and pattern you like.
It’s an easy process that produces a colorful flower pot.
What Kind of Paint Do You Use on a Flower Pot?
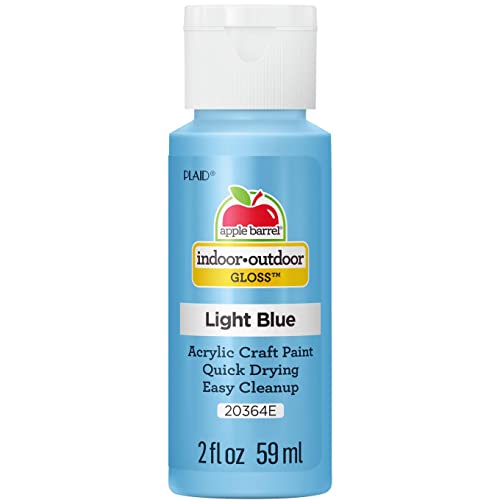
Acrylic paint is the best choice for terracotta clay pots. It sticks to the surface and won’t fade in the sun or wash away in the rain.
It’s inexpensive and comes in a wide variety of colors to choose from.
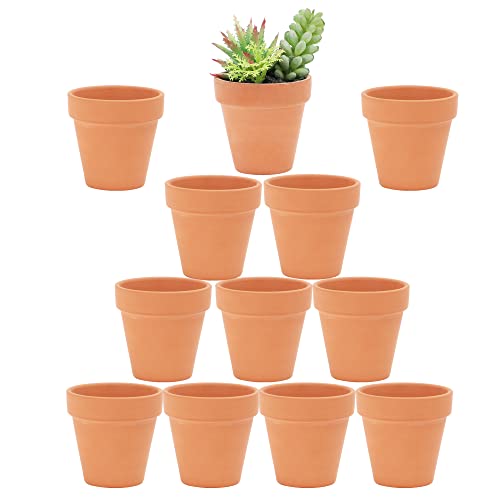
Painted Flower Pot Materials
Crafting this vibrant flower pot is a breeze and requires minimal supplies. To get the materials, just take a trip to your local craft store or Dollar Store. Or have them delivered straight to you.
You can use these links (affiliate links) to grab some of what you need. Check the instructions at the bottom of the post for a full list of supplies.
- 2.5″ Terracotta Pot
- Acrylic Paint (3-5 different colors)
Crafting this DIY flower pot is a piece of cake! It won’t take you over 30 minutes to paint, so why not give it a try?
There’s no reason not to!
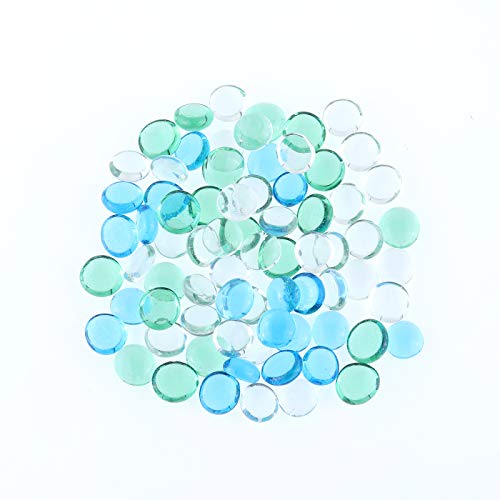
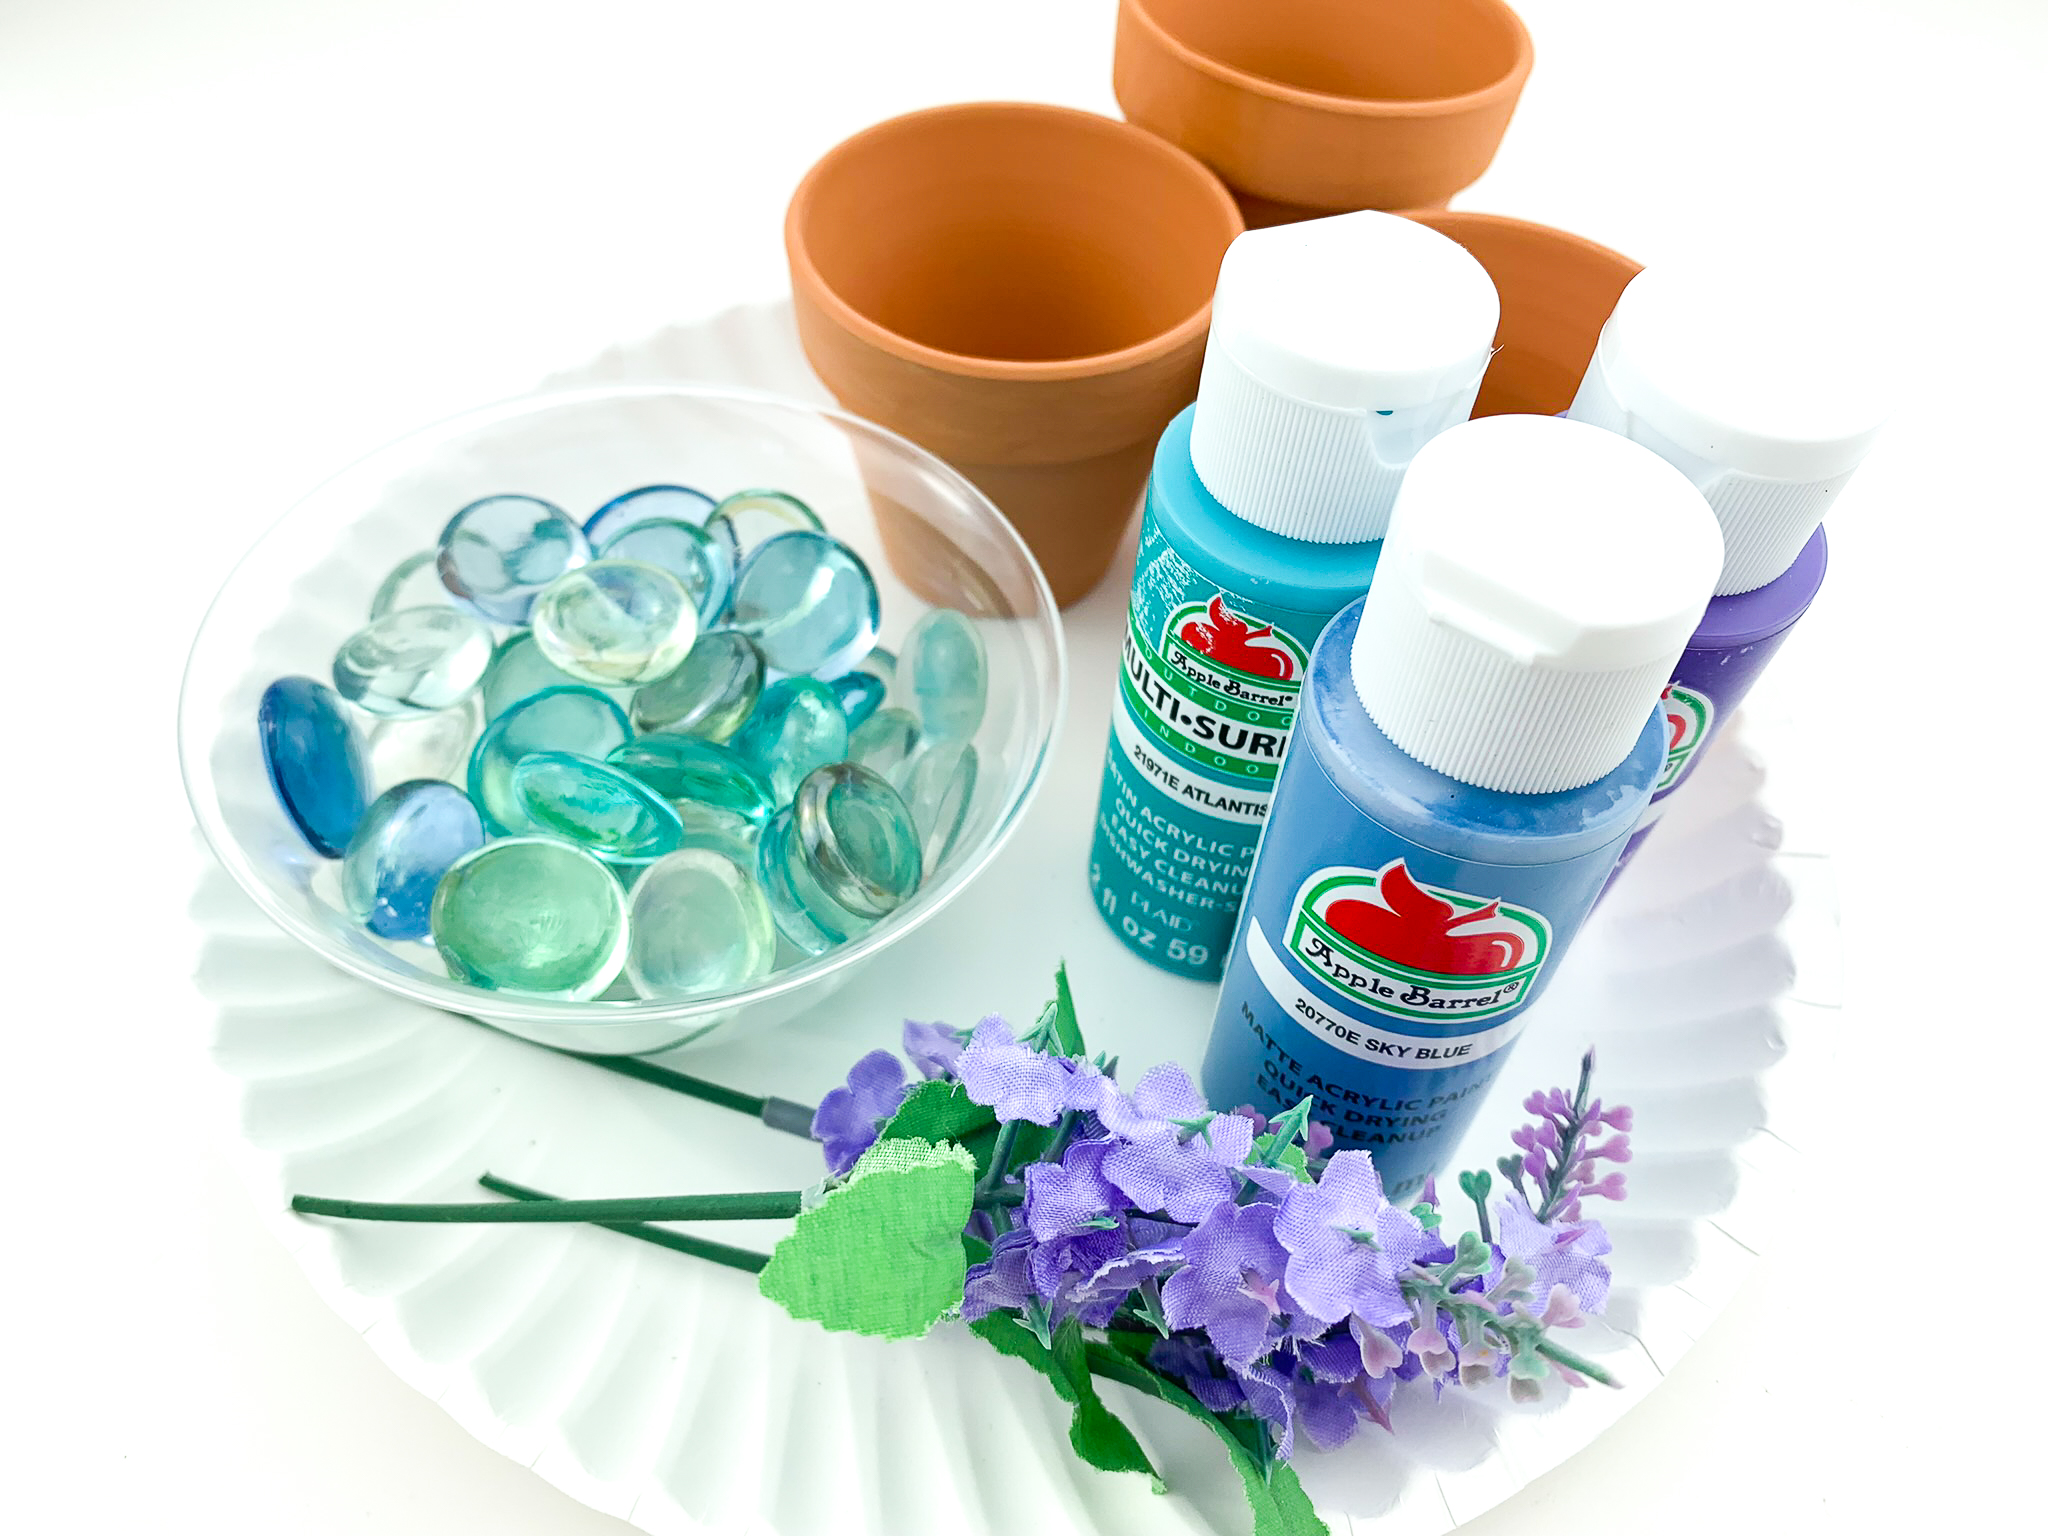
2.5 inch Terracotta Pots Acrylic Paint in Assorted ColorsDecorative Glass BeadsLong Stem Silk Peony

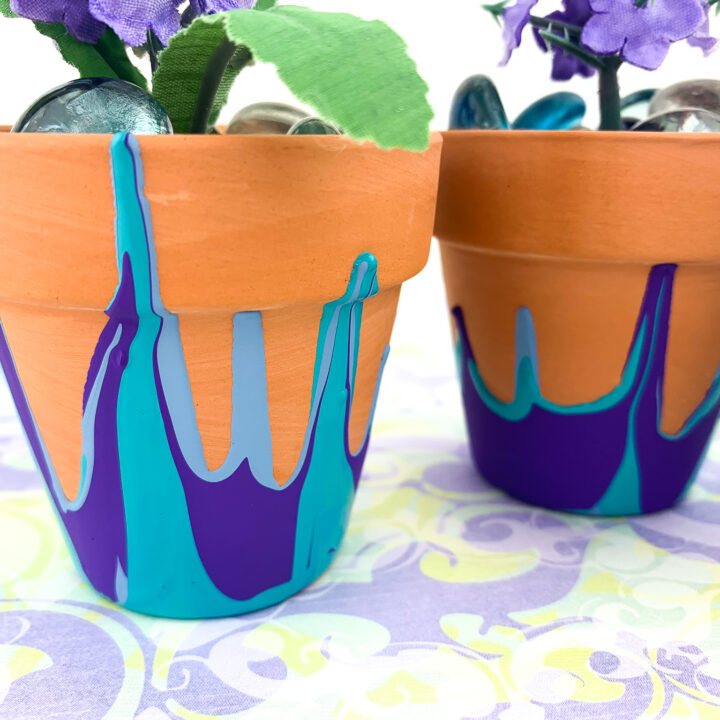
When you complete the project, you can use it to brighten up your garden, patio, or windowsill.
DIY Painted Flower Pot Tips
While this is a very simple project, there are a couple of things to note.
- Encourage your kids to take their time adding the paint. Let it drip down a bit before adding more to a section.
- Personally, I preferred putting the pot up on the toilet paper roll before I started painting. Then I didn’t risk ruining the paint when I put it up later.
When you’re finished, you can either fill it with silk flowers or use it to plant herbs or flowers.
This DIY craft is a great way to bring a bit of spring into your home. It also makes an excellent summer-themed craft project. Either way, it’s a great bonding activity for families with kids of all ages.
Hopefully, this will encourage you to make even more cool things.
More Spring Crafts
Ready to take on more seasonal projects? Check out these spring-themed crafts.
- Floral Watercolor Bookmark Craft
- Dip Dye Succulent Pot
- How to Make Flower Pens
- Paper Hyacinth Flowers
From paper flowers to garden crafts, there are plenty of projects you and your tweens can do this Spring.
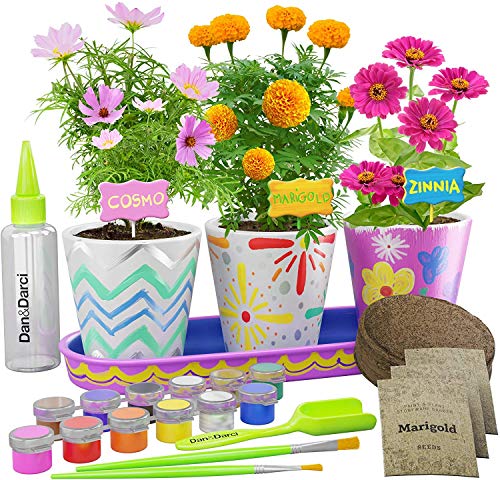
Flower Gardening KitMosaic Stepping Stone KitButterfly Rainbow Scratch CardsRock Painting Kit


Follow the step-by-step instructions below to make your own unique pour paint flowerpot.
Pour Paint Flower Pot Craft
This simple craft uses acrylic paint and mini clay pots to create beautiful poured paint flower pots. Perfect for Spring!
Materials
- 3-5 Different Colors of Acrylic Paint
- Mini Clay Pots (2.5" in diameter)
- Small Silk Flower Stems
- Glass Gems or Other Filler
Tools
- Paper Plate, Newspaper, or Baking Tray
- Empty Toilet Paper Rolls
Instructions
Choose your paint colors. Gather all the materials. Remove any tags.
STEP ONE
Set up a paper plate, newspaper, or baking tray to catch any paint spills. Make sure it's in a place that's out of the way because you'll be leaving the pot there to dry. So you don't want it to be disturbed.
STEP TWO
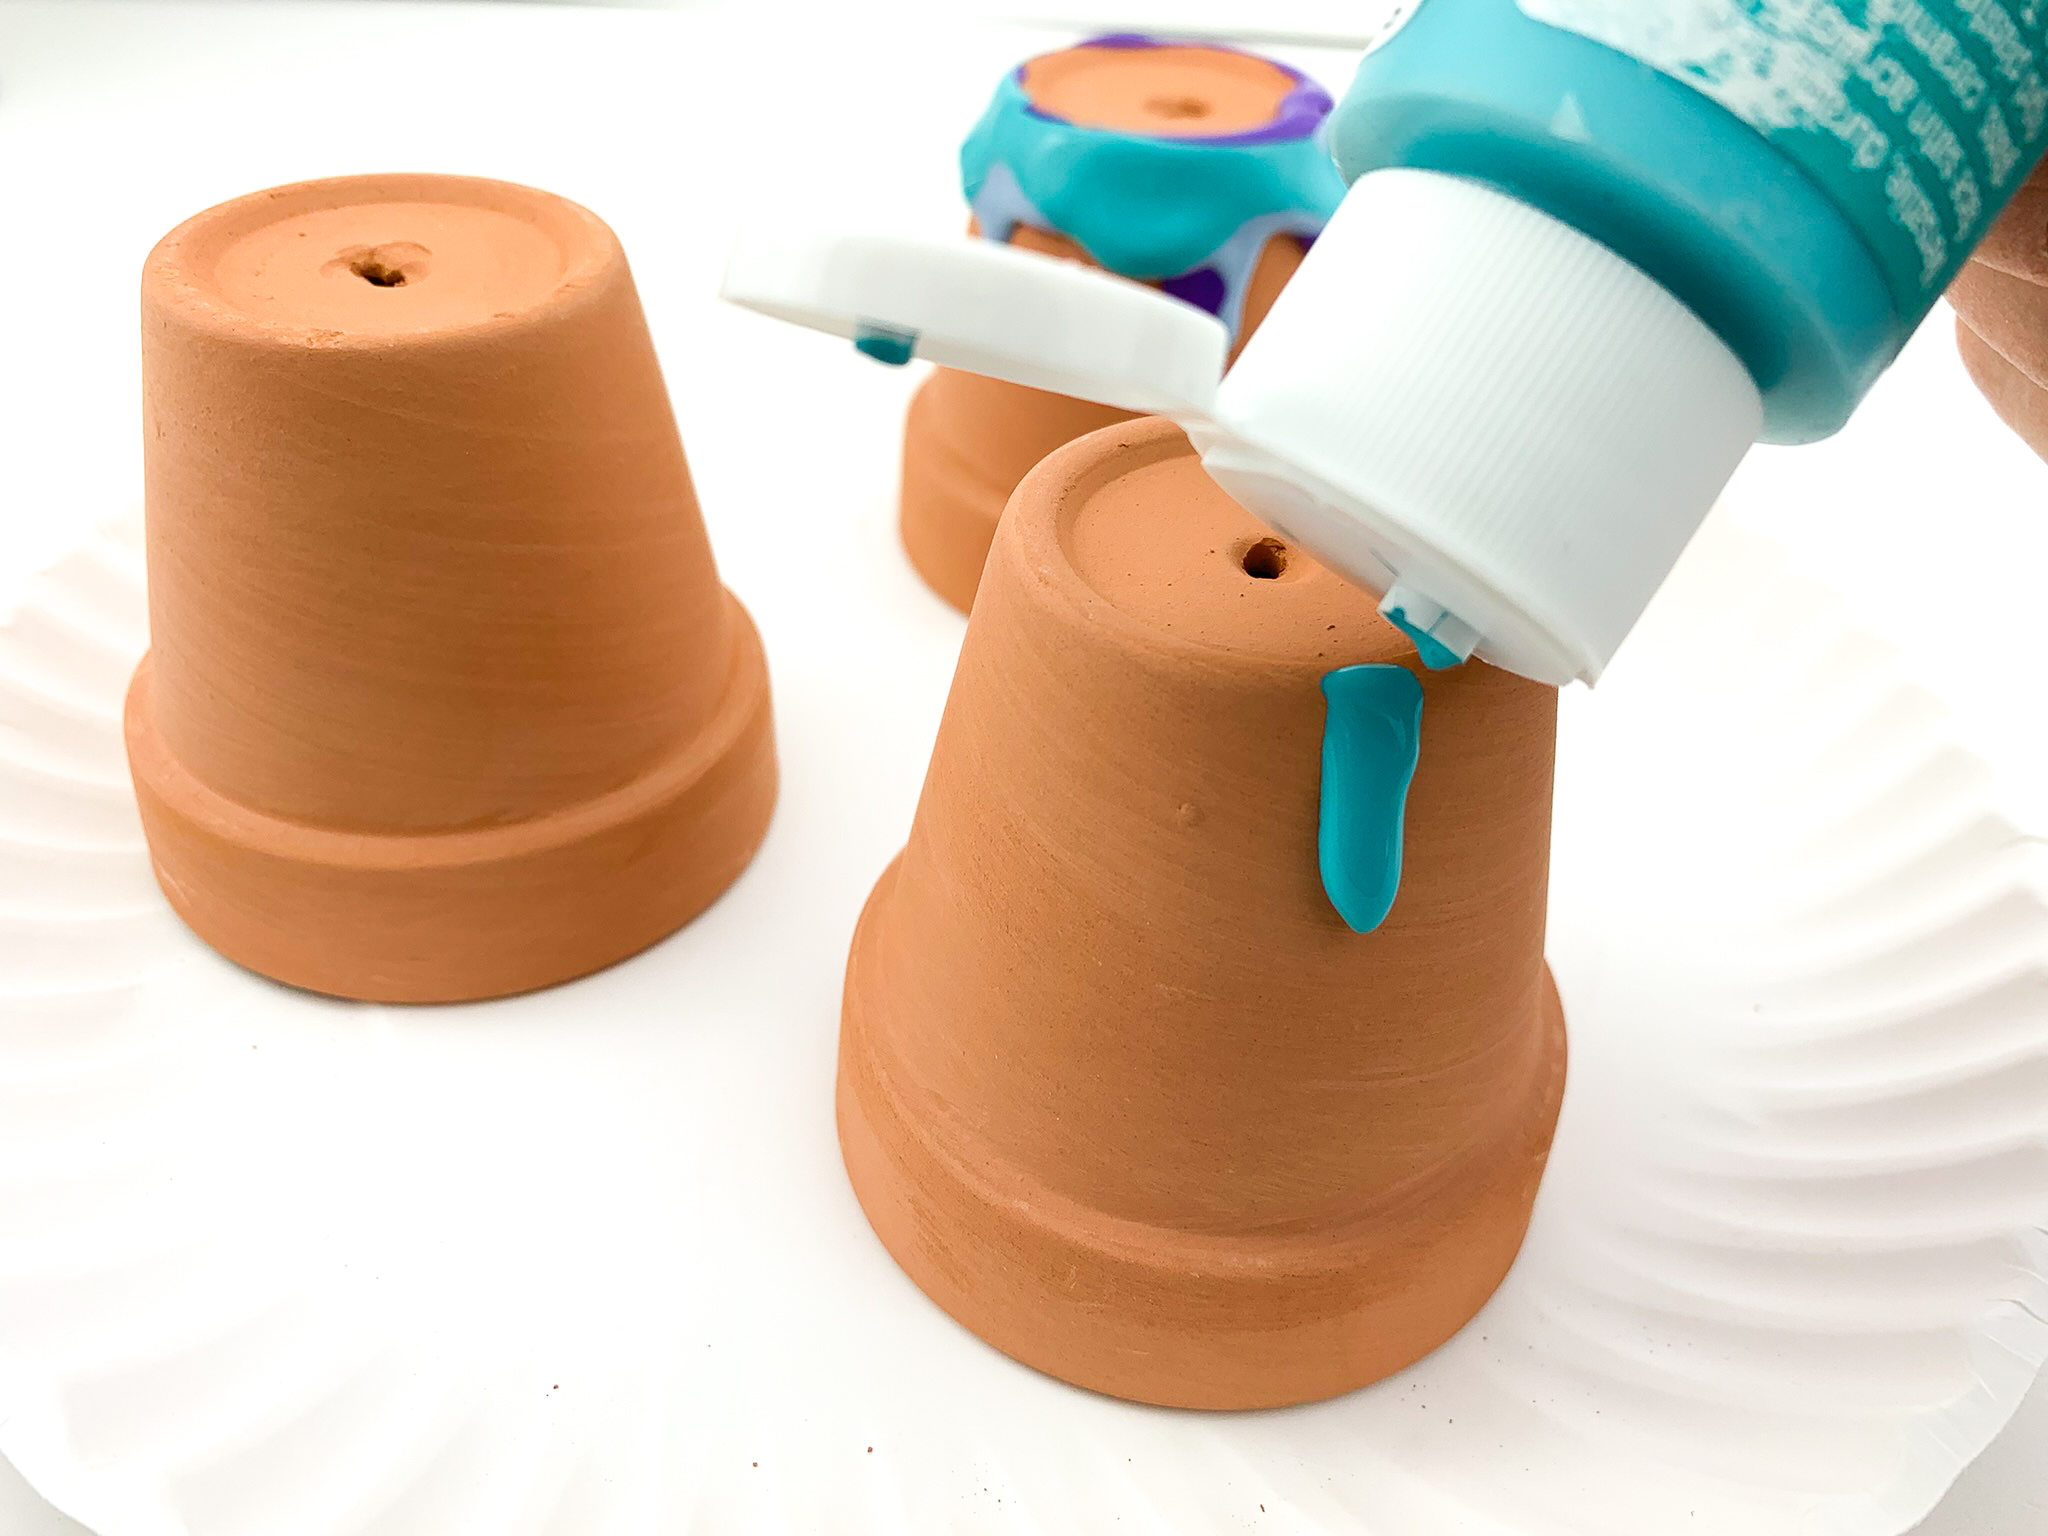
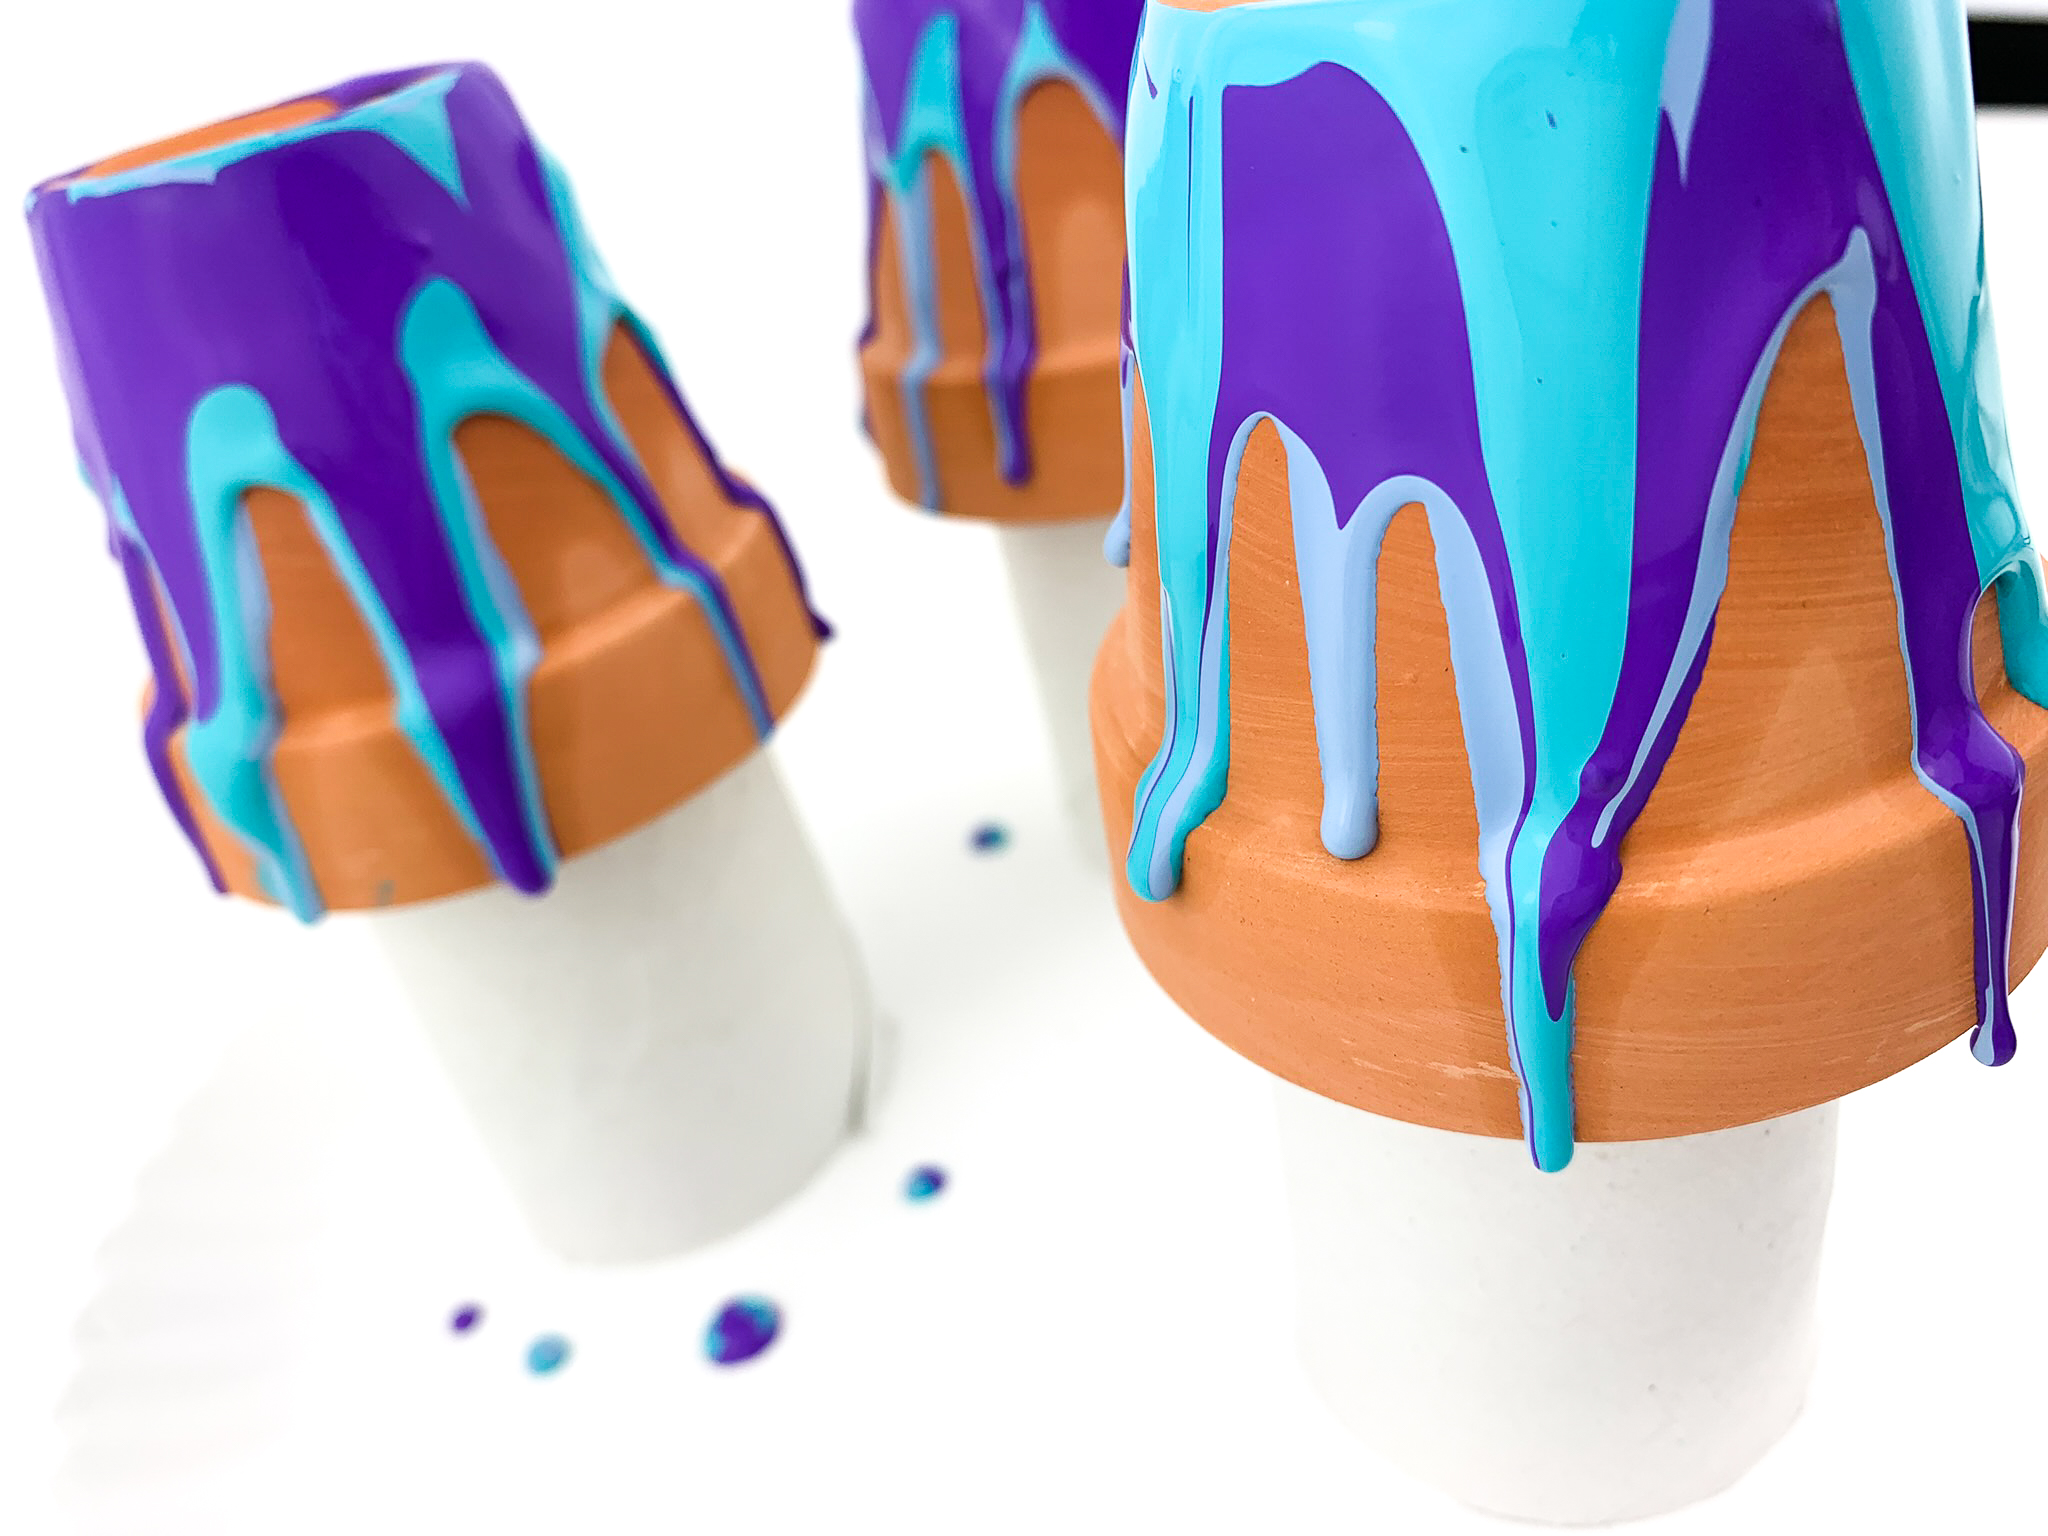
Turn the clay pot upside down - bottom side up.
You can either place it directly on the paper plate or place the empty toilet paper roll underneath. This will help support the terracotta pot as well as make sure any paint that hits the bottom edge of the pot rolls right off. You can do this now or after you add the paint.
Place the pot onto whatever you've set up to contain the mess.
STEP THREE
Start with your first color paint color. Slowly pour paint around the bottom of the clay pot from the squeeze bottle. Allow the paint to slowly fall over the sides of the flowerpot.
STEP FOUR
Repeat the process with the other colors.
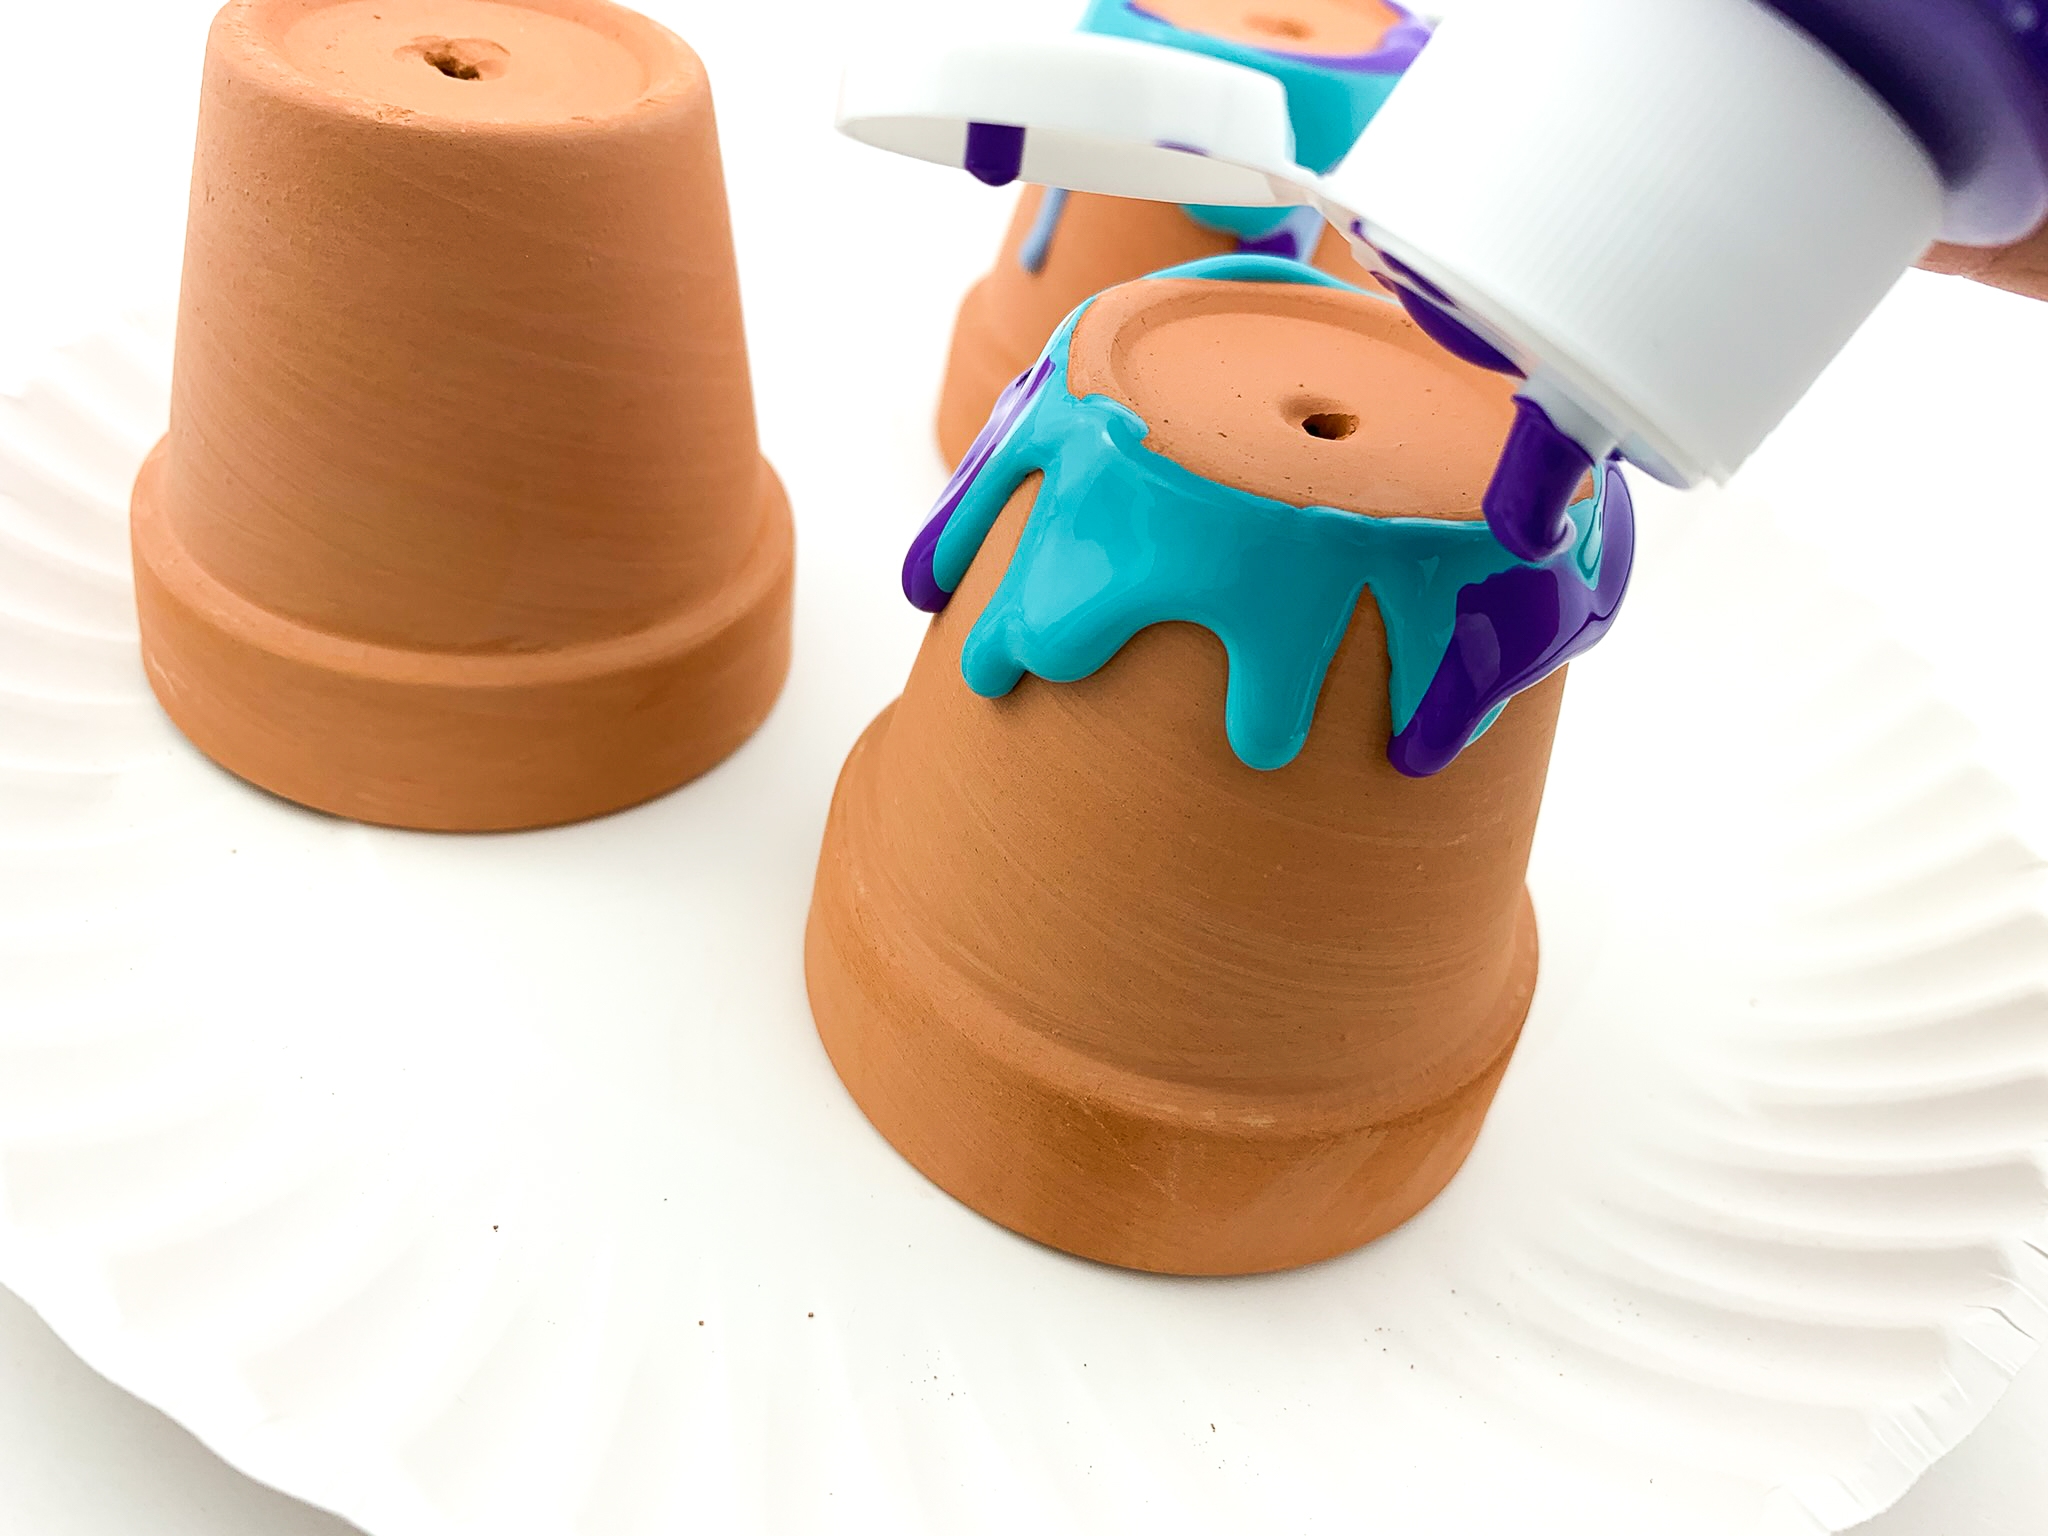
Continue pouring until you get the desired effect.
Remember that the amount of paint you pour onto the clay pot will determine the drying time. Take that into consideration when deciding when to stop adding paint.
STEP FIVE
Once completed, set aside to dry completely.
STEP SIX
After it's dried, turn it over. Now you can fill it.

Use glass gems and a silk flower stem or add some dirt and some seeds.
Either way, you've made a beautiful pour painted flower pot that will make a special gift or a fantastic spring decoration!
Notes
- The toilet paper roll easily held up the mini clay pot. If you use a larger size for this project, you'll need to find a different object to hold up the container.
- Don't add too many colors or they may blend together and get muddy.
- While the project takes less than 30 minutes to make, it will take longer than that to dry.
Recommended Products
As an Amazon Associate and member of other affiliate programs, I earn from qualifying purchases.

Now’s the perfect time to create a DIY painted pot that’s sure to brighten your day every time you look at it.

Latest posts by Megan Zechman (see all)
- Easy Pumpkin Crafts - August 21, 2023
- Middle School Geography Curriculum - August 11, 2023
- Outdoor Geography Activities - August 4, 2023