DIY Chalk Pastel Angel Ornament
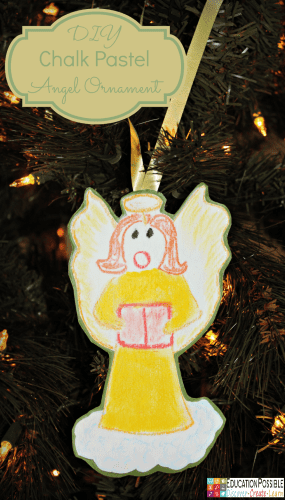
Every holiday season, my family works together to make a bunch of Christmas crafts for teens. Every year, the girls and I make a new ornament to decorate our tree. It’s always a fun project to do together and has given us many keepsakes over the years. This season, I wanted to find a way to incorporate an art lesson, so I turned to our favorite medium, chalk pastels.
After working on some art projects with chalk pastels, I decided to have the girls choose a design that they could turn in to an ornament. Abigail chose to make a chalk pastel angel ornament.

This post contains affiliate links.
Creating a Chalk Pastel Angel Ornament as a Keepsake
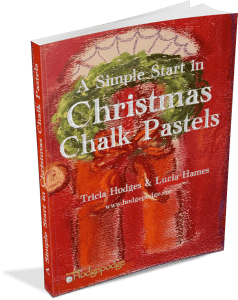
First, Abigail chose a design out of our Simple Start in Christmas Chalk Pastels book from our friends at Southern Hodgepodge. She thought the angel would make the perfect ornament for our tree.
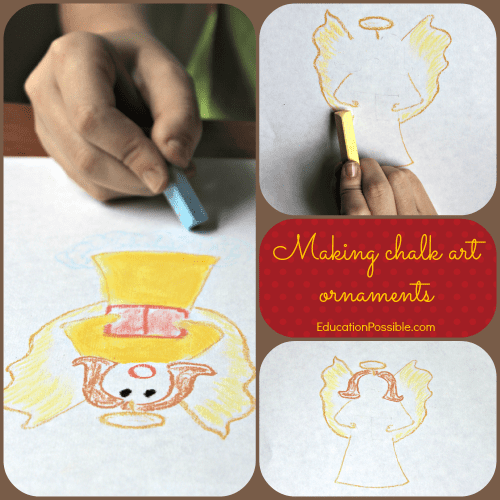
After grabbing a piece of art paper, Abigail sat down to lightly sketch out her design. She sketched it first to make sure the size was right and there was enough room within the design for all of the elements.
Then it was time to color with chalk.

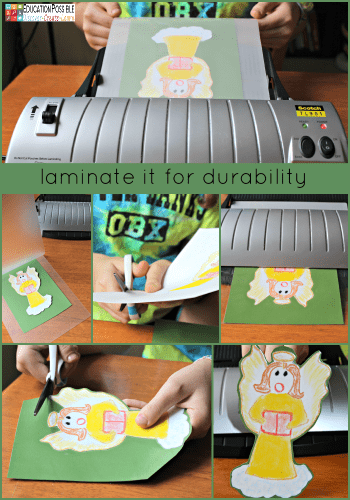
To keep the chalk from smearing and to make the ornament sturdier, we decided to laminate it. Abigail cut out the angel, taking care to cut on the outside of the chalk lines.
She thought adding a paper border would make the angel stand out, so she laid it on a piece of green cardstock before putting it in a laminating pouch. She also signed and dated the back of the ornament (on the cardstock).
Tip – If you’re making one to give as a gift, consider writing a short message as well. Just make sure whatever you write is in a place where it will be a part of the final ornament.

Abigail then carefully fed her creation through the laminator, sealing it all together in one piece.
Once it cooled, she cut out the angel again, this time leaving a small green border around the entire design.
The last step was to find a way to hang it. Neither of us wanted to put a hole in the halo to thread something through, so instead, we used two glue dots to secure a piece of ribbon to the back of the angel.
It looks beautiful hanging from our tree and Abigail beams with pride when she sees her artwork. Plus, it took very little time to create this wonderful keepsake.
This is just one of the many DIY ornaments we have made together over the years. We love combining art and crafts, especially Christmas chalk pastels.
Christmas Ornaments
Here are some ornaments that your tweens and teens will love.
Homemade Ornaments
- Harry Potter Broomstick Ornament
- 5 Homemade Christmas Ornaments
- Homemade Harry Potter Ornament – potion bottle
- Homemade Science Ornament
- DIY Harry Potter Ornaments

