Easy Science Projects for Studying Friction
If you are working on physical science in your homeschool, then you’ll want to add some of these friction projects to your lesson plans.
This month we are learning about physics, specifically friction. Ahhh, tribology. To bring our science to life, I have been using surprisingly simple science activities for middle school that are also lots of fun.

Each project highlighted a particular concept. Here are three that we particularly enjoyed.
Project on Friction
Overcoming Static Friction
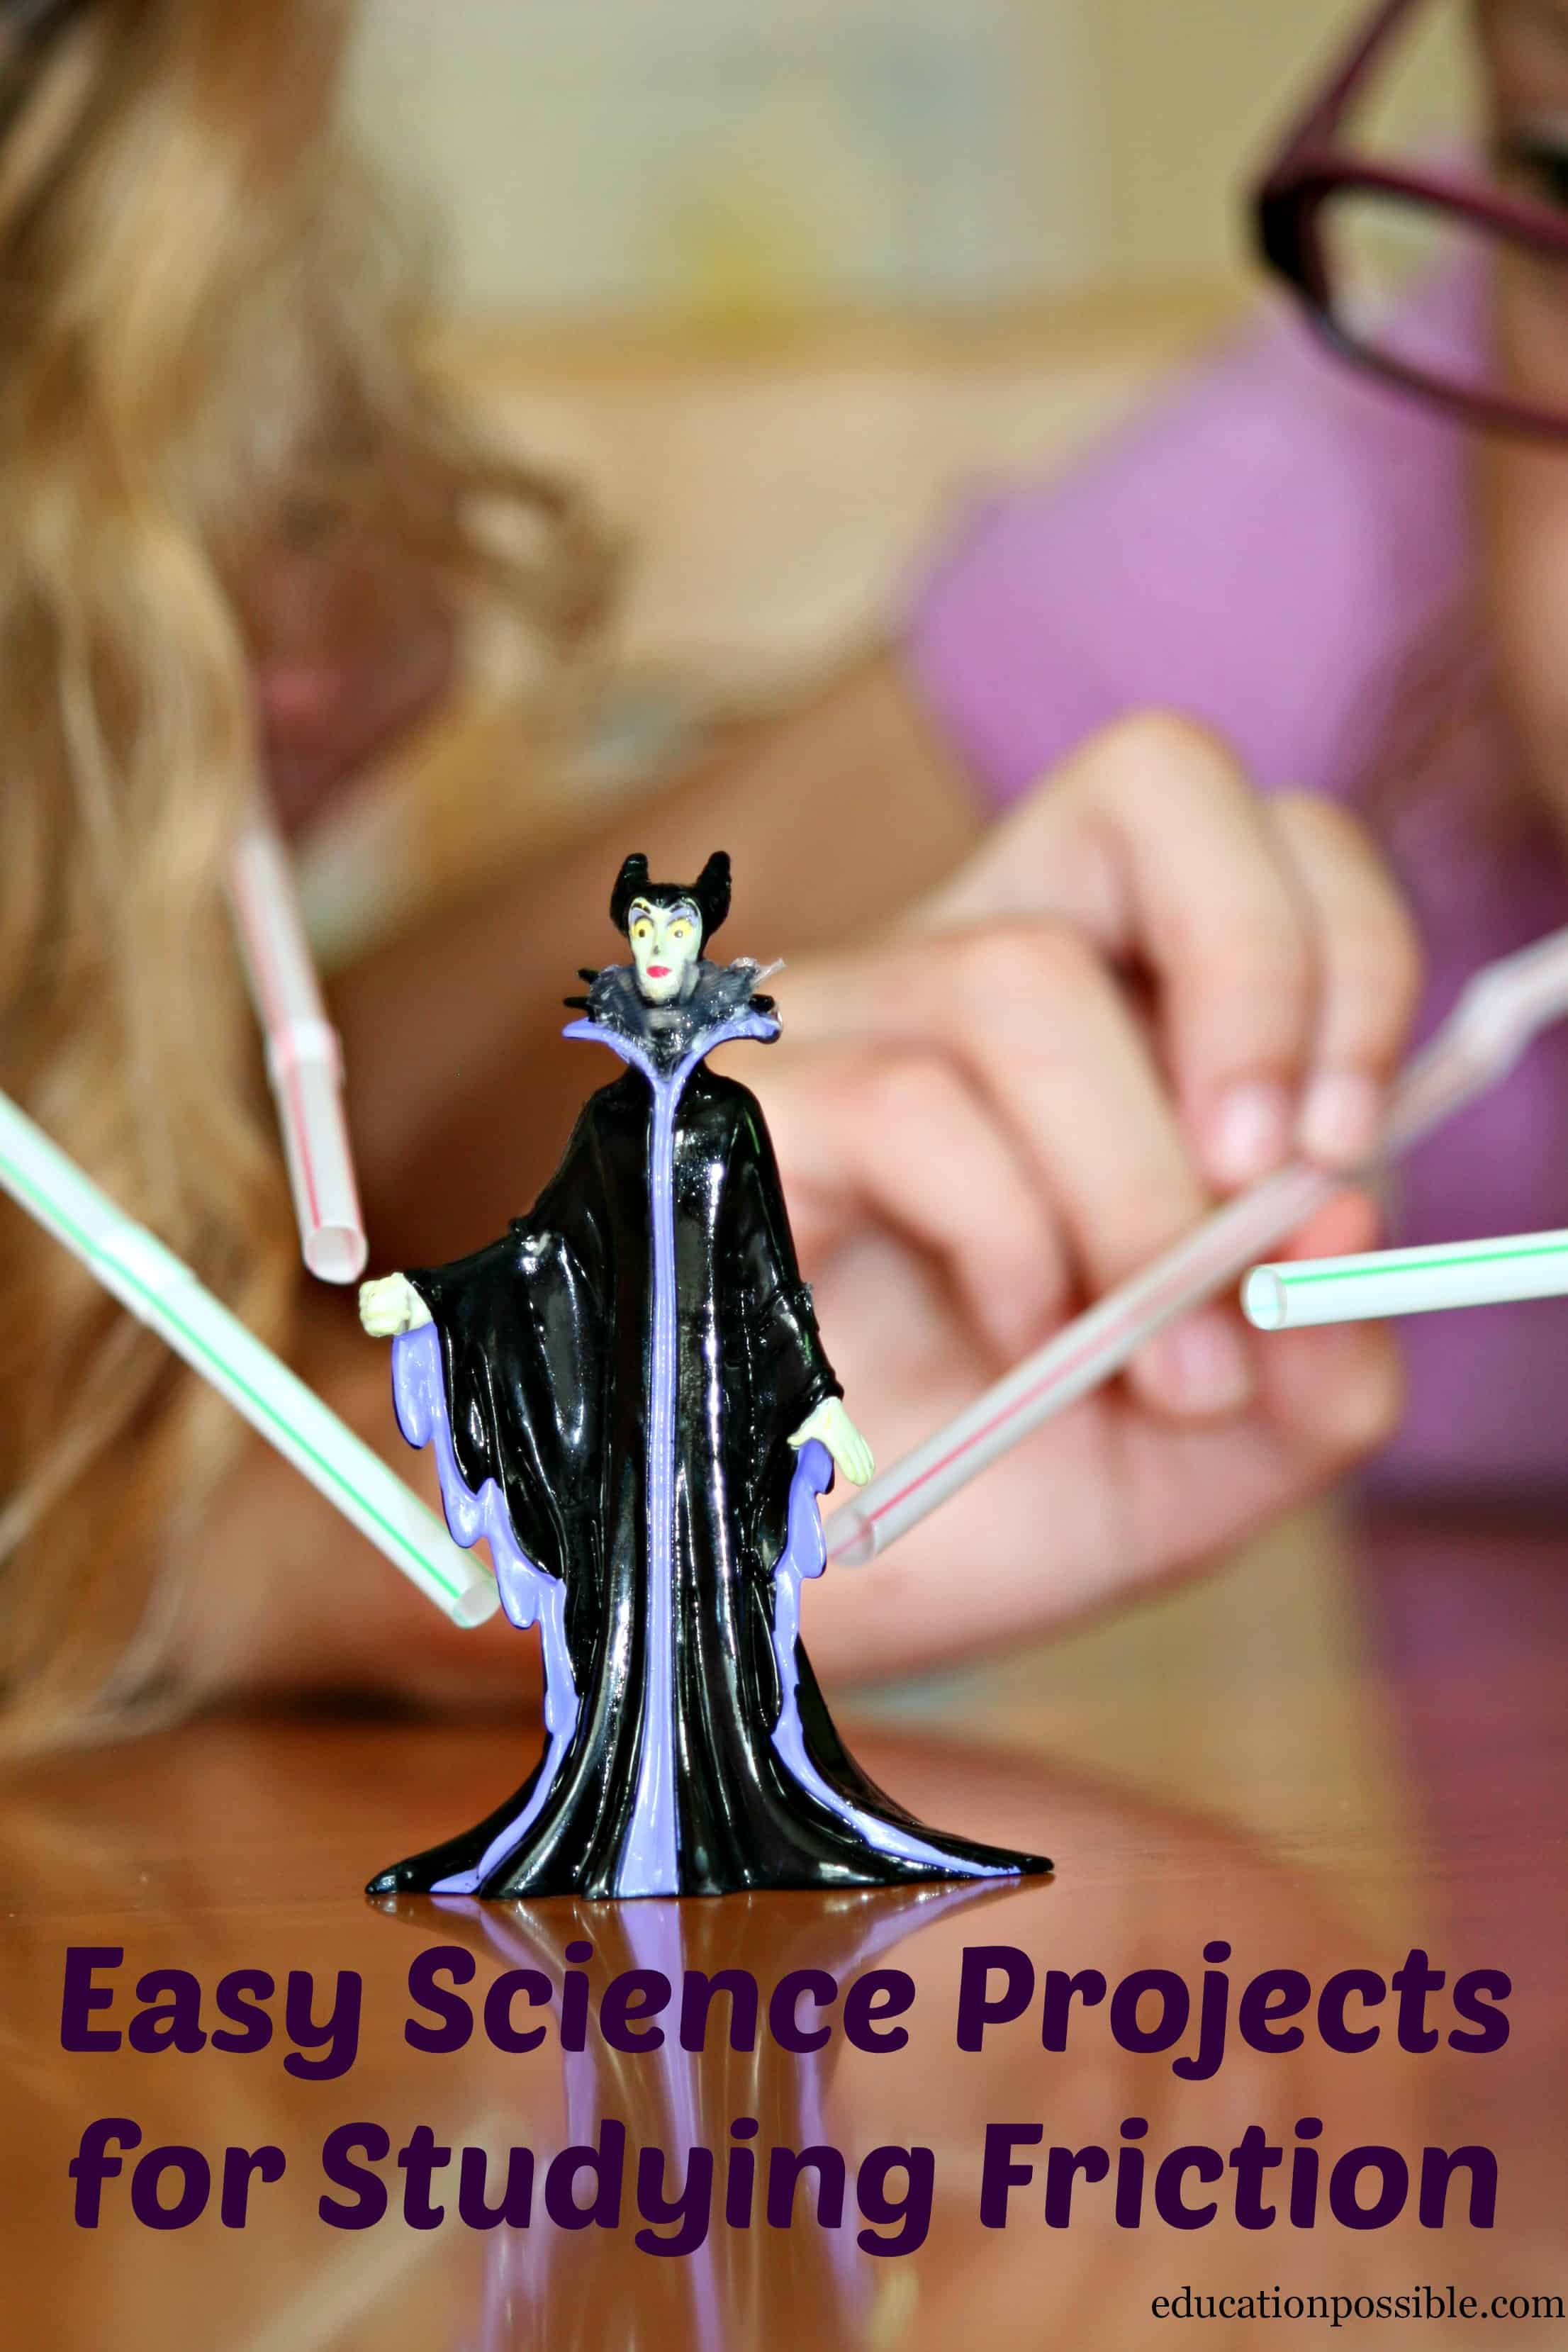
Is it easy to overcome static friction? To test this, we used plastic figurines, straws, and ice.
We placed a figurine on a table and the kids used their combined air to see if they could get it to move. They quickly saw that they all had to be blowing on the same side in order for this to work – an important discovery!
They had trouble moving the first figurine, so I placed it on a plate of ice to see if that would help with the friction, but they still couldn’t move it.
We tried again with a taller and lighter object and they were able to move that one, both with and without the ice.
Surface Area and TouchPoints
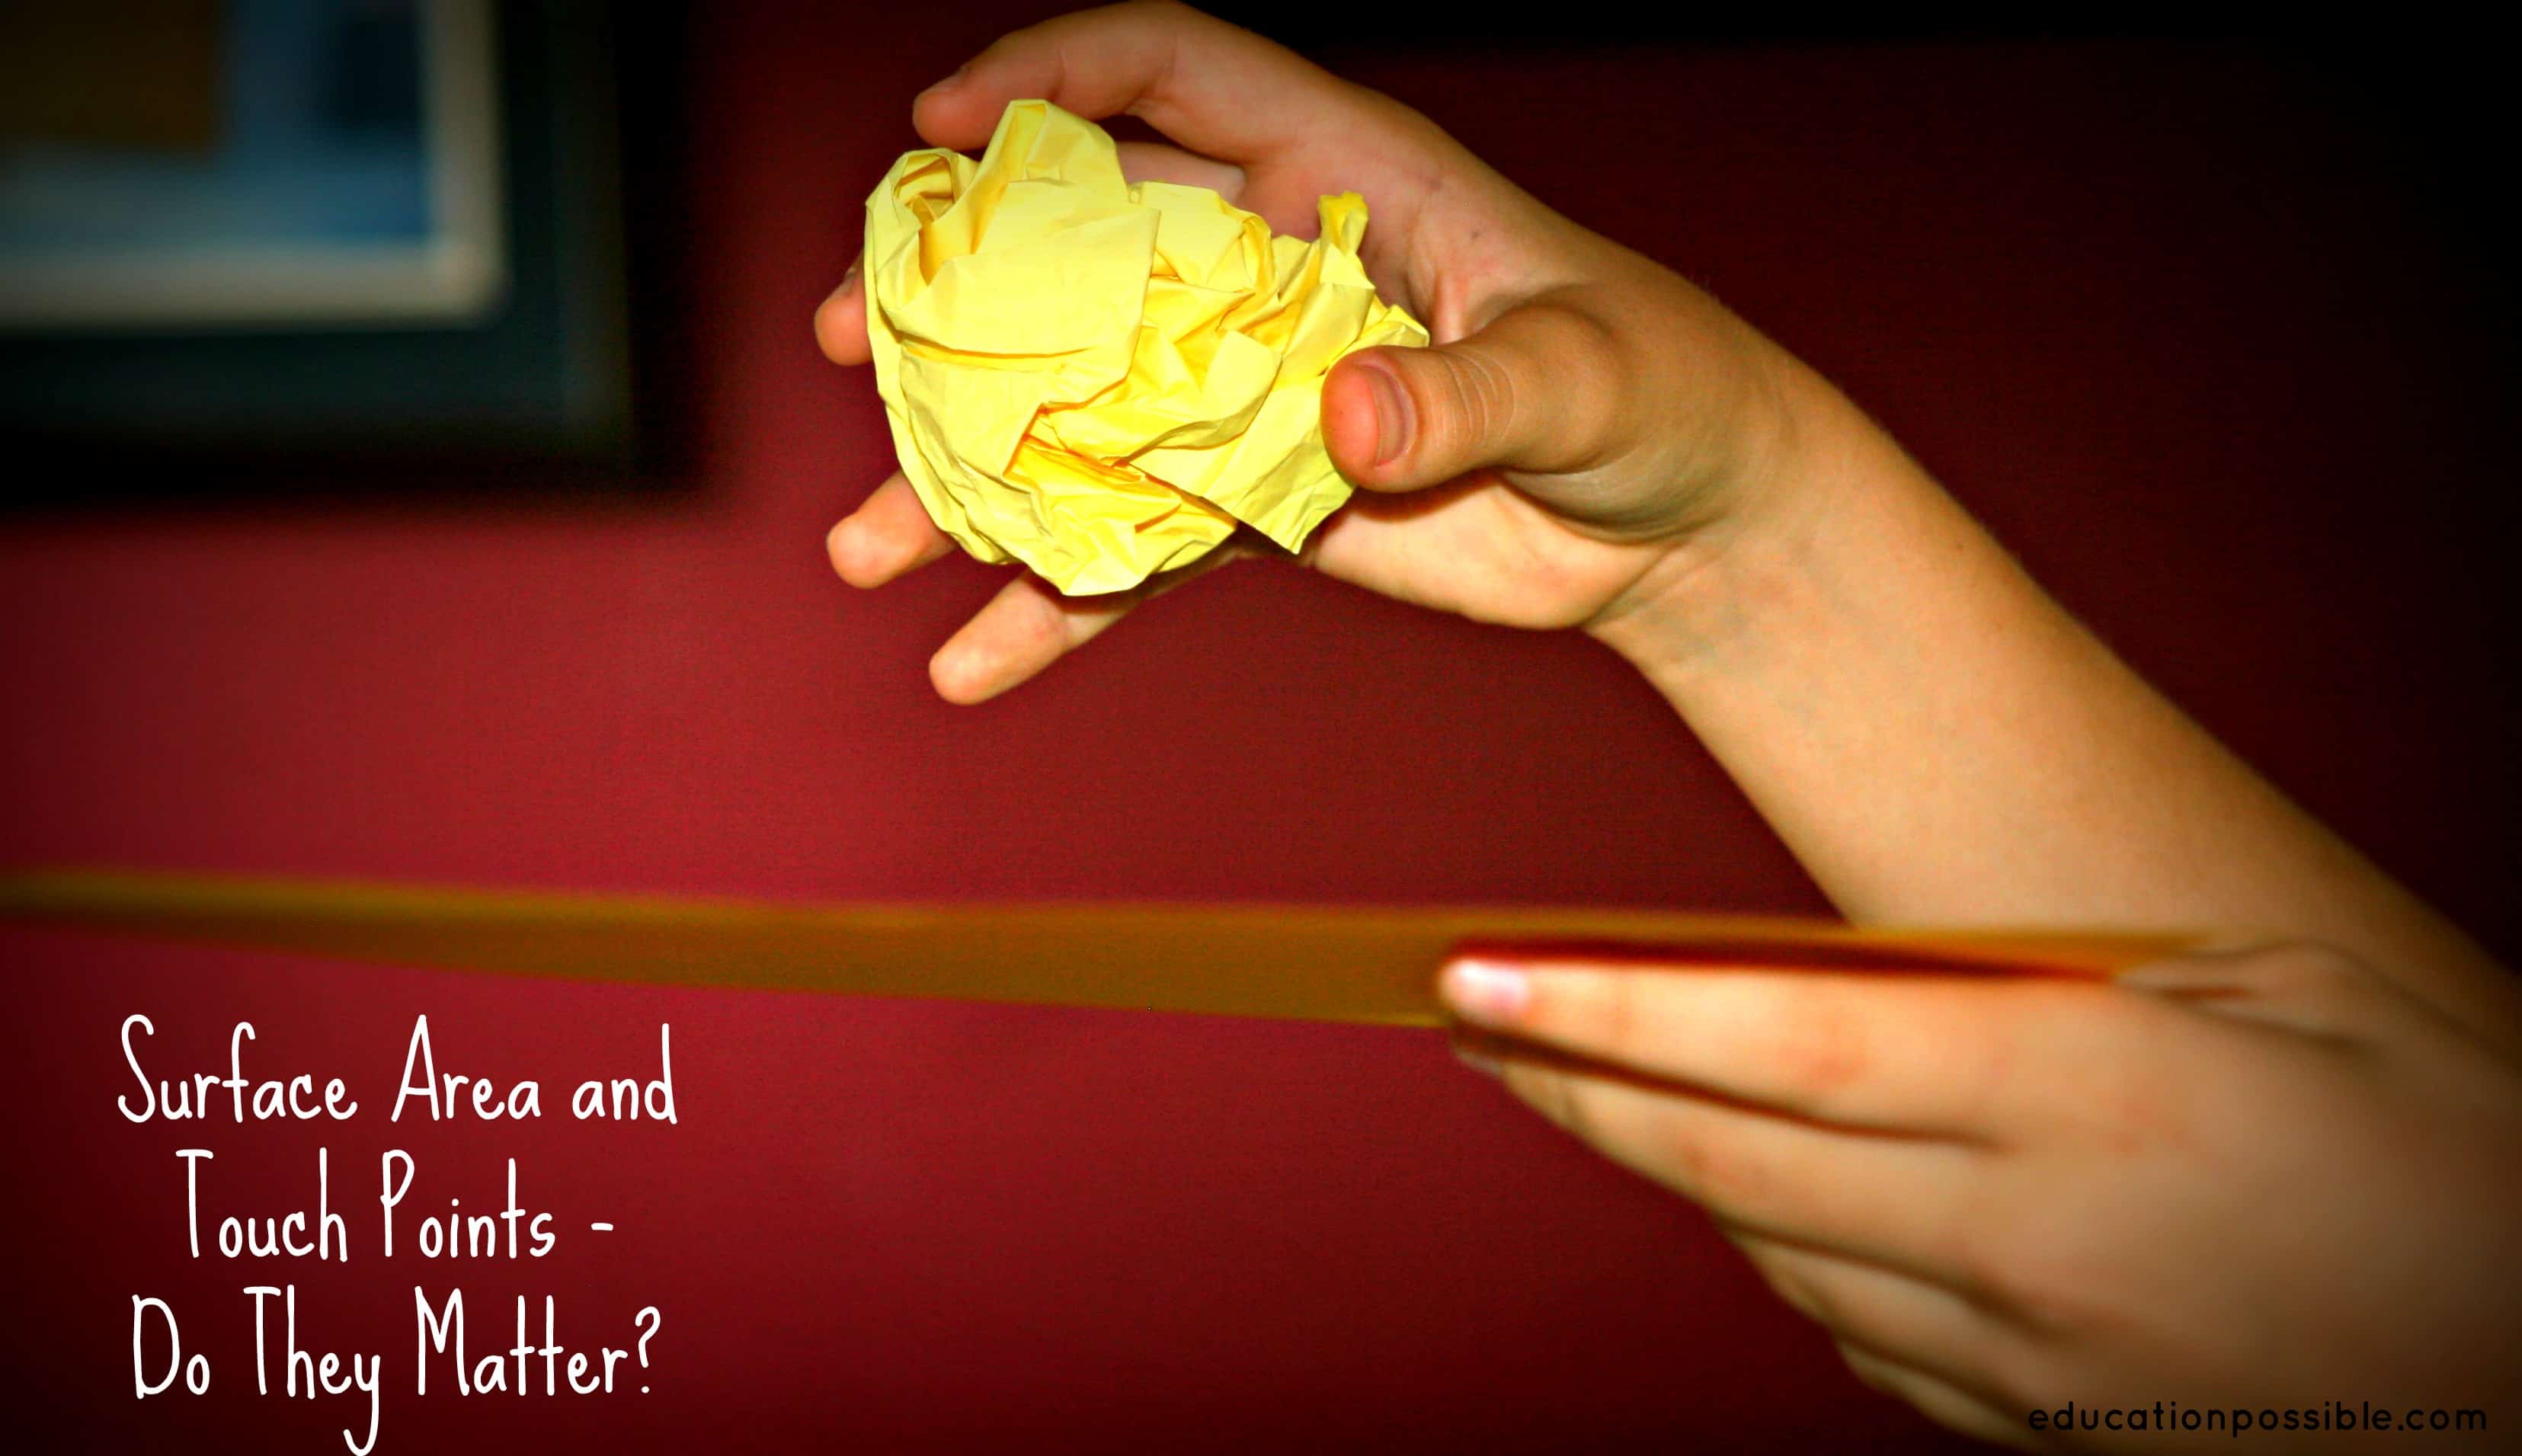
Everyone was given two pieces of paper. One they crumpled into a tight ball and one remained flat. They dropped both pieces of paper at the same time to see how they would drop.
We tried this twice more, each time loosening the paper ball until it was flat again. Through the experiment the kids saw that more surface area equaled more friction.

Kinetic Friction
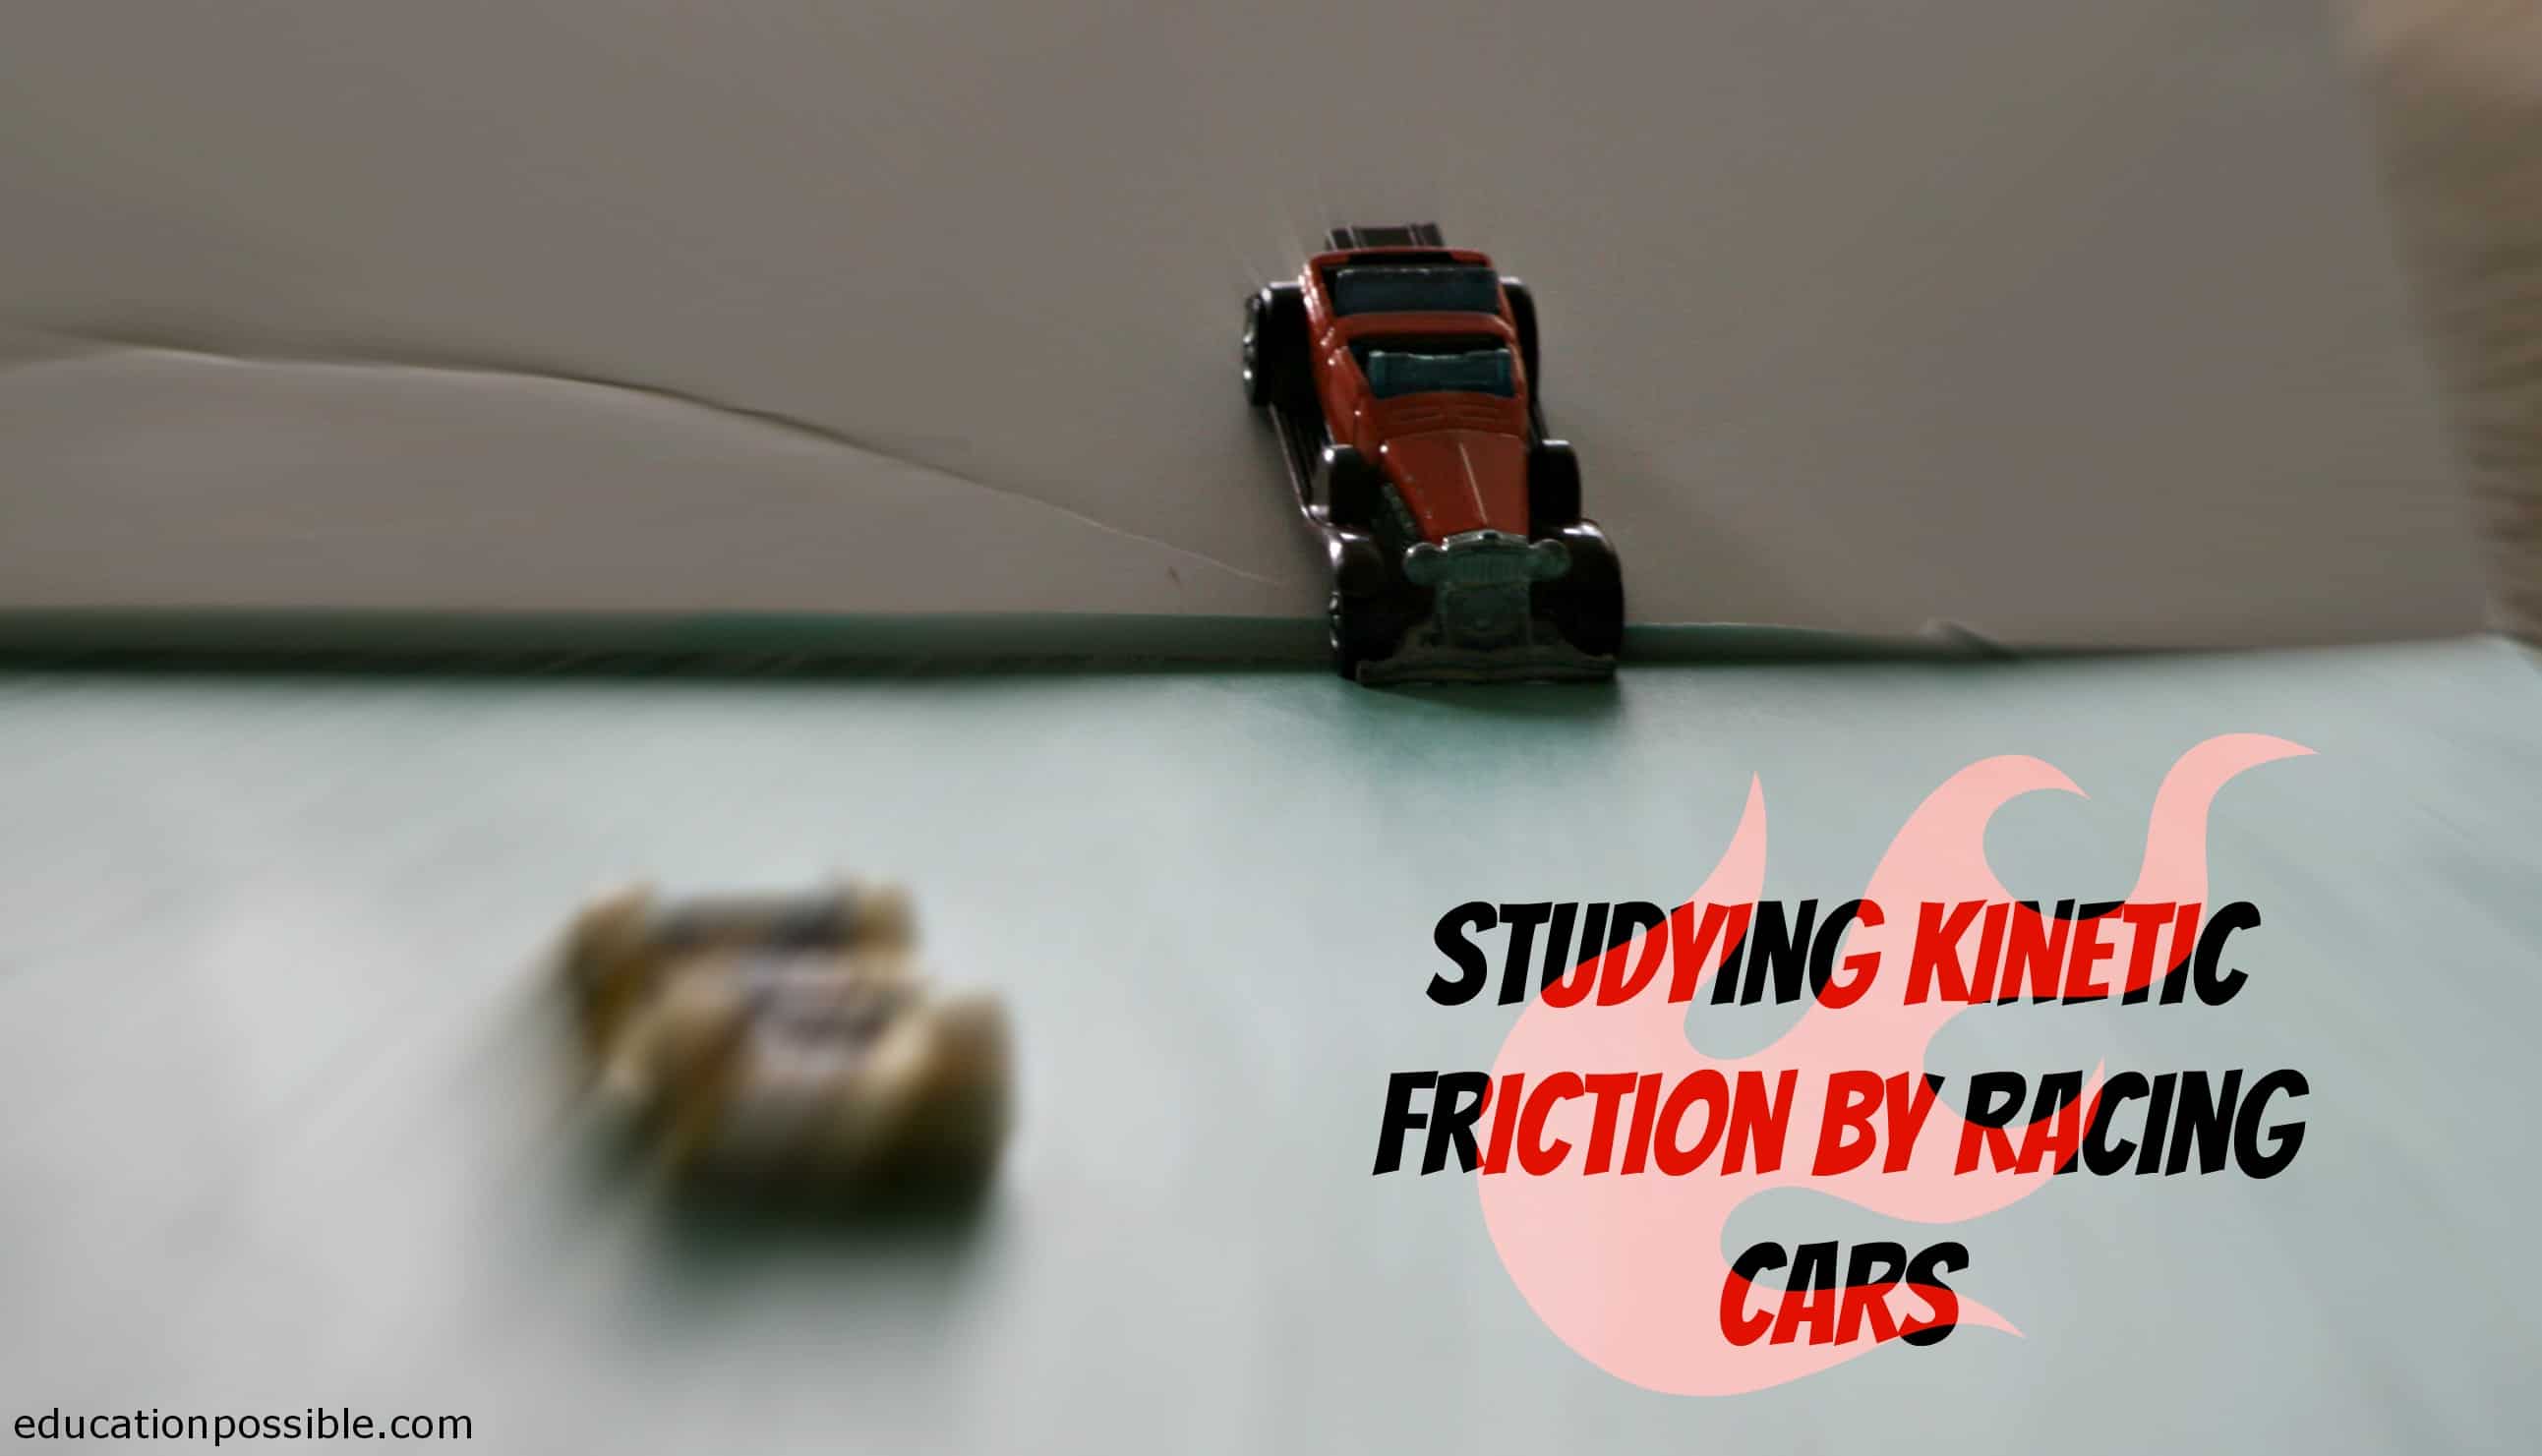
For this experiment, each child chose a matchbox car. I made a ramp out of foam core and poster board, leaning one against a small stool for an angle. We wanted to measure whether friction increased or decreased with different surfaces, so I placed various materials on the bottom of the ramp during each round of racing.
The materials I used to cover the end of the ramp included smooth cotton fabric, felted fabric and a bath towel. In addition, I also used the plain poster board and the carpet (I removed the board completely).
Everyone wrote a chart on a piece of paper, listing all of the materials we were using and then we got started.

As I lay down each material, the kids were quick to announce their theories.
When each car stopped, we measured how far it had traveled and they wrote that number on their chart next to the appropriate material.
This was a great experiment to demonstrate friction. First, the kids saw the concept of gravity being used to overcome static friction to start the car moving. Then, they saw how kinetic friction works to bring the car to a stop.
They realized that the material either increased or decreased kinetic friction, which affected how far their car traveled.
Adding these activities to our lesson plans definitely gave my kids a clearer understanding of friction.
What friction projects have you done with your students?

I love that you used racing cars for the friction experiment 🙂