Easy Fabric Pumpkin Craft for Kids to Make
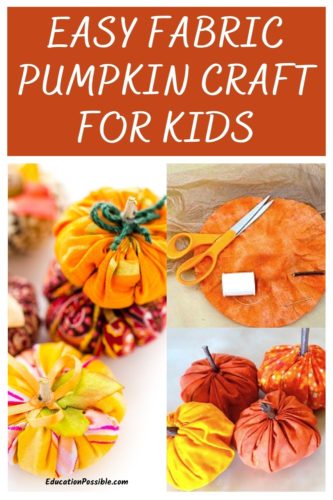
This fabric pumpkin craft is incredibly easy to make and will definitely add a festive touch to your fall decor.
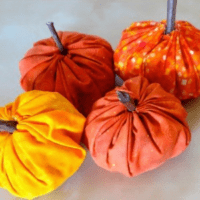
Pumpkins always make me happy. I love their color and shape, and they’re a wonderful reminder that fall has arrived. I try to fill my home with as many of them as possible, including a bunch of these fabric ones.
Once you see how simple they are to make and how festive they are, you’ll eventually make enough for a small pumpkin patch yourself.

Any links in this post may be affiliate links. See my disclosure statement.
Table of Contents
Making A DIY Fabric Pumpkin
It’s one of the fall crafts for teens they can do on their own or you can work on together.
They’ll love it if you let them choose their own fabric for their pumpkins. You can even encourage them to use theirs to decorate their room.
This craft involves a bit of hand sewing, but the long stitches make it incredibly easy, even if your kids aren’t sewing experts.
Supplies You’ll Need For the Pumpkin Craft
- A piece of fabric (8″x 8″ or 10″x 10″) in a fall print
- Fabric scissors
- Matching sewing thread
- Hand sewing needle
- 8″ Round plate and pen
- Plastic grocery bag
- 2″ piece of tree branch
How to Complete this Easy Craft
Just follow the directions below to make your own cute fabric pumpkin craft.
Fabric Pumpkin Craft
Learn how to make these simple fabric pumpkins that you can use to decorate your fall table.
Materials
- A piece of fabric (8"x 8" or 10"x 10") in a fall print
- Sewing thread
- Plastic grocery bag
- 2" piece of tree branch
Tools
- Fabric scissors
- Hand sewing needle
- 8" round plate
- Pen
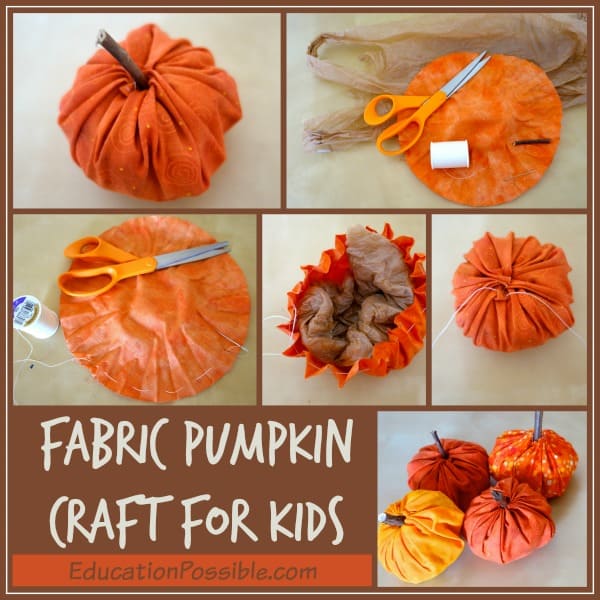
Instructions
- Begin by placing the fabric face down on a flat surface. Then, place the top of the plate on the back side of the fabric and trace around the edge of the plate with the pen.
- Use the scissors to cut along the pen marks to cut out the fabric circle.
- Thread the needle with the thread, but don't cut it from the spool.
- Using the threaded needle, make loose stitches around the circle, approximately 1/4" from the edge. The last stitch should end where the first one began. Make sure you have enough thread left that you can comfortably grab onto it.
- Take the plastic grocery bag and wad it up into a ball. Place the bag in the center of the fabric circle.
- Pull on the end of the thread so the fabric begins to pull up around the plastic bag. You want the fabric to completely gather around the bag. You want the fabric to resemble a pumpkin shape.
- Tie the ends of the thread together so the fabric will remain tight. Snip off any extra thread.
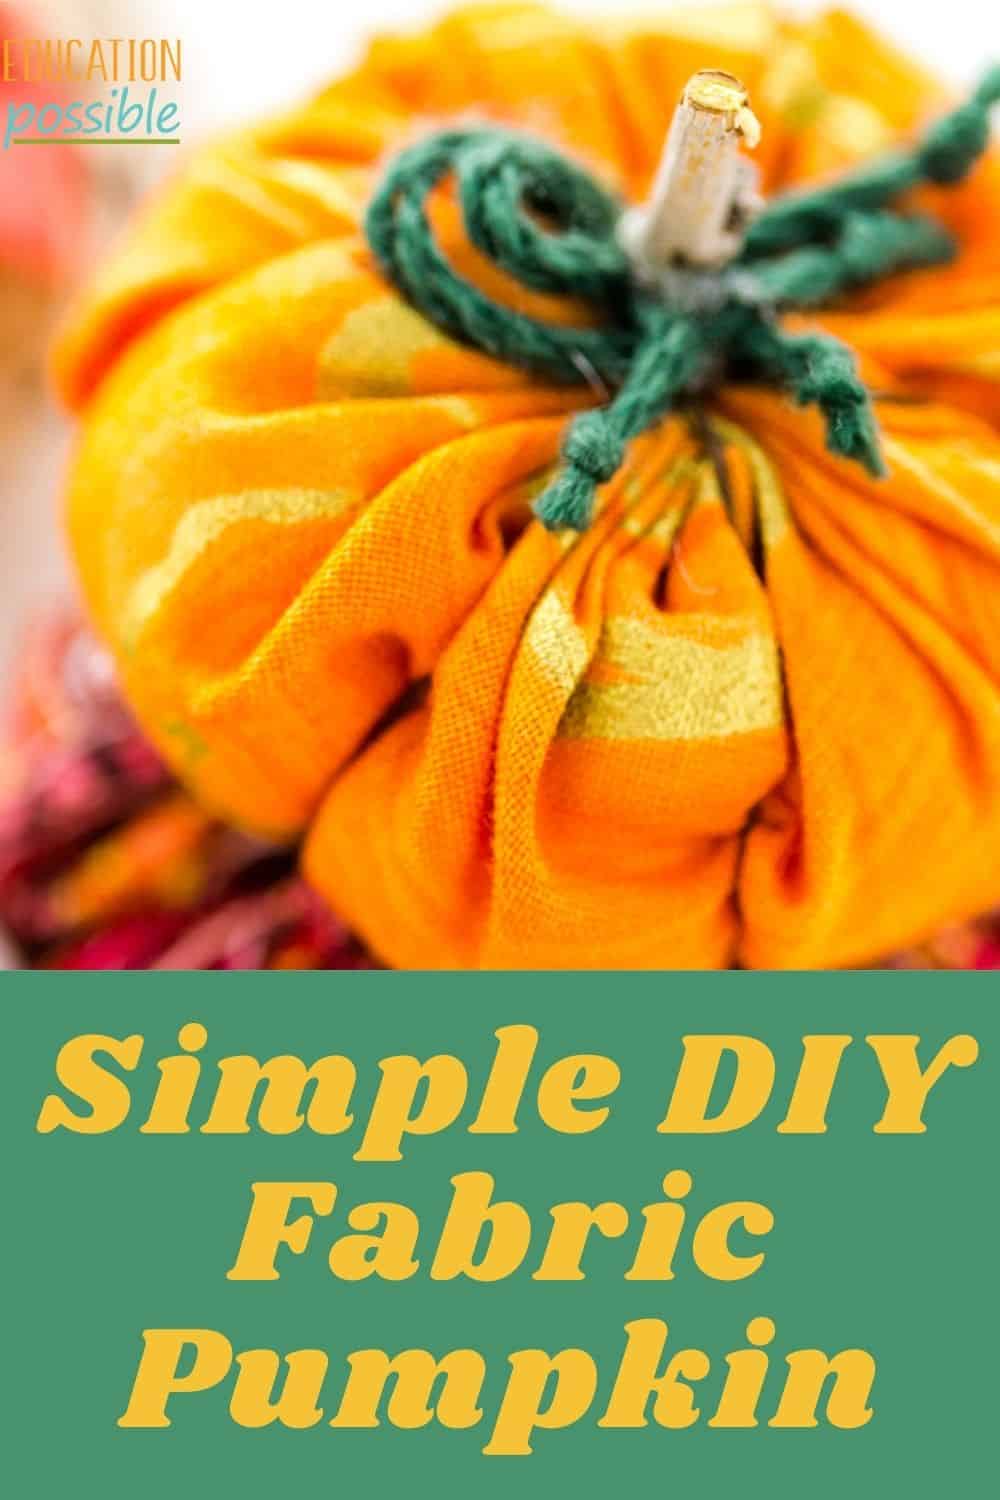
- Place the small piece of tree branch inside the opening where you just tied the thread. This is the stem of the pumpkin.
- Voila - you've made a cute fabric pumpkin. Now you can make some more and decorate with them.
Notes
To make larger fabric pumpkins, just cut out a larger circle and stuff it with more than one bag.
Feel free to add a ribbon or yarn bow to the stem. You can also use cinnamon sticks for the pumpkin stem to add some fall fragrance to your craft.
More Fun Pumpkin Crafts
Ready to add even more pumpkins to your home this season? Here are some other cute DIY pumpkin crafts.
- Add some of these toilet paper pumpkins to your fall decor.
- This Thanksgiving use chalk art to make some pumpkin table name cards and placemats.
- Use a dryer vent to create these adorable pumpkins.
- These mason jar lid pumpkins will look amazing on your Thanksgiving table.
Are you excited to add some of these fabric pumpkins to your home this fall?

Latest posts by Megan Zechman (see all)
- Easy Pumpkin Crafts - August 21, 2023
- Middle School Geography Curriculum - August 11, 2023
- Outdoor Geography Activities - August 4, 2023