A Fun Sinkhole Experiment for Middle School
This simple sinkhole experiment is a fun activity for learning about karst topography.
Use it as a middle school geography activity or as one of your interactive lessons for earth science.
The goal of this project is to simulate the formation of a sinkhole so kids can better understand how and why they form. It also helps kids appreciate the potential damage sinkholes can cause.
If your tween has ever wondered how the rock below the surface could dissolve away with no signs, they’ll love this experiment.
Below, I give you all the information you’ll need to teach your middle schoolers about these landforms and show you how to make a sinkhole by creating a sugar cave.
With this simple activity, you’ll see for yourself how caves and sinkholes are formed as water erodes away the rock material below the surface.
Sinkhole Experiment
This hands-on geography project is a great way to help your tweens learn more about sinkholes and their effects on the environment. It will also help them understand how a sink hole can cause significant damage if not prevented or properly managed.
It’s a great way to teach about the types of rock that lie beneath the surface soil. They play an important part in the erosion process.
Sinkhole experiments give middle school students the chance to see the dissolution of rocks for themselves.
What is a Sinkhole?
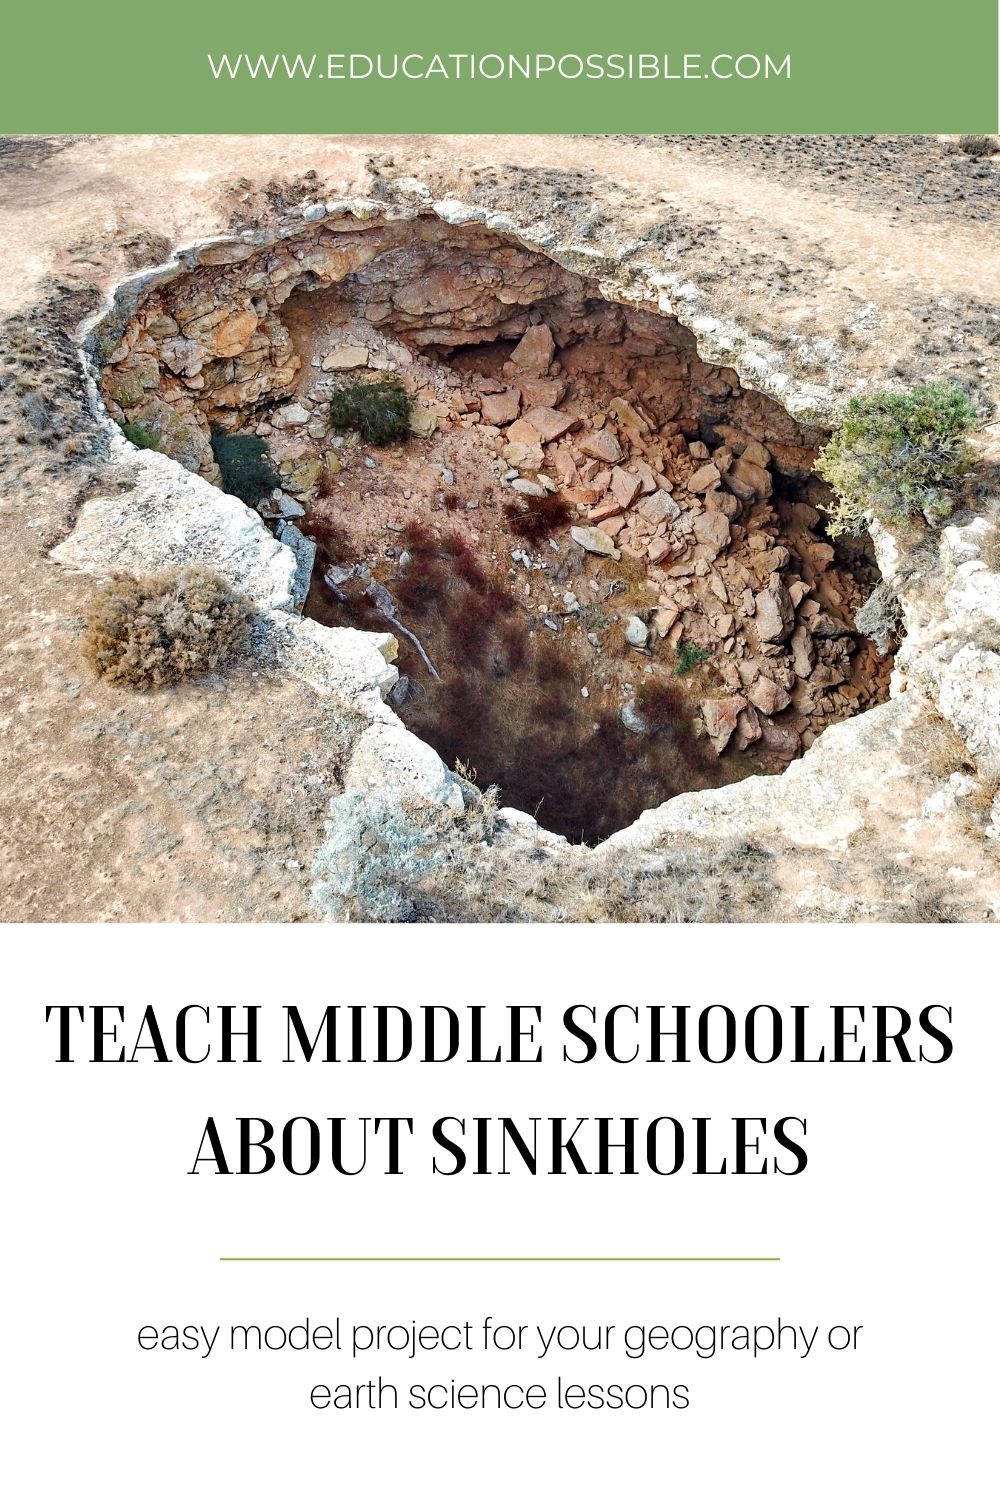
A sinkhole is a naturally occurring depression or hole in the ground caused by water erosion. It’s a physical change in the earth.
Water dissolves the rocks under the surface of the earth, leaving behind cavities known as sinkholes.
When a sinkhole forms, it often looks like a small depression in the ground to large holes that are hundreds of feet wide. And when it appears, anything above it can sink as well, such as trees, roads, and buildings.
How are Sinkholes Formed?
A combination of natural and human activity causes sinkholes. The most common is groundwater erosion.
This is when water drainage makes its way through the soil to the geological rock structure below and eats away at it. When the bedrock dissolves, there’s no longer adequate support for the ground surface and it weakens, creating an empty space or underground cavity.
When that happens, the weight of the affected area can no longer be supported. Eventually, the strain will be too much and everything on the surface will collapse into those underground tunnels created by the water.
Physical changes brought on by construction projects, different methods of mining, and agricultural practices can speed up the erosion process by allowing more water to enter the rock. They can all lead to a giant sinkhole.
Additionally, urban development and deforestation can alter the landscape in ways that make sinkholes more likely.
Karst and Sinkholes
Karst, or karst terrain, refers to areas of land that contain carbonate rock that’s more soluble than others, like limestone and gypsum. This landscape is particularly prone to the formation of large sinkholes.
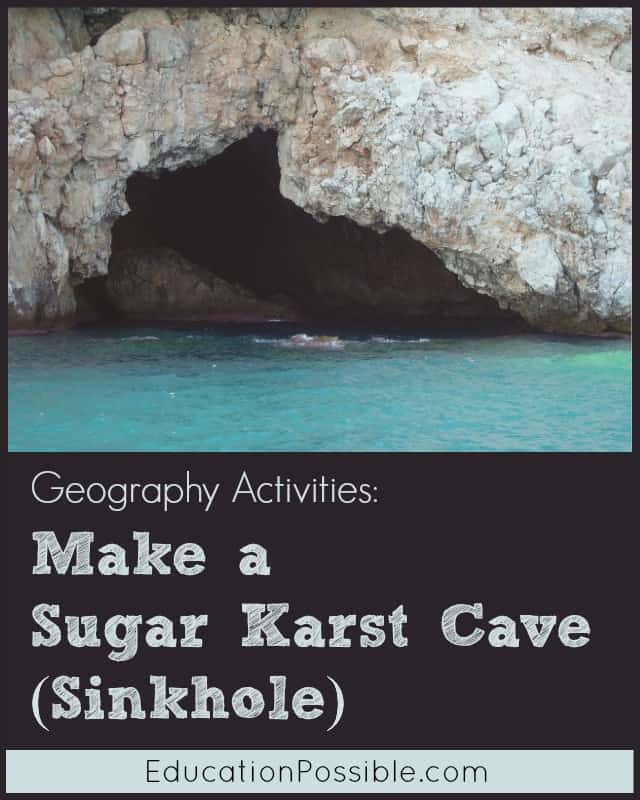
Sinkholes usually form in karst terrain because water can easily erode the soluble rock below the earth’s surface. It creates underground tunnels known as karst caves. When these collapse, a large sinkhole is created up on the surface.
Karst can be found all over the world in areas that were once covered by bodies of water containing chemical elements like calcium and magnesium. These chemical compounds, combined with water and oxygen, are what cause the carbonate rocks to break down over time and form sinkholes.
Links may be affiliate links.
Student World Atlas World Wall Map
 Uncle Josh’s Outline Map Book
 The Ultimate Geography And Timeline Guide
Sinkhole Impact on the Environment
When sinkholes form, they can cause significant damage to the environment.
They can cause changes in water flow and drainage patterns, which can lead to flooding and contamination of drinking water sources. Sinkholes also threaten roads, buildings, crops, and land use as they expand and collapse.
In some cases, sinkholes can even swallow up entire buildings and homes, causing immense destruction.
As water levels change, certain plant and animal species may not survive in the altered environment. They also fill with stagnant water, creating ideal breeding grounds for disease-carrying pests.
The best way to protect against sinkhole damage is to monitor the ground for signs of movement or subsidence, and take action when necessary. Ideally, local governments would enforce adequate drainage and encourage proper land use to reduce the risk.
Sadly, after they develop, it can be difficult or even impossible to reverse the damage. That’s why it’s important to avoid the formation of sinkholes.
Now that you know all about sinkholes and karst terrain, it’s time to put that knowledge into action with fun middle school science activities like this one!
sinkhole experiment Materials
Hands-on activities like these make teaching geography to middle schoolers fun.
With this simple activity, kids will see how caves are formed as water erodes away the rocks below the surface.
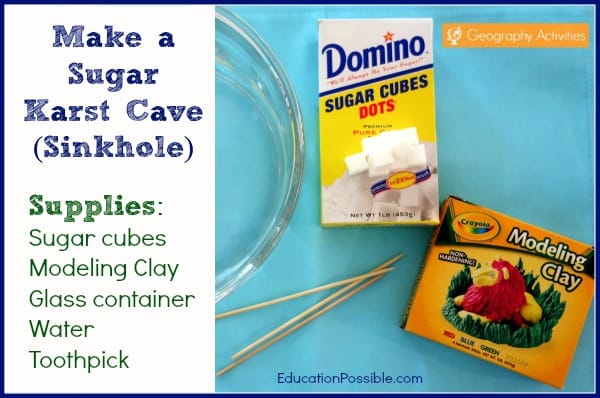
In this experiment, sugar cubes are used to represent limestone and clay covers the cubes like the land surface that covers the rock. The only other things you need are a pencil and water.
Other Geography Activities
This is only one of the fun things you can do when you’re studying middle school geography. Add these to your lesson plans.
- Learn How to Make a Compass and Determine North
- Create a Topographic Map
- Make a Tornado in a Bottle
- Erosion Experiment
How to Make a Sinkhole
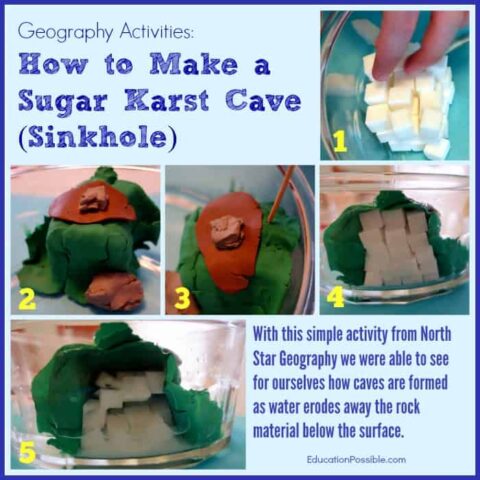
With this simple activity, tweens will see how sinkholes and caves are formed. They'll watch as water erodes away the sugar cubes below the surface.
Materials
- Box of sugar cubes (30-50 cubes)
- Modeling clay in green or brown
- Water
Tools
- Clear glass container with high sides, like a deep baking dish
- Liquid measuring cup
- Pencil
Instructions
- Make a sugar cube hill against the glass. Stack it 3-5 cubes high and 3-4 cubes deep.
- Cover the 3 sides of the cubes with modeling clay. The outside of the cubes should be completely covered except for the side against the glass and the bottom. This will be the cave mouth or spring. Encourage your kids to decorate the outside with additional clay or other materials to represent grass, rocks, flowers, etc. Remember, this is the earth's surface.
- Use a sharpened pencil to poke 2-3 holes in the top of your clay hill. Make at least one of the holes near where the clay meets the glass. This is where the water will enter into the cave.
- Slowly pour water over the top of your formation. It should filter down through the holes and start to erode the sugar before flowing out of the “spring” at the bottom.
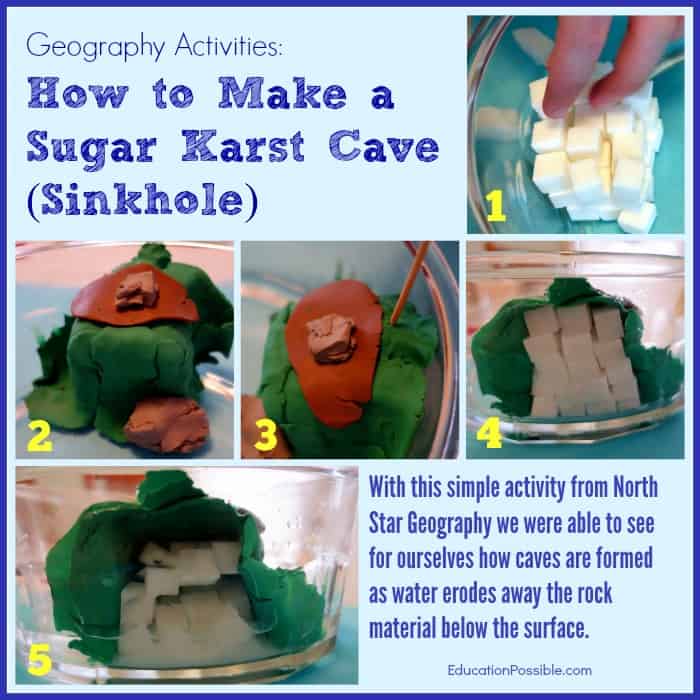
When you are done, you should have a lovely cross-section view of a sugar cavern.
What natural process is demonstrated as the sugar is dissolved by the water and the surface sinks? A sinkhole.
As you can see, the ground (clay) can stand for a short time, but when it's no longer supported by the rock (sugar cubes) the clay collapses. This is how new sinkholes form.
Notes
Don't add clay to the side of the cubes against the glass. With this exposed, you'll be able to watch as the cubes dissolve and the cave, or sinkhole appears.
You can also use a chopstick or toothpick to poke a hole in the clay.
After you've observed the cubes eroding, if your cave doesn't collapse, you can either add a bit more water to get rid of more sugar cubes or gently poke it with a pencil.
Recommended Products
As an Amazon Associate and member of other affiliate programs, I earn from qualifying purchases.
What did you learn from this sinkhole experiment?


Oh wow! What a fantastic idea to teach kids about sinkholes.
Thank you for stopping by the Thoughtful Spot Weekly Blog Hop this week. We hope to see you drop by our neck of the woods next week!