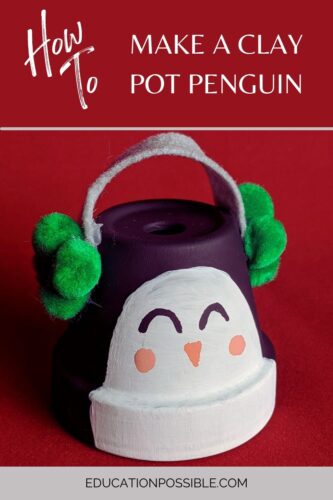
How to Make a Clay Pot Penguin
This clay pot penguin is such a cute winter project for kids.
Your tweens will have a blast making these little penguins to put around the house. It’s a fun way to get everyone excited about the colder months.
This penguin project is adorable and incredibly easy to put together.
I know you’re a busy homeschooling mom, but I encourage you to take a moment this week to step away from your schedule and just hang out with your older kids creating something, like this terracotta pot penguin.
It’s a fun thing to do together that requires few supplies and takes less than 30 minutes to complete.
Table of Contents
Clay Pot Penguin
Lately, we’ve been making a lot of winter-themed crafts to use as decorations in our house to celebrate the season.
Things like snowflakes, snowmen, and penguins.
We always enjoy making things out of terra cotta clay pots, so we turned one into a penguin.
Even though we live in a warm climate, we actually get to see penguins, thanks to one of the local theme parks. They’re super cute and definitely make us think of winter.
This is a fun project to celebrate these cute Arctic animals.
Penguin Craft
The step-by-step instructions for this craft project are very simple and easy to follow. All it takes is some acrylic paints, pom-poms, and felt to make these adorable penguins.
You can easily use different sizes of flower pots for your penguin. We wanted a smaller one, so we used a small one. If you use a larger version than ours, follow the same steps, just use larger designs.
For this project, you’ll turn the clay pot upside down, so the bottom of the pot is actually the top of the penguin.
If you’d like, you can make some design changes to customize your penguin.
- Instead of using plain white paint for the middle of the animal, use glittery paint to give it some sparkle.
- Using googly eyes will give your penguin a playful look.
- Play with the size of the pom-poms to make your earmuffs larger or smaller.
- Add small oval pieces of felt to the bottom of the pot to give your penguin feet.
Penguin Project Ideas
Kids love penguins, so it makes sense to make this festive character a fun part of your winter plans. This craft isn’t the only thing you can do that’s penguin-themed.
In fact, you can use them to inspire some educational activities.
If your older kids are in love with penguins, give these ideas a try.
- Research different penguins and create something that showcases their differences. Tweens can choose a presentation method that works best for them – a video, poster, PowerPoint, etc.
- Create a diorama showcasing their favorite penguin habitat.
- Paint a picture of penguins as part of your art lessons.
- Of course, there are tons of other penguin crafts that your tweens could have fun with. Things like sewing a stuffed penguin, making one using origami, using perler beads to design one, and tons more.
As you can see, it’s easy to make penguins front and center in your homeschool during the cold winter days.
Any links in this post may be affiliate links. See my disclosure statement.
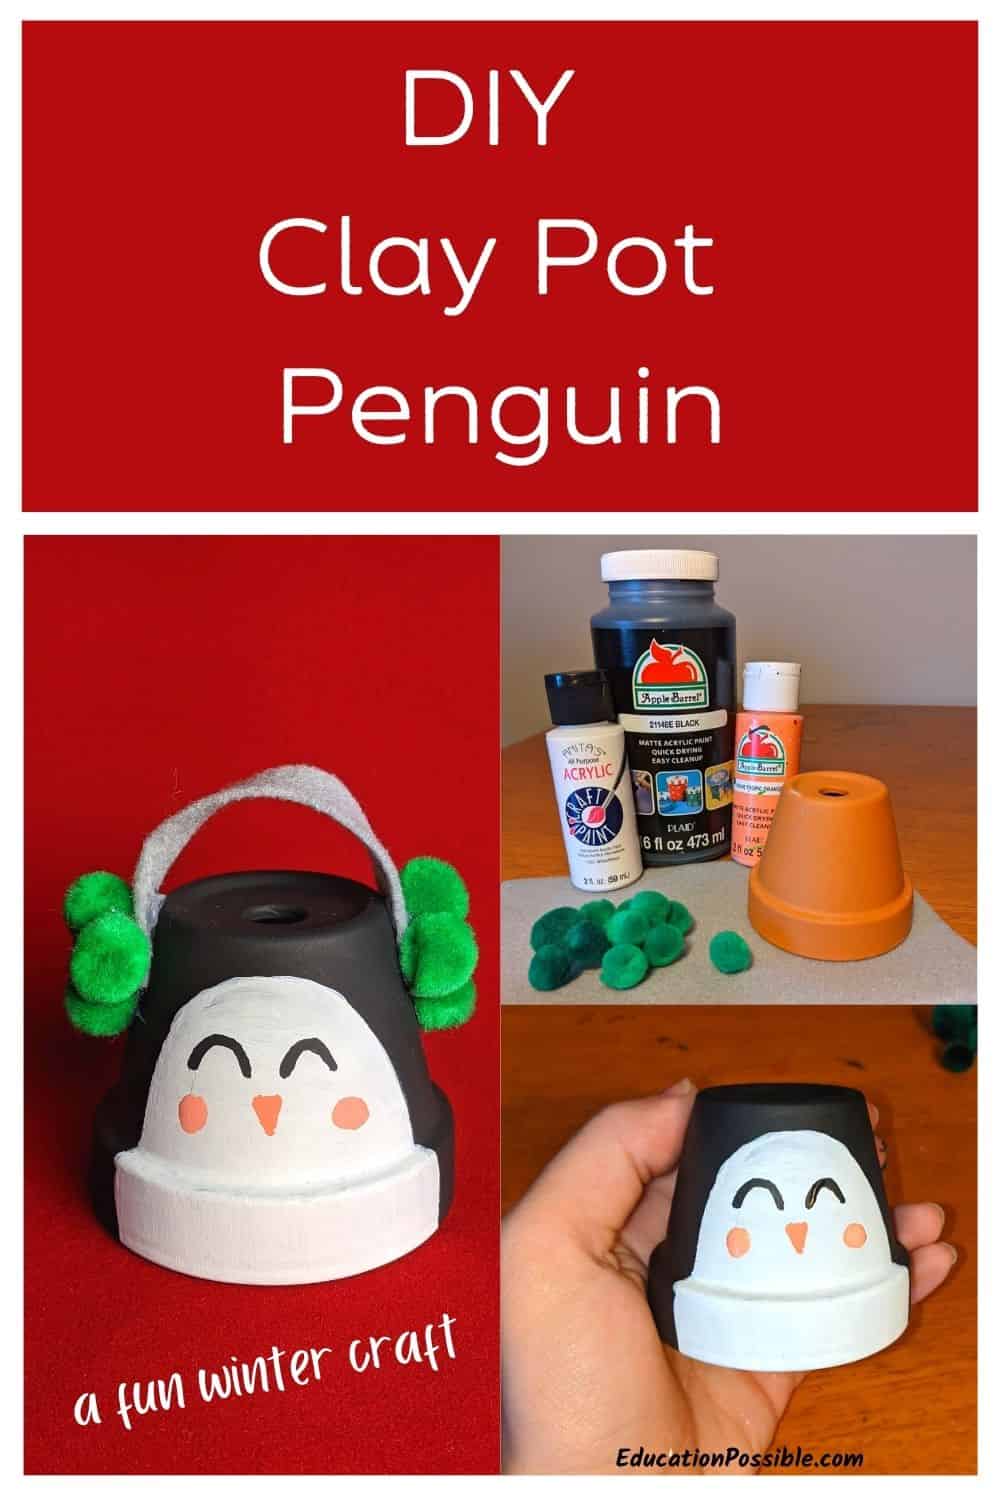
Penguin Pottery Supplies
Before you get started on your clay pot crafts, you’ll need a few supplies. Here are four main items you’ll use for the project:
Mini Terracotta Pots Acrylic PaintMini Craft PompomsColored Felt Fabric

There are a couple of painting supplies you’ll need for the penguin. You’ll find them below in the full printable supply list.
Hopefully, you are inspired to make your own penguin pot with your kids. It’s a great way to spend a chilly winter afternoon while letting everyone’s creativity shine.
Winter Crafts
Want to expand your winter decorations this year? Here are a few more projects to check out.
I bet your kids are ready to create this cute penguin. Keep reading for detailed directions and printable supply list.
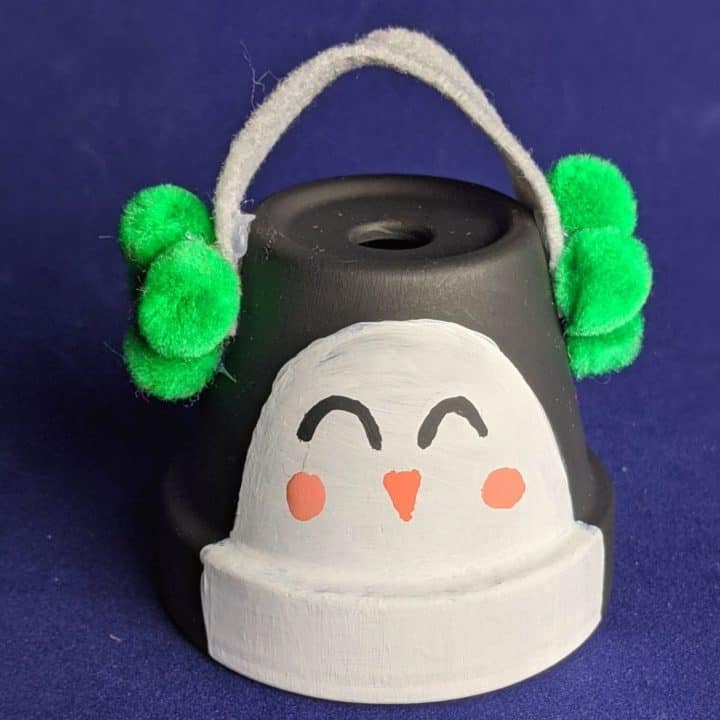
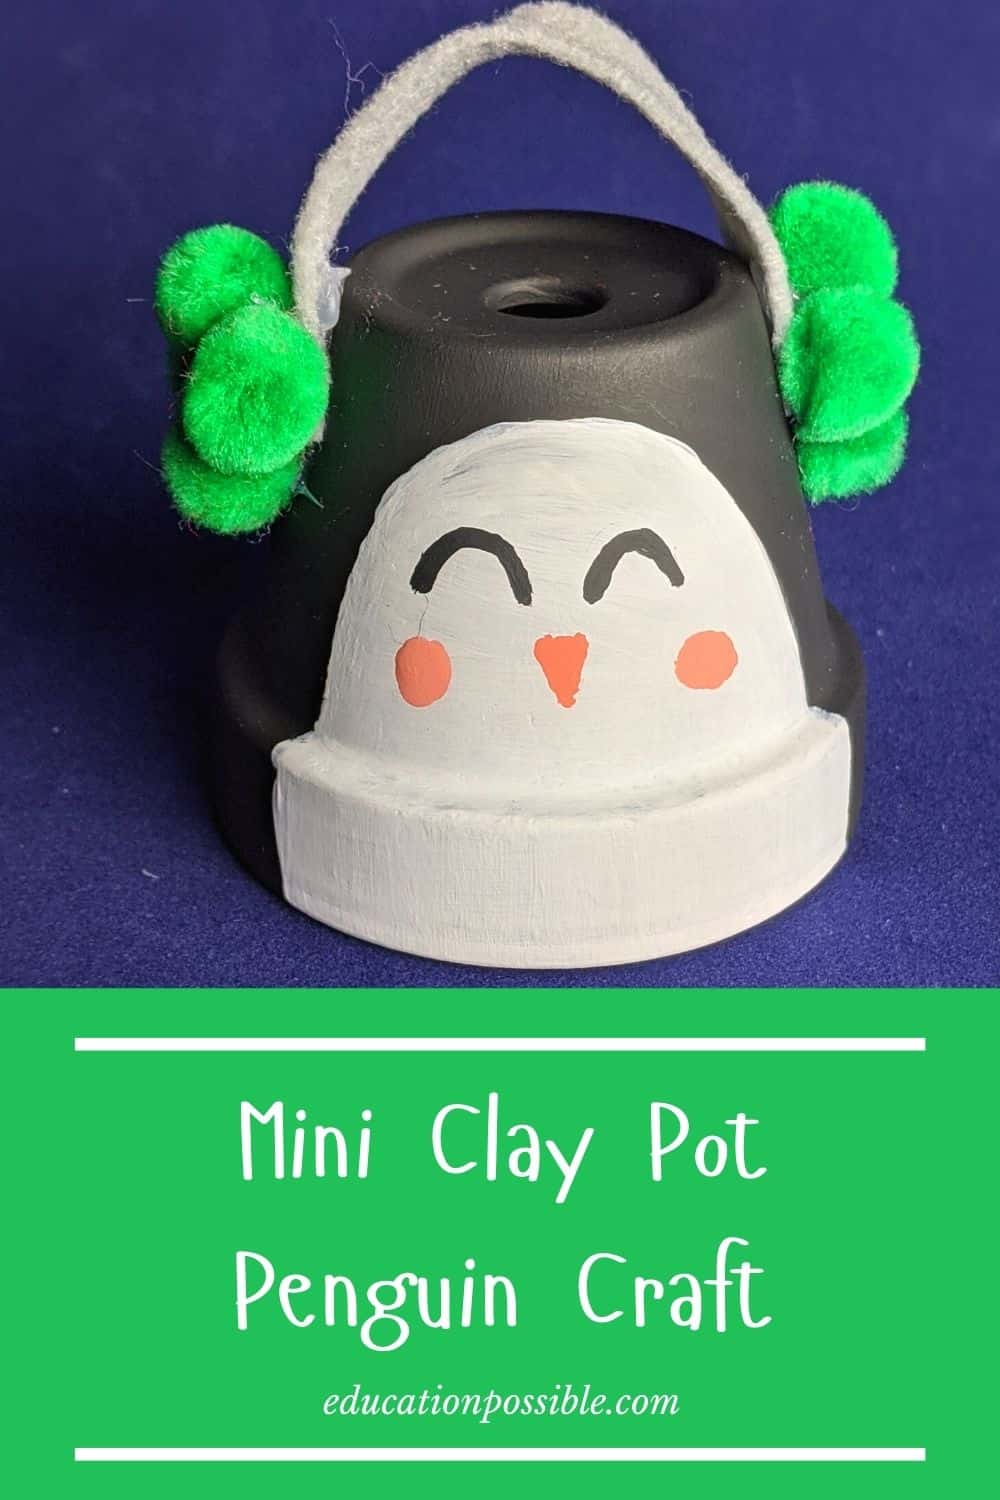
Pengin Pot
Tweens will have so much fun making this cute penguin from a mini clay pot.
Materials
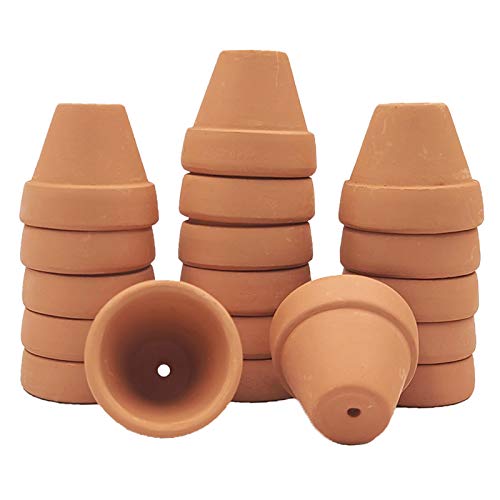
- Mini Clay Pot
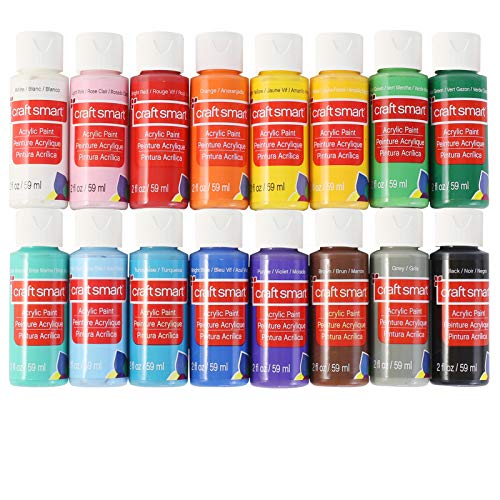
- Black, White, and Orange Acrylic Paint
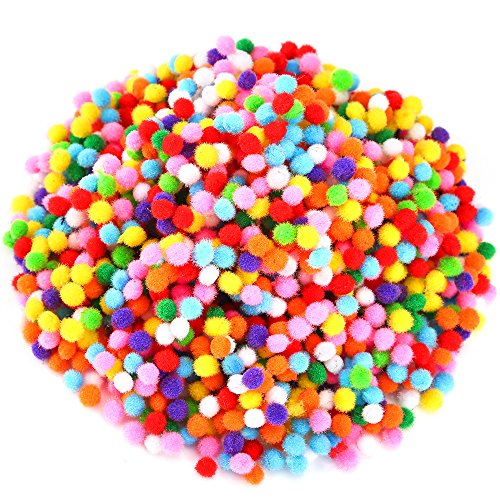
- Small Craft Pom Poms
- Felt
Tools
- Hot Glue Gun
- Small Paintbrushes
Instructions
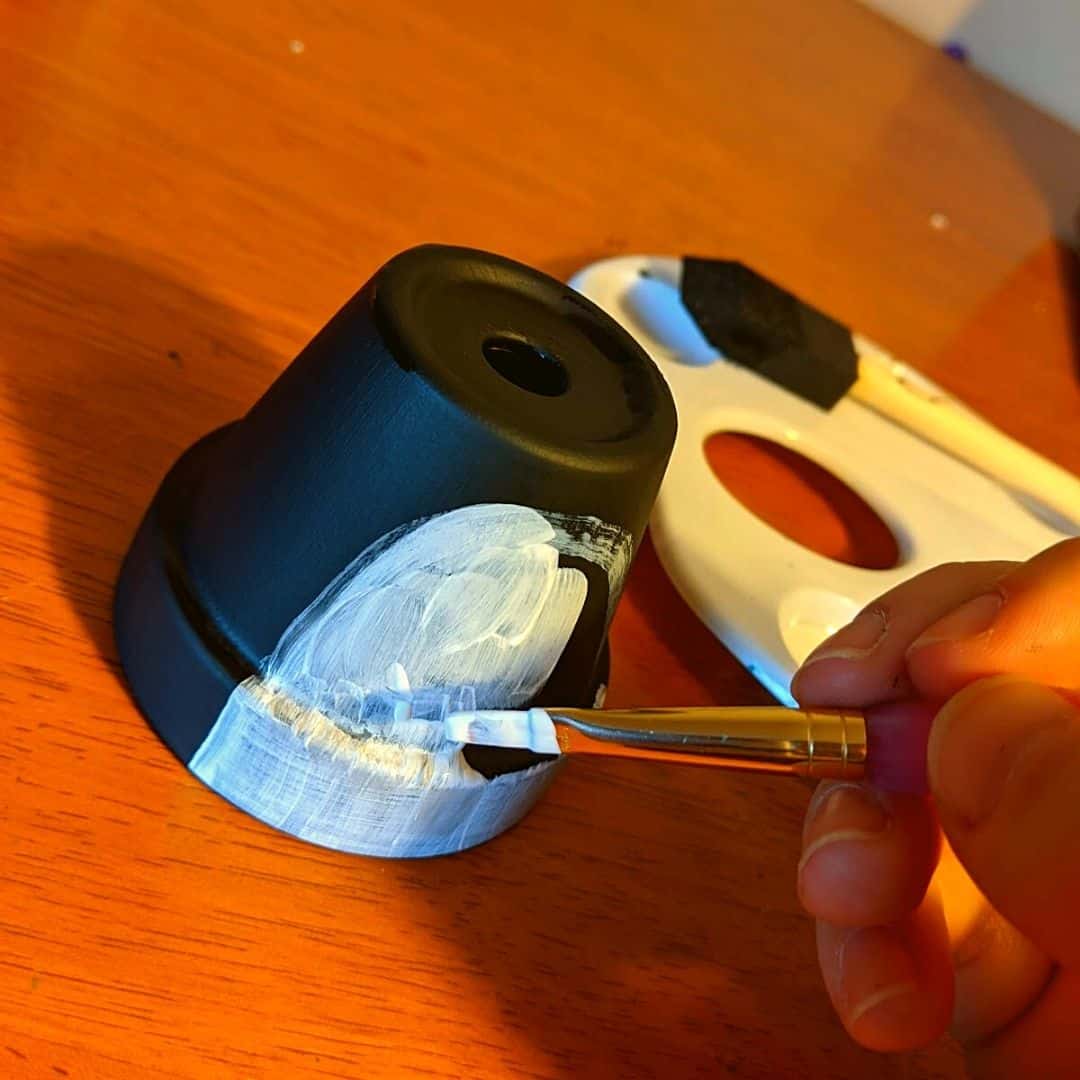
- Paint the entire flower pot black using a thin coat of paint. Make sure the black paint is dry. By the time we finished painting the whole pot, most of it was already dry.
- Once you're sure the black paint is dry, paint part of an oval shape with the white paint on the front of the pot. You want the height of it to reach just below the flat part of the pot and the width of the oval to take up one whole side of the pot. Confirm this is dry before moving on to the next step.
- After the white oval is dry, it's time to paint the face. Paint two thin half circles for the eyes with the black paint. Use orange paint to make round cheeks and a triangle nose.
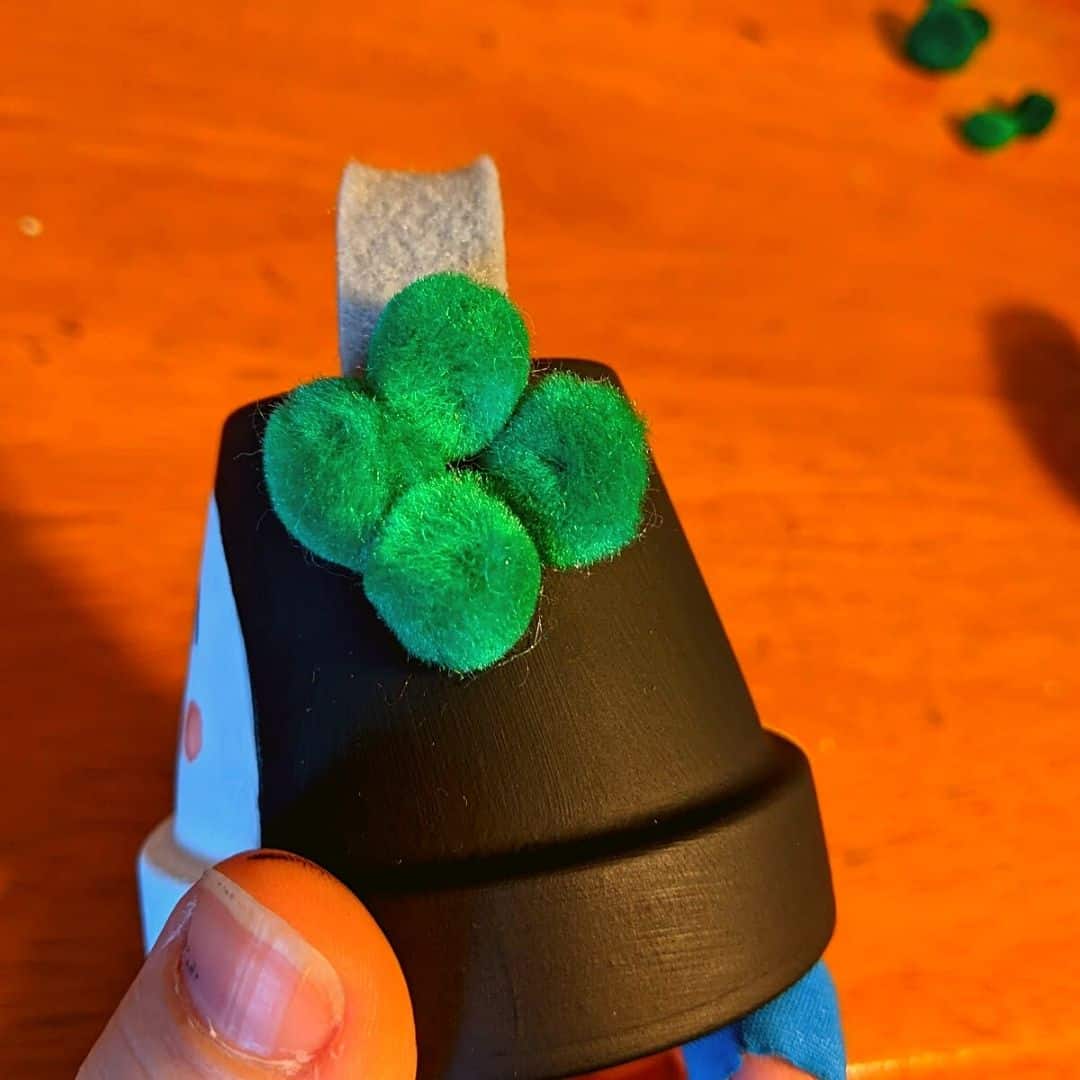
- Cut a piece of felt 1/2" wide by 3 1/2" long. This will go over the top of the pot to form the band of the penguin's earmuffs. Attach each side with hot glue.
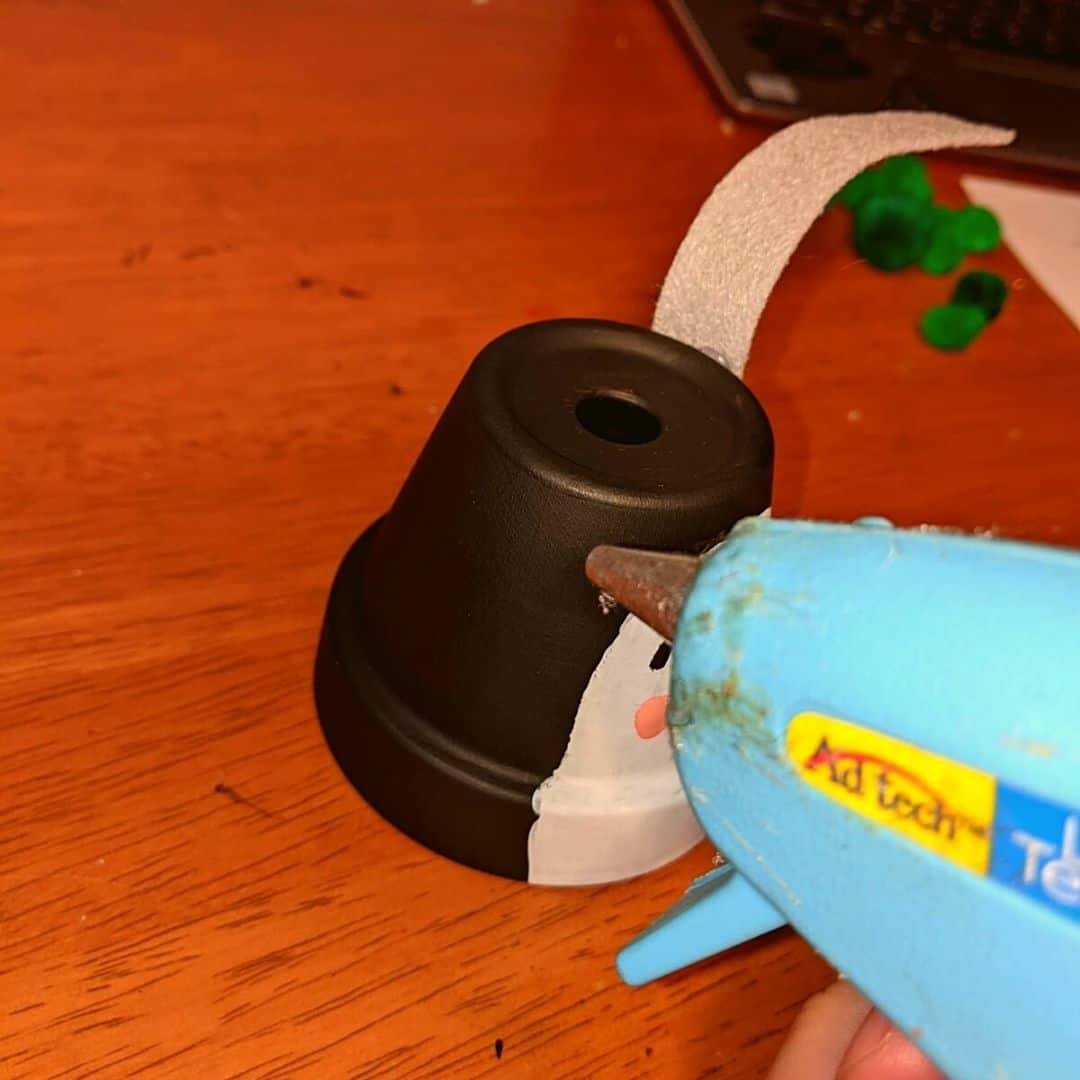
- Hot glue pom-poms to each end of the felt to complete the earmuffs.
Notes
- Remember, for this project, the bottom of the pot is actually the top of the penguin.
- When you're making the penguin face, you can follow our design or make your own.
- For the earmuffs, choose any color felt and pom pom balls you'd like. Also, use as many pompoms as you want for your design. We put 4 small pompoms together to form our ear pieces.
- If you decide to use larger clay pots, just enlarge your design.
Recommended Products
As an Amazon Associate and member of other affiliate programs, I earn from qualifying purchases.


How excited are you to make this clay pot penguin?

Latest posts by Megan Zechman (see all)
- Easy Pumpkin Crafts - August 21, 2023
- Middle School Geography Curriculum - August 11, 2023
- Outdoor Geography Activities - August 4, 2023