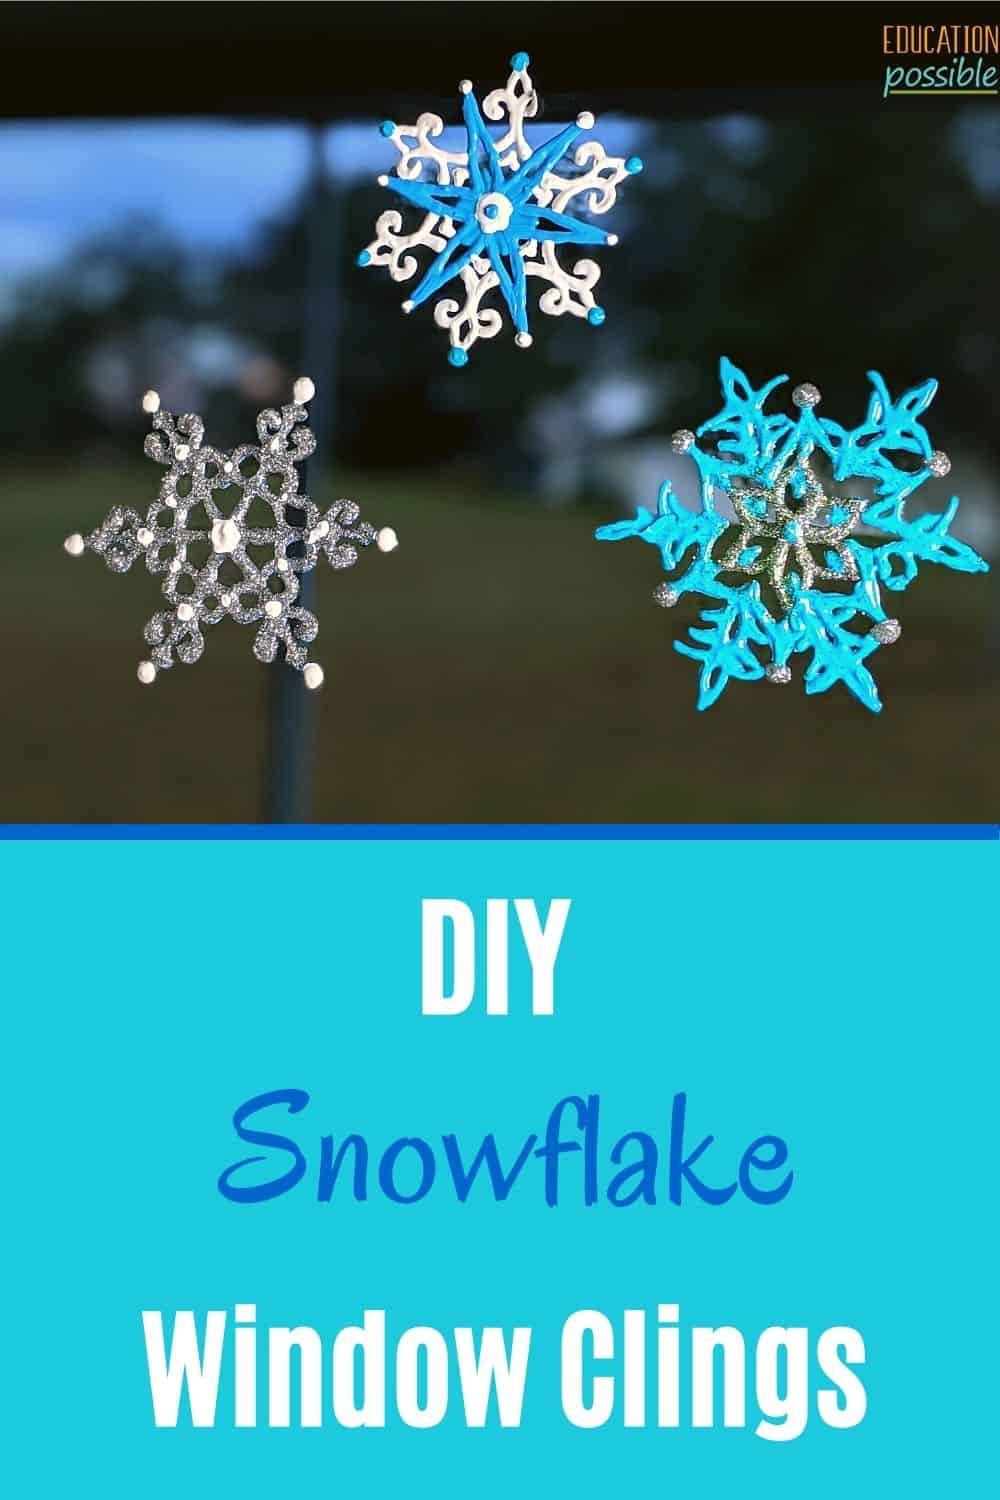
Easy DIY Snowflake Window Clings for Tweens to Make
These snowflake window clings are some of the coolest winter crafts for kids.
For many years now, we’ve filled our sliding glass doors with window clings for various holidays. From the time when my kids were little, they loved peeling the designs off the paper and putting them on the glass.
They’ve always been a simple way to decorate and always bring us joy when we walk by.
It wasn’t until a few years ago that I realized that you could make your own window clings. We tried it and were hooked.
Any links in this post may be affiliate links. See my disclosure statement.
Table of Contents
DIY Window Cling Craft
Our first foray into window clings was a few Christmases ago. We always make crafts together for the holiday, and I was looking for some that everyone would enjoy when I came across a tutorial for homemade decals.
We tried our hand at making an elf, candy cane, and snowflake. My girls absolutely loved it. They thought it was so cool that instead of buying them from the store, they could make their own. And it’s so easy! We’ve been making them ever since.
I’ve been trying to do more crafting and decorating throughout the year, so our house always has a festive air to it. I mean, there’s always some national or wacky holiday to celebrate, right?
So, we’ve been making a bunch of winter-themed crafts lately that we’re using to liven up our house. And one of the big icons we’re using is snowflakes.
And don’t just keep them for your living area. Encourage your tweens to use theirs to decorate their rooms for the season. They can stick them on the windows or their mirrors to give their room a festive look.
Making Your Own Snowflake Window Cling
It’s kind of funny that we’ve been obsessively making snowflakes to put around our house since we live in Florida. But nothing says winter like snow. And just like no two snowflakes are alike, all of our crafts are unique, and just so pretty.
To make these, you basically need paint and time. Yes, there’s a bit more to it, but that’s the gist of the craft.
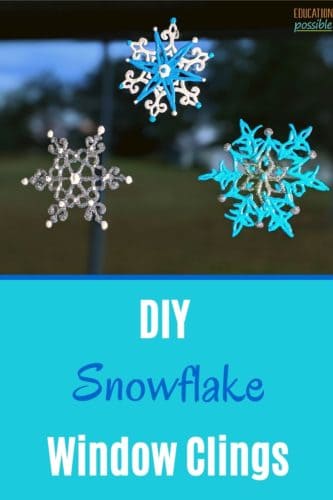
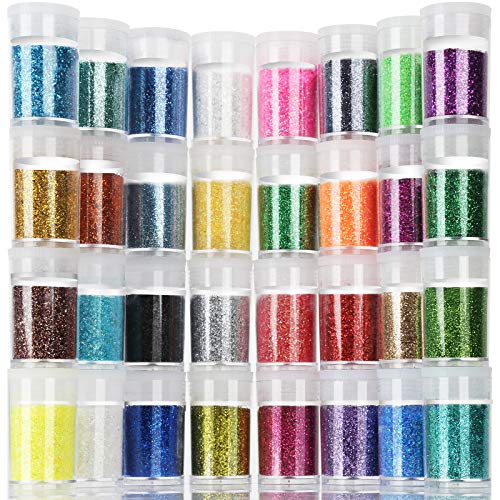
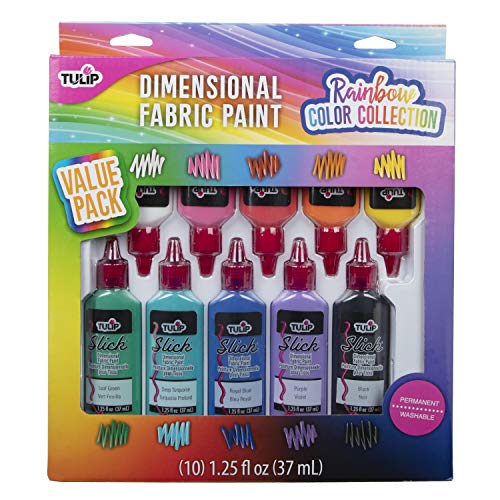
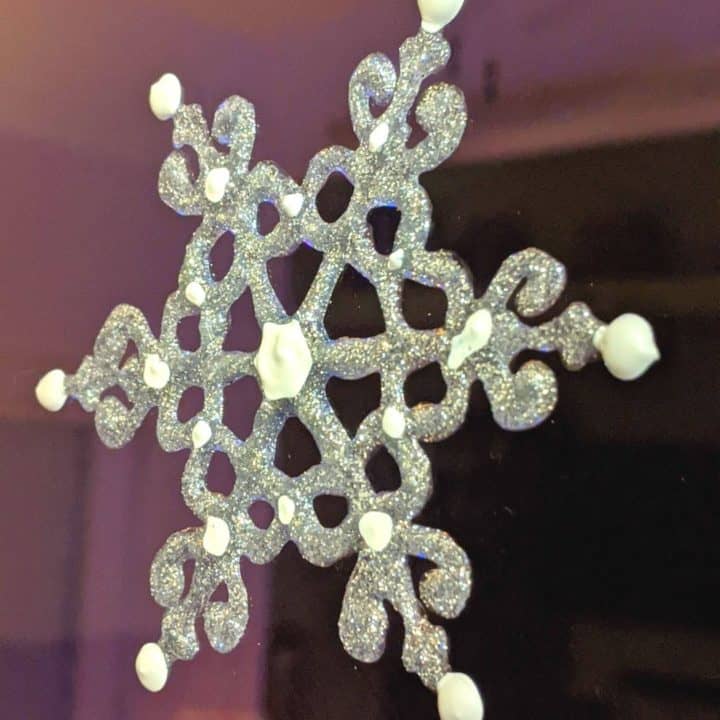
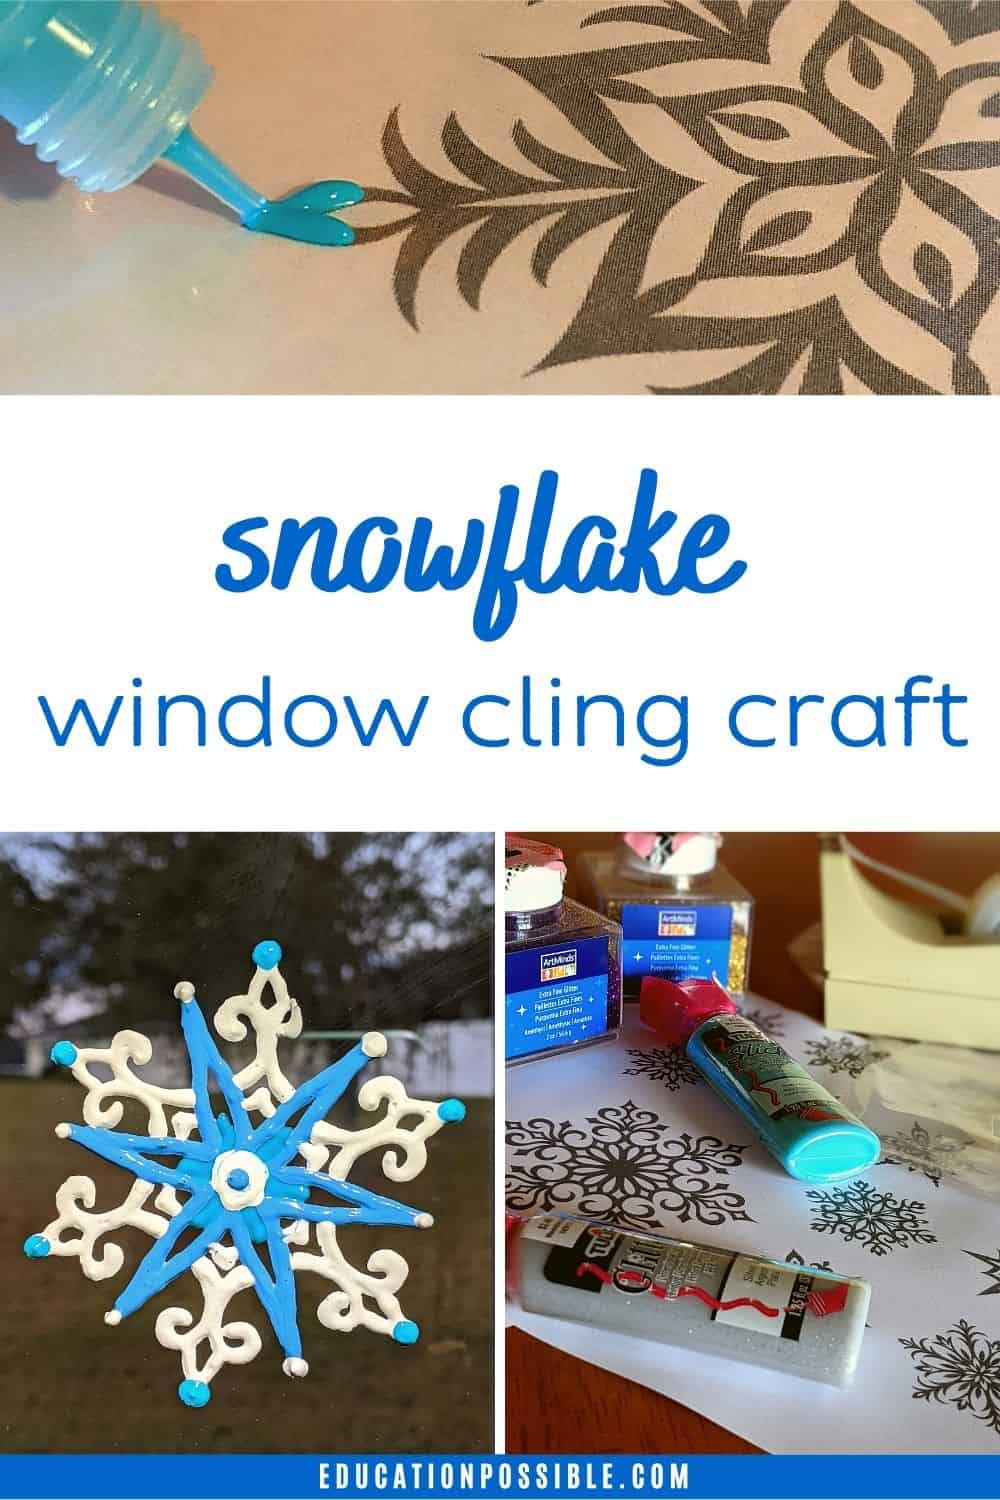
For our snowflakes, we found patterns that were free to use, taped a plastic bag over them, and covered the designs with puffy paint. My teen wanted hers to sparkle, so she added some glitter to it after she was done with the paint.
Then we set them aside to dry.
Simple, right?
Really, the only downside to this craft is that you have to wait at least 24-48 hours for the paint to dry completely. That’s why I love making these toward the end of a weekend. By Monday, we’re jumping back into school, which distracts my kids, so they’re not obsessively checking to see if they’re ready.
Two things to keep in mind that will make it simpler to remove the snowflake from the plastic without ripping it.
- Use more paint than you think you need.
- Make sure that all of your lines touch each other.
Keep reading for detailed step-by-step directions and a printable supply list.
Materials Used
I wanted to highlight some of the supplies we used to make it easier for you to find what you’re looking for.
- puffy paint for the clings
- glitter to add to the design
Remember, not all of the supplies for the snowflake window clings are linked above.
Snowflake Window Decal Project
Ready to make some homemade snowflake window clings? Here are the step-by-step instructions.
DIY Snowflake Window Cling
Use puffy paint to create your own unique snowflake window cling.
Materials
Tools
Instructions
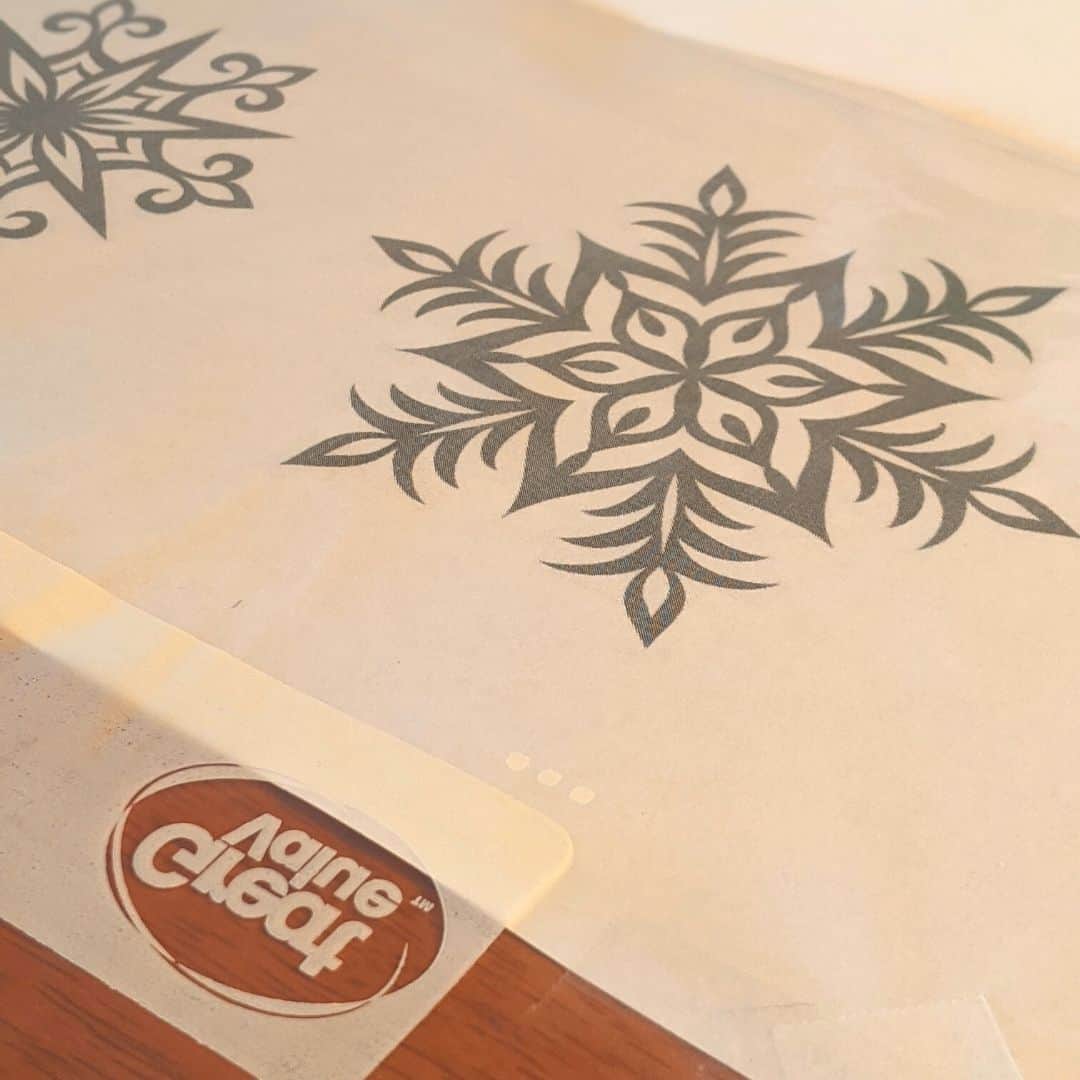
- Prepare your template. Draw a snowflake yourself on a piece of paper, download and print a snowflake template using creative commons images, or purchase one online. Just make sure the lines are dark and clear.
- Tape your snowflake design to the table and then affix a zip lock bag over it so neither will move.
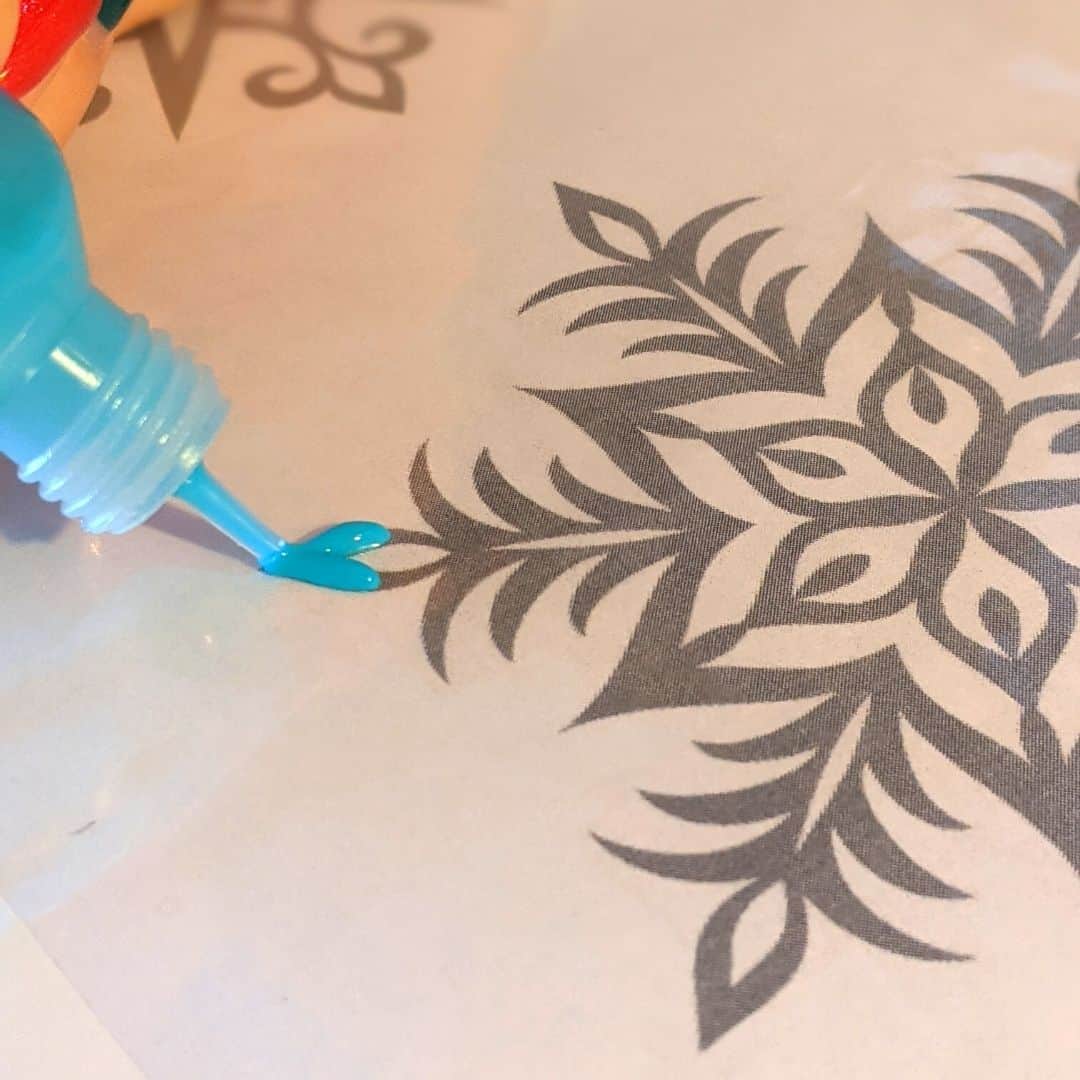
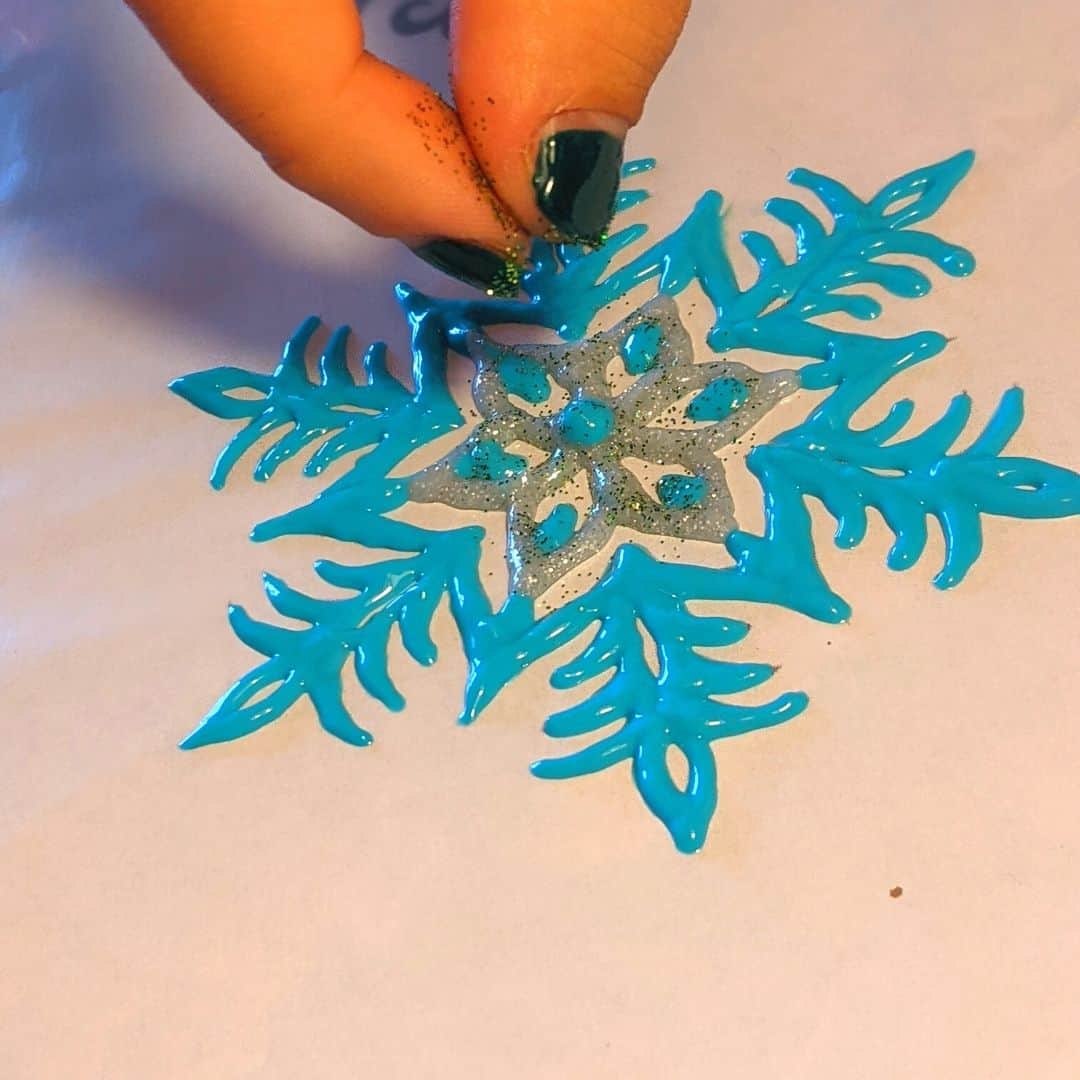
- Using puffy paint, trace over the lines on your snowflake, making sure to follow the template. You need to use thick lines of paint that all connect. This will make sure that your design is sturdy enough to hold together. Because you're using puffy paint, the paint won't run unless you mix it purposefully, so feel free to switch between colors as part of your design.
- You can leave it as is or sprinkle on some glitter anywhere you want a little sparkle. For this, fine glitter works better than chunky.
- Remove the tape and carefully place the plastic on a dry flat surface where it won't be disturbed. Let dry for 48 hours.
- Slowly and carefully peel the cling off of the plastic, paying close attention to any thin lines or edges. You don't want them to rip as you're removing the design.
- Stick your snowflake on the window.
Notes
Instead of taping down the design and then a ziplock bag, you could place your template into the bag and secure it. Or you could use wax paper to cover your snowflake outline in place of a plastic bag.
Make your lines thicker than you think you need to so the final snowflake is easy to remove.
Recommended Products
As an Amazon Associate and member of other affiliate programs, I earn from qualifying purchases.


Hopefully, you’ve seen how incredibly easy it is to make your own window clings. Now you can easily decorate your windows, mirrors, and glass doors with personalized designs every season.
Additional Tween Craft Ideas
If your older kids want to make some more winter crafts, here are some that I think they’ll love.
- If your teens like paper crafts, they’ll love learning how to make these 3D snowflakes.
- This tin can snowman is a simple winter craft that looks adorable on display.
- Tweens will get a kick out of this cute clay pot penguin.
Will you be making snowflake window clings for your home this winter?

Latest posts by Megan Zechman (see all)
- Easy Pumpkin Crafts - August 21, 2023
- Middle School Geography Curriculum - August 11, 2023
- Outdoor Geography Activities - August 4, 2023