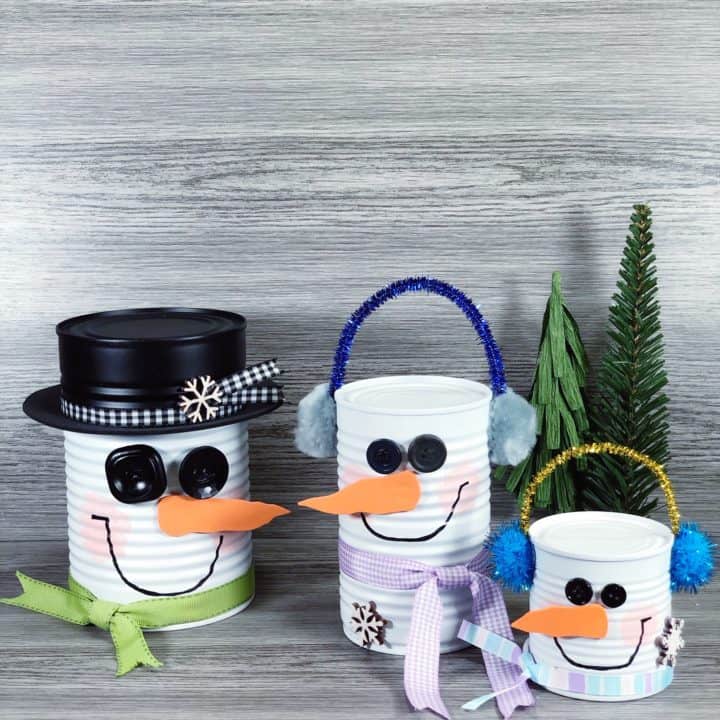
Cute Recycled Tin Can Snowman Craft
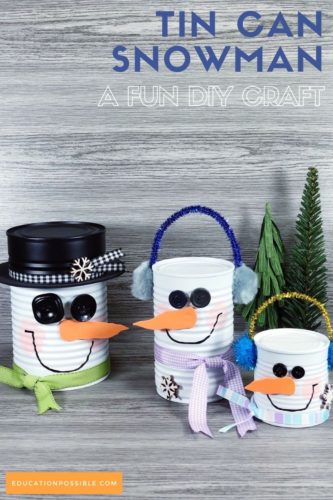
This tin can snowman is a great winter craft for kids.
Straight out of the recycle bin, these soup can snowmen are quick and easy to create with the family in an afternoon with simple supplies that you may already have in your craft box.
It’s a wonderful way to spend some time with your tweens while making the perfect decoration for winter.

Any links in this post may be affiliate links. See my disclosure statement.
Winter can be long, so why not keep some winter-themed decorations out until Spring to bring some joy to your days? Snowmen, like these made out of cans, are the perfect icons to display.
Table of Contents
Tin Can Snowman
I don’t know about you, but I love it when an adorable DIY project also uses recycled materials. It’s a total win-win in my book. You get to use something that would have been discarded, plus you get a sweet decor piece.
You might as well consider making all three of these cuties from the beginning because you’re going to fall in love with your creation and will want to make a bunch of them, anyway.
Plus, then you’ll have a whole group of snowmen to display around the house, including your older kids’ rooms. Luckily, they’re cheap and easy to produce.
If you’re a fan of snowmen, and really, who isn’t, this upcycled craft is the perfect way to liven up the dark winter days. Make one during your next snow day!
How Do You Make a Snowman Out of Tin Cans
Essentially, you will find a can the size you’d like your snowman, wash it out, and dry it completely. Soup-sized cans work very well for a medium-sized snowman.
I you want a larger product, use a 32 ounce can or even a coffee canister. For smaller snowmen, use an 8 ounce tin can, like from tomato sauce.
Paint the cans white, completely covering up the silver.
If you want your piece to have a black hat, paint the top section of the can black. Then, cut out a circle of black foam, remove a smaller circle from the center and slide it over the can to the bottom edge of the black paint.
Glue on your button eyes, make and attach a felt or foam carrot nose onto the can, and then draw a smile onto your snowman.
If you want your project to have earmuffs instead of a hat, add them onto the top of the can and tie a scarf around it toward the bottom.
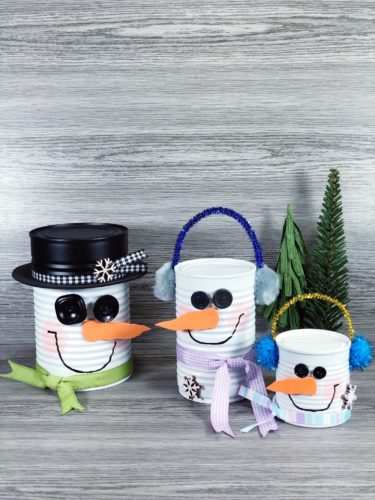
Of course, these are simplified instructions. Keep reading for step-by-step details, including pictures, for how to make the three different sized-snowmen pictured here with a printable supply list.
Customization
Tweens and teens love personalizing their crafts and making them truly one-of-a-kind creations. This project is incredibly easy to make unique.
- use all kinds of tin cans to make your design
- change up the color and style of hat or earmuffs, maybe create a winter hat instead from a sock
- instead of using ribbon for the scarf, grab a piece of cool patterned fleece
- add some stick arms by gluing twigs or brown foam onto the sides of the can
Encourage your kids to be creative and really make this design their own.
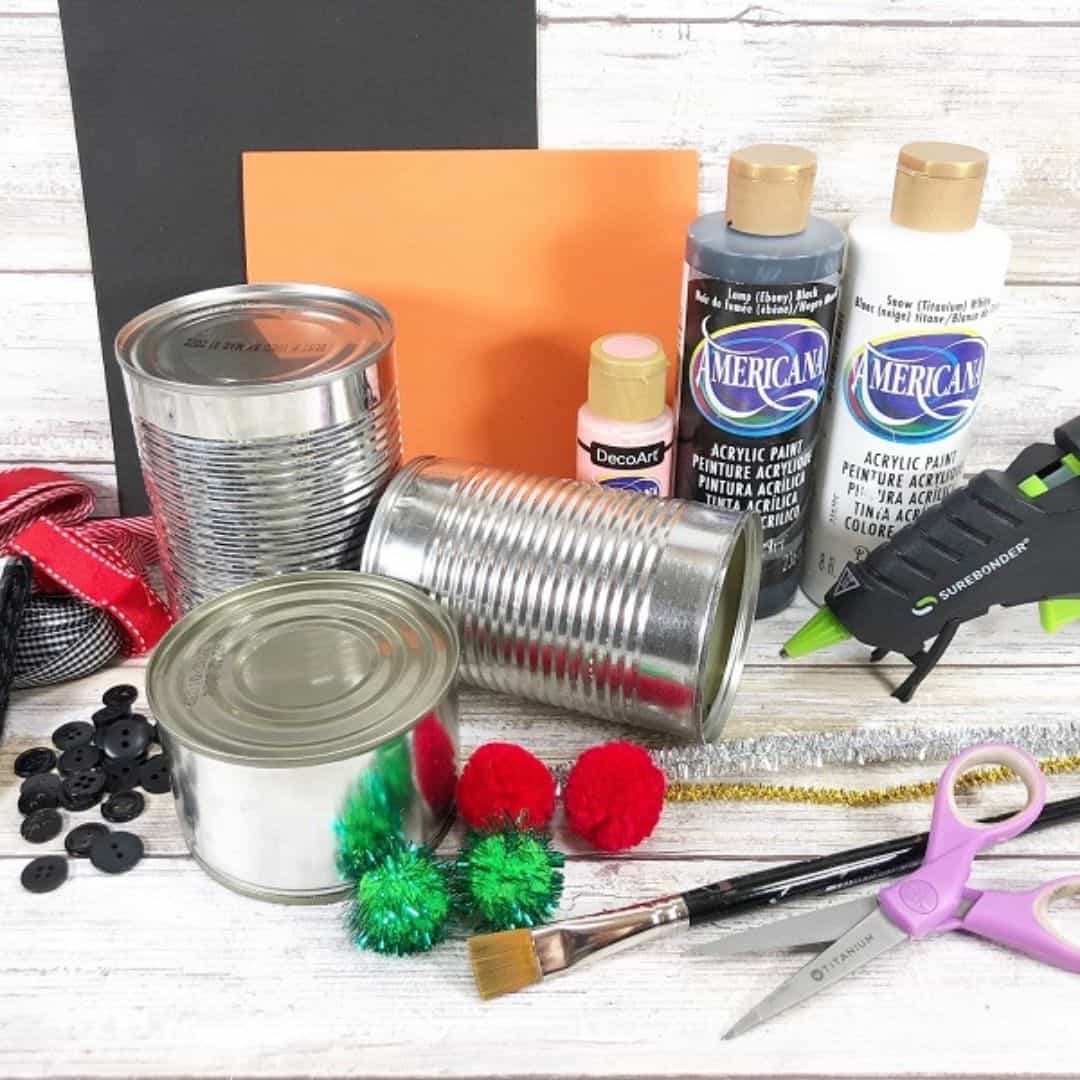
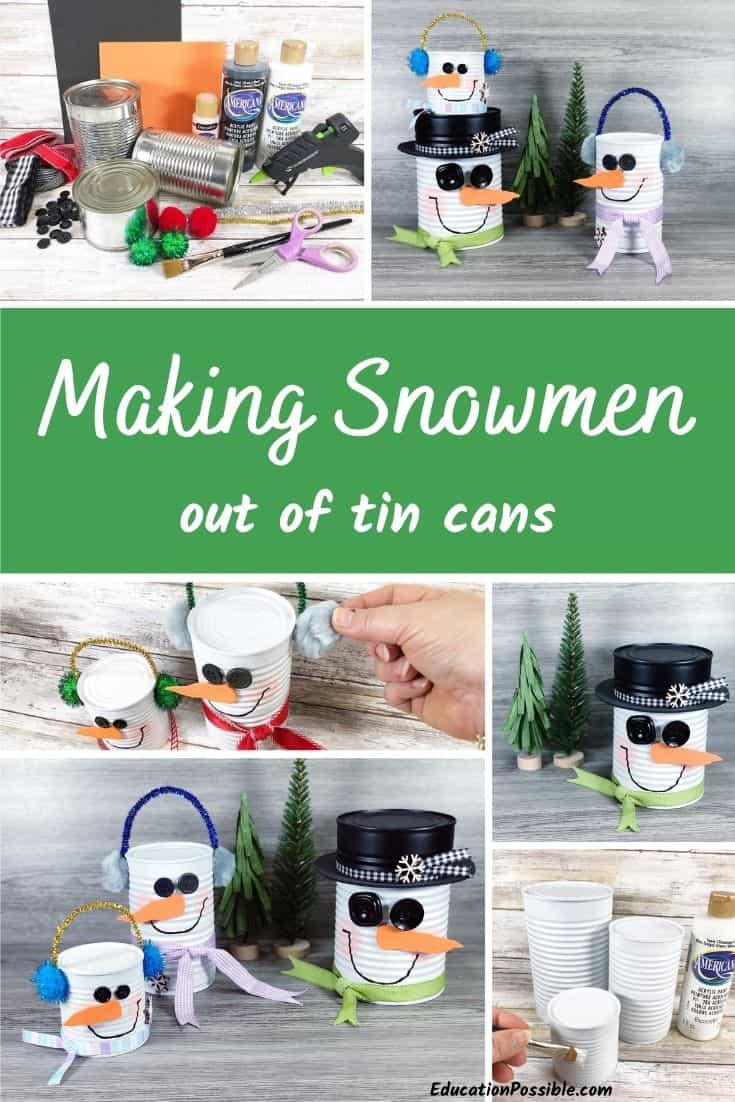
Materials Used for This Upcyled Craft
Here are a couple of the chief supplies you’ll need for these three different snowmen.
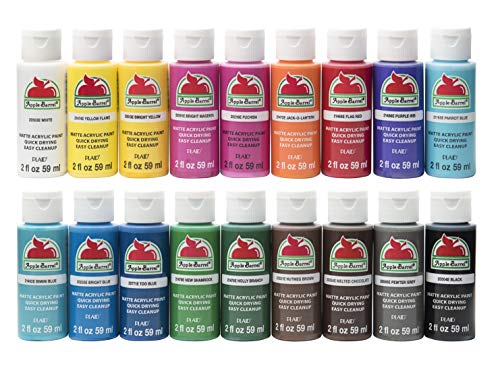
- Acrylic paint – white, black, and pink
- Black buttons in a variety of sizes
- Ribbon in assorted widths
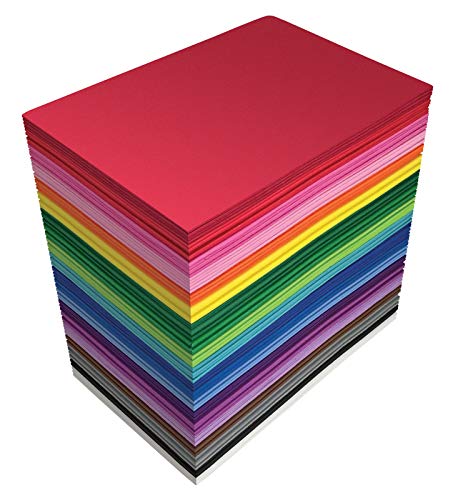
- Craft foam – orange and black

Remember, not all supplies needed for the tin can snowman are listed here.
Recycled Tin Can Snowman
Are you ready to make your own snowman? Here are step-by-step instructions.
Tin Can Snowman Craft
Straight out of the recycle bin, these Soup Can Snowmen are quick and easy to create with simple supplies, many you probably have on hand.
Materials
- Recycled Cans – Large Bean, Soup, and Mini Veggie sizes
- Acrylic Craft Paint – White, Black, Light Pink
- Black Permanent Marker
- Buttons, Black – Assorted Sizes
- Craft Foam, Black and Orange
- Pom Poms
- Glitter Chenille Stems
- Glitter Snowflake Stickers
- Ribbons – Assorted
- Chalk Pencil, White
Instructions
STEP ONE
To begin, gather all supplies.
Wash and dry the metal cans, then apply a basecoat of white acrylic paint. Set aside to dry and apply a second coat, if necessary.
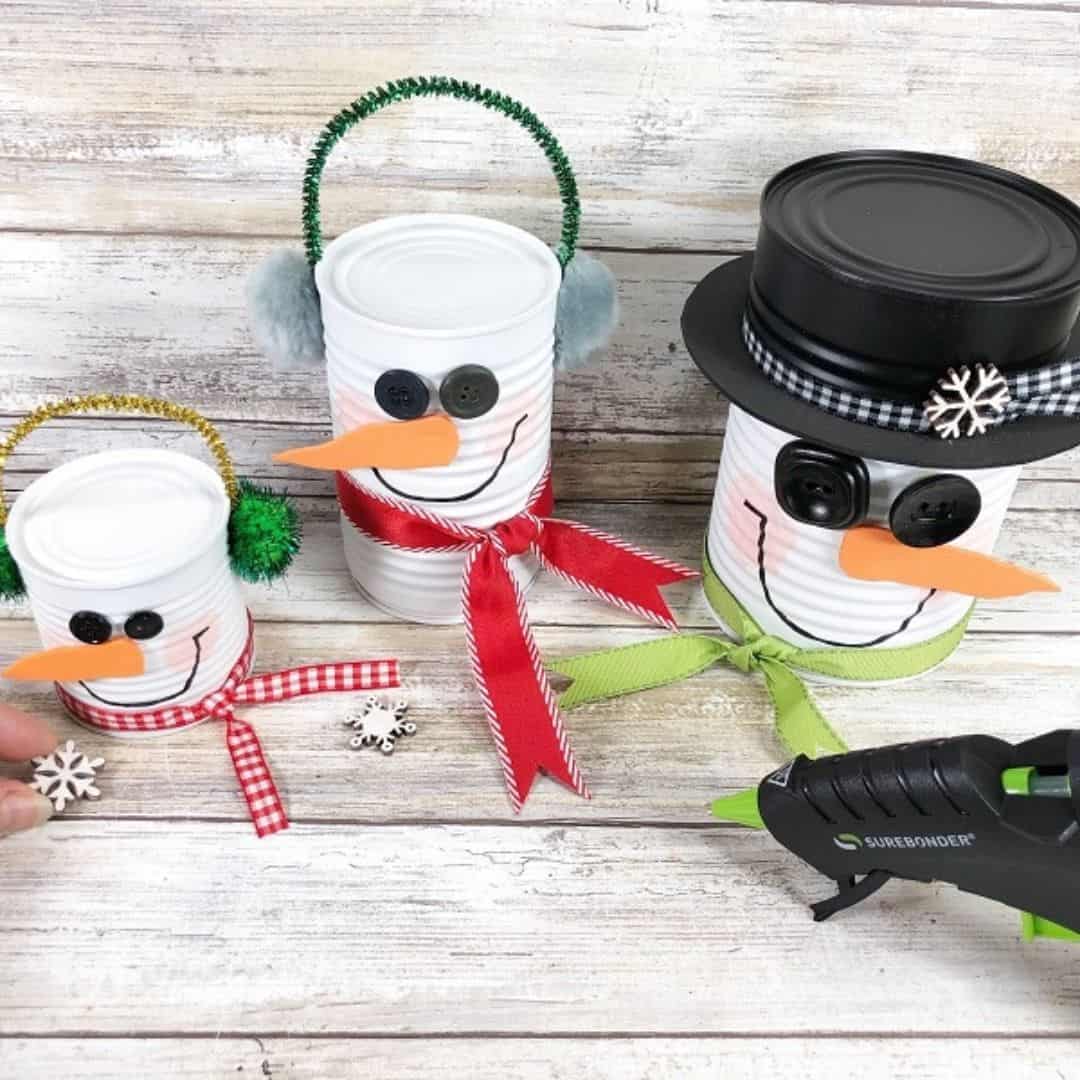
Once dry, paint a three-inch section at the top of the large bean can with black acrylic paint. Set aside to dry and apply a second coat, if necessary.

STEP TWO
Measure the diameter of the large can (this one is four inches) and then trace a circle approximately one inch larger (a bowl from the kitchen) with a chalk pencil onto black craft foam.
Trace the diameter of the large can in the center of the first circle and cut out with scissors.
Slide hat brim onto can where the black and white paint meets. The ridges in the can will hold the brim in place, but you can secure with a glue gun.

STEP THREE
Attach two button eyes to each snowman with a glue gun and glue sticks. Paint two rosy cheeks onto each snowman with light pink acrylic paint.
Cut three rectangles from orange craft foam and then shape into long triangle carrot noses with scissors. Glue noses to faces under the eyes.
Draw a large smile onto each snowman with the permanent marker.
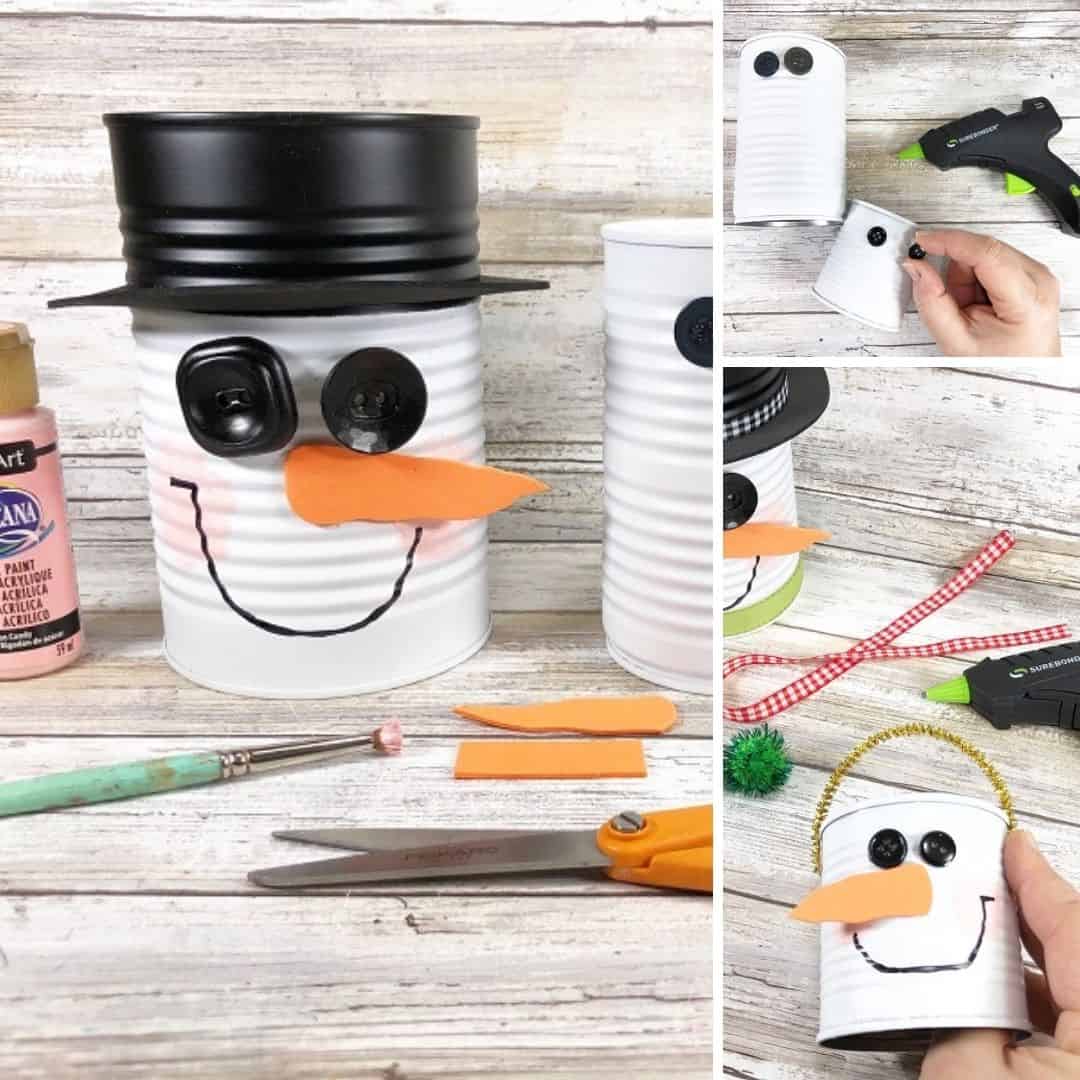
STEP FOUR
Attach tinsel chenille stems to the medium and small snowmen, from ear to ear, with a glue gun.
Glue pom-poms over the ends of the chenille stem to be the snowmen’s earmuffs.
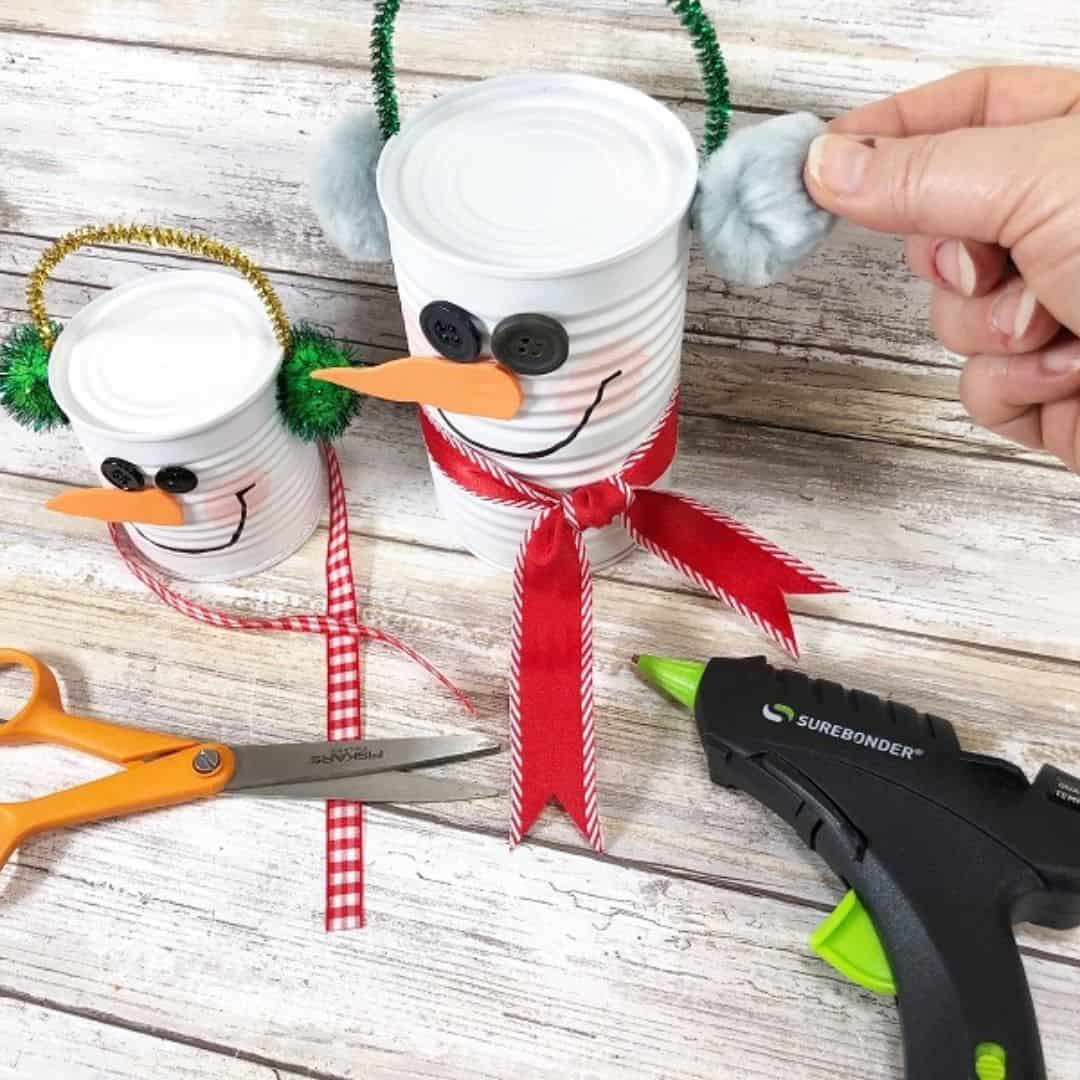
STEP FIVE
Attach a piece of ribbon around the large snowman’s hat, securing with a glue gun. Tie ribbons around the base of each soup can as the snowmen’s scarves.
Accent all three snowmen with sparkly snowflake stickers.
Notes
Many of the supplies you need for this craft can be found at the Dollar store, making it a very inexpensive project.
You can get creative with your eyes - use square and round buttons to make a quirky snowman.
It’s time to dig into that recycle bin, get grab your tweens, and create your very own snow family that represents each member of your family. They’ll look so cute on display throughout the winter.
Additional Winter Crafts
- Want even more adorable snowmen to display this winter? Check out this simple DIY sock snowman.
- An incredibly simple project that looks amazing when displayed are these snowflake window clings.
- Another cute winter-themed craft is this flower pot penguin.
Are you ready to make your own tin can snowman?

Latest posts by Megan Zechman (see all)
- Easy Pumpkin Crafts - August 21, 2023
- Middle School Geography Curriculum - August 11, 2023
- Outdoor Geography Activities - August 4, 2023