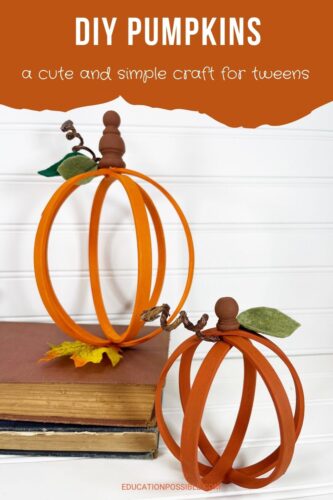
Simple Embroidery Hoop Pumpkin Craft for Tweens
This embroidery hoop pumpkin craft is perfect for tweens.
Is your house starting to feel a little bit like fall? If you’re like me, you can’t wait to start decorating for the season.
These DIY pumpkins are a great way to have some fun with your kids. They’re not only super cute, but they’re simple to make. Plus, when you’re done, you can use them to give your home that cozy autumn feeling.
Trust me, when you see how adorable these pumpkins are, you’ll want to create a whole patch of them!
Any links in this post may be affiliate links. See my disclosure statement.
Table of Contents
Fall Crafts for Middle School
Fall is my favorite season. The weather is perfect and there are so many fun things to do. The parks are festively decorated and start their holiday events. College football begins. And pumpkin spice everything! What’s not to love about fall?
One of my favorite things to do is decorate our home, especially with homemade things. For years, my kids and I have made all kinds of fall-themed crafts we continue to use as our holiday décor.
If you’re worried that your crafting days are over now that your kids are older, don’t. Tweens love DIY projects too. You just have to be choosier. While you may not be able to put some construction paper in front of them and call it a day, crafts like this embroidery hoop pumpkin will capture their interest.
Pumpkin Table Decoration
This DIY pumpkin craft makes an excellent decoration for your holiday table or throughout your home. You can easily use varying sizes of embroidery hoops to make a bunch of pumpkins that you can group together.
The pumpkin is a traditional symbol of fall, and this is such a fun and easy craft to make. I think using embroidery hoops to create pumpkins makes for a really unique and eye-catching decoration. My teens and I will definitely be adding some of these cute pumpkins to our fall décor!
DIY Pumpkin Craft
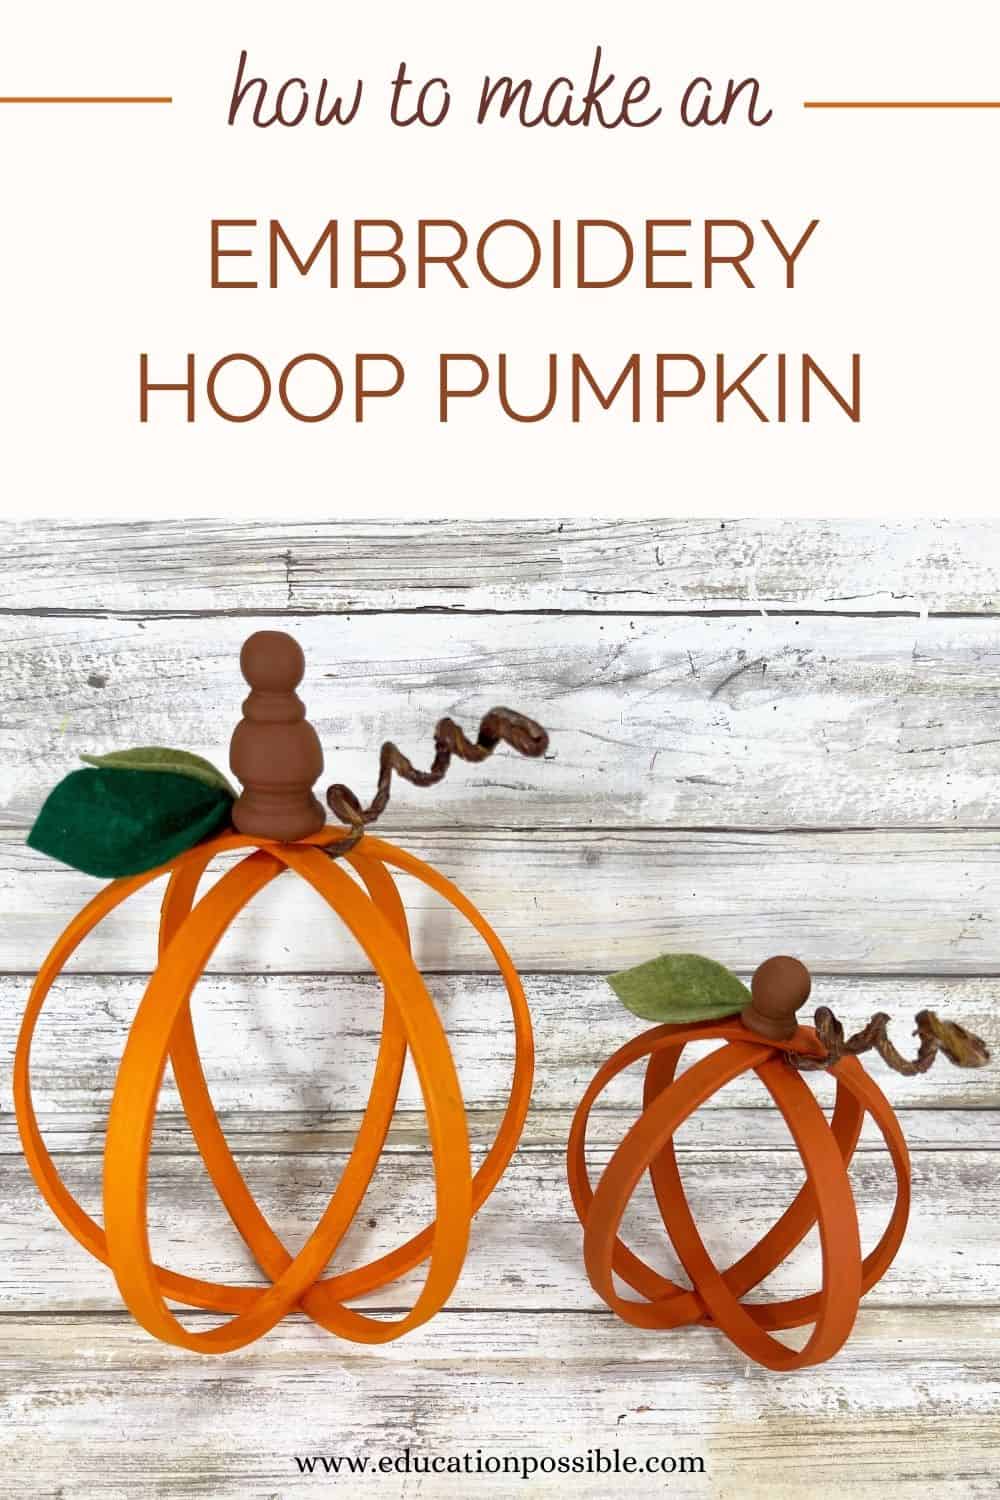
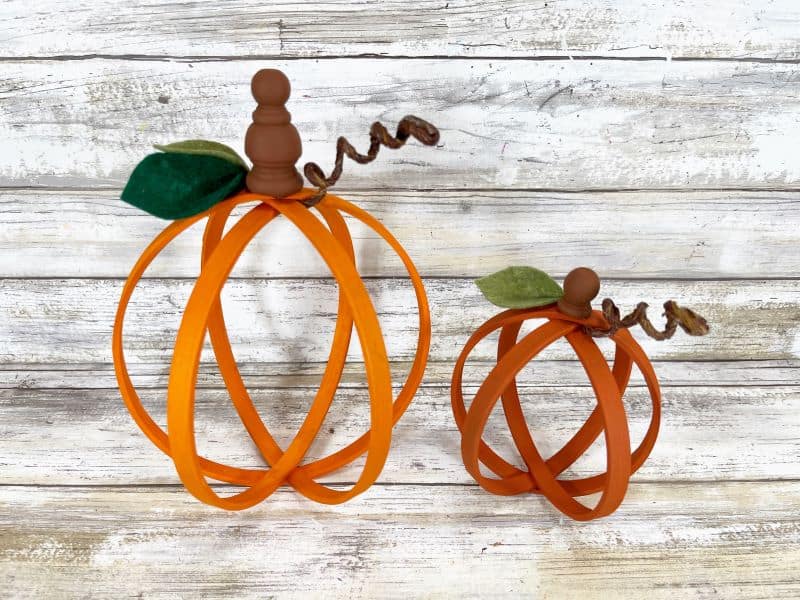
As I said, these embroidery hoop pumpkins are a simple project and will take your tween less than 30 minutes to make.
Essentially, they’ll be painting three hoops orange and putting them together into a pumpkin shape. Brown painted finials and green felt leaves help to finish the fall pumpkin.
Keep reading for detailed instructions and printable supply list.
Customize the Pumpkin
There are a couple of things you can do to make your pumpkins a bit more unique.
- The directions call for 4″ and 6″ embroidery hoops for this craft, but you can make your pumpkins any size by purchasing smaller or larger hoops.
- Change up the stems by using different sized finials or using something that’s a different shape completely.
Materials Used for the Embroidery Hoop Pumpkin Craft
I’ve highlighted some of the supplies you’ll need so you know what you’re looking for.
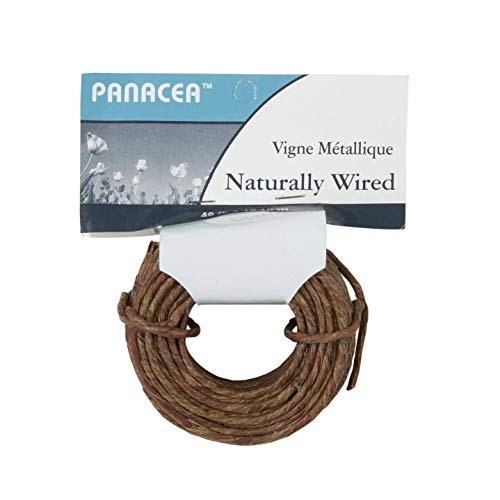
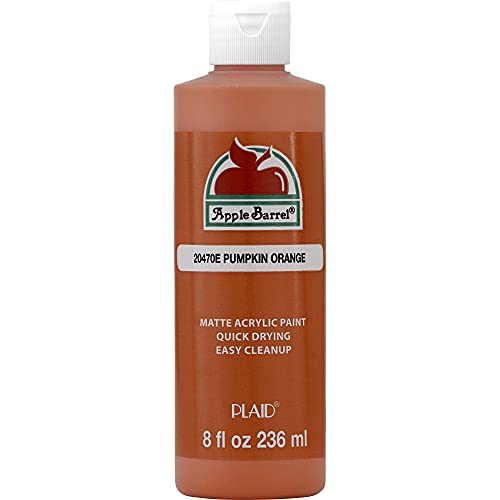
Finial Dowel Cap – 3/4″ Naturally Wrapped Vine Covered Craft WirePumpkin OrangeFelt Fabric Sheets

Remember, not all supplies needed for the DIY embroidery hoop pumpkins are listed here.
Excited to add new homemade decorations to your home this season? Check these out.
- Tweens will love using clothespins to create this cute pumpkin wreath.
- Upcycle crochet thread to make these pumpkins.
- This fall luminary is incredibly simple to make and looks great when lit up.
- Turn a glass vase into a cute candy corn luminary.
- These fall crafts for teens make adorable decorations.
Fall is the perfect time to get creative with your decorating. These embroidery hoop pumpkins are a unique and fun way to add some autumn spirit to your home. We hope you and your tweens are as excited about them as we are!
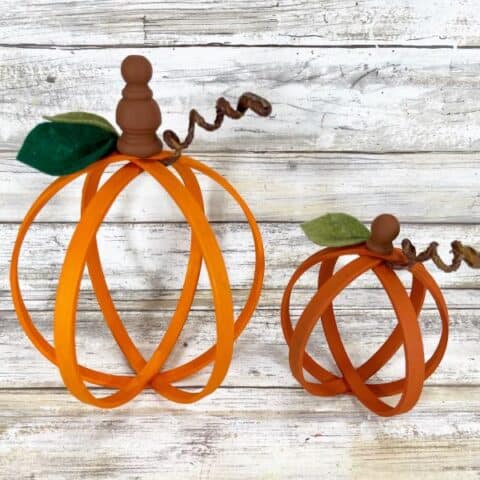
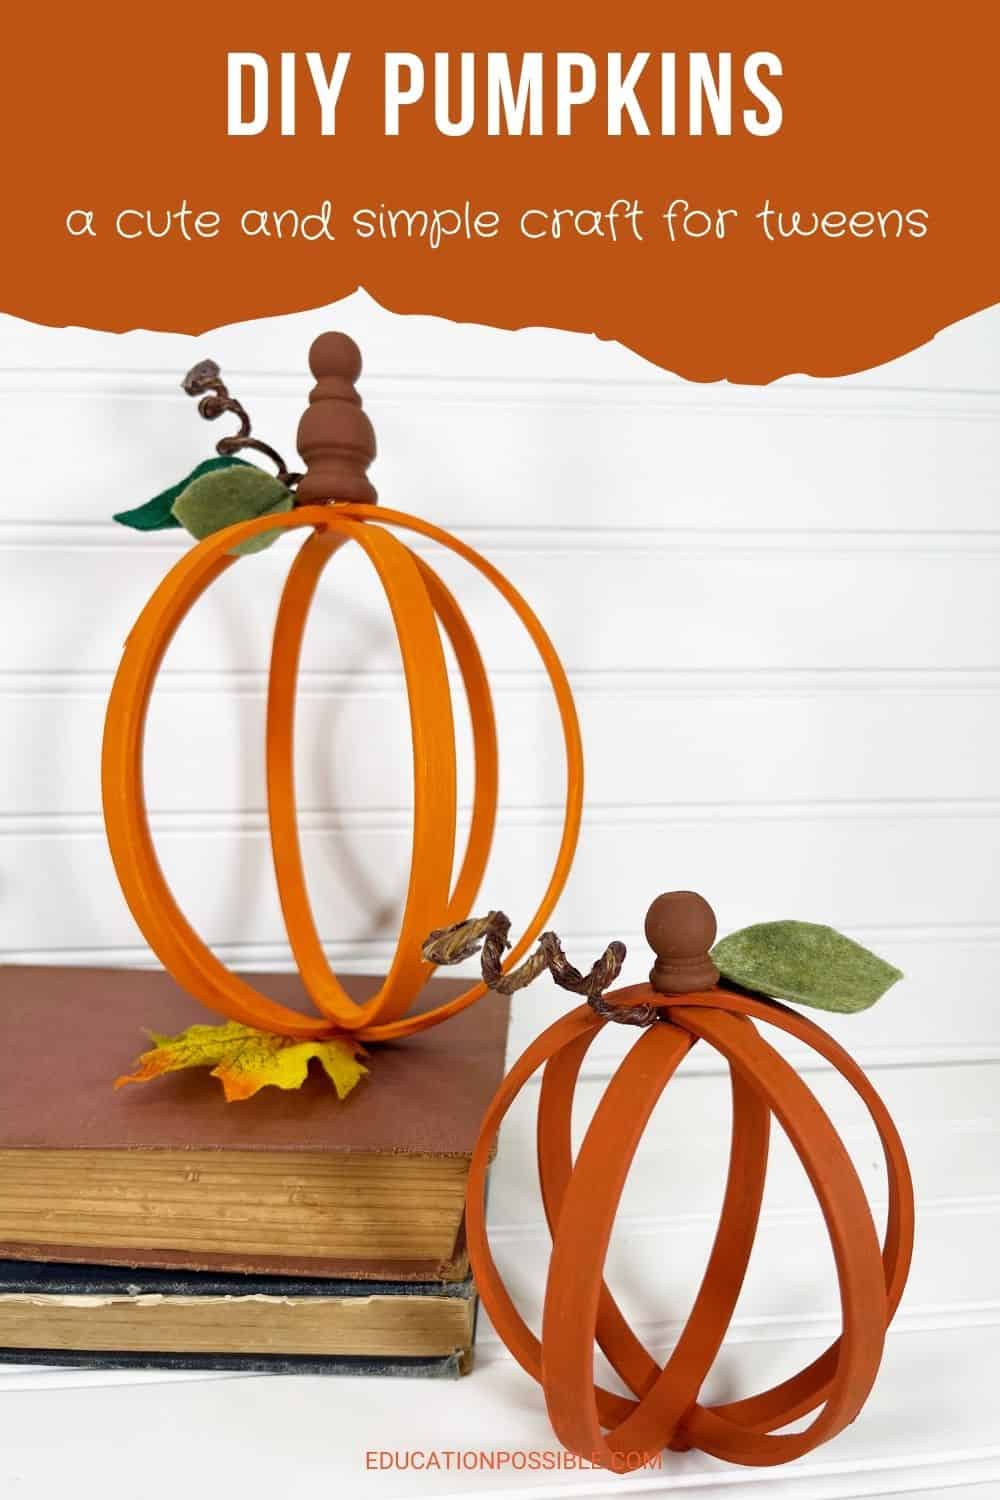
Embroidery Hoop Pumpkin Craft
Embroidery hoops plus fun wooden finials and paint combine to make a pair of perky
pumpkins that are the perfect addition to your Fall Décor.
A quick and easy 30-minute craft.
Materials
- 3 Embroidery Hoops of each size – 4” and 6” in diameter
- 1 Sheet of each color of Craft Felt (9" x 12”) - Dark Green and Olive Green
- Wooden Finials – Small (2) and Medium (1)
- Acrylic Craft Paint – Bright Orange, Burnt Orange, Dark Brown
- Brown Wired Twine
Tools
- Scissors
- Hot Glue Gun and Glue Sticks
- Paintbrush
- Wire Cutters
- Pencil
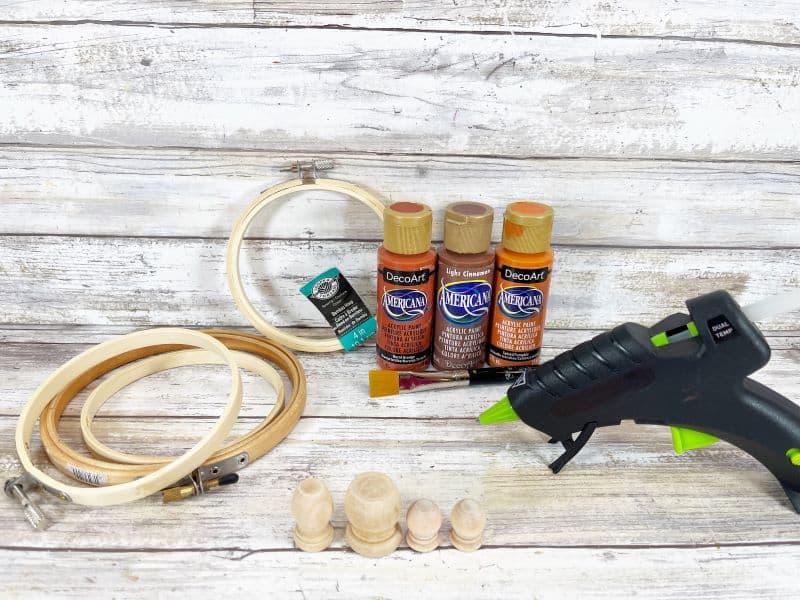
Instructions
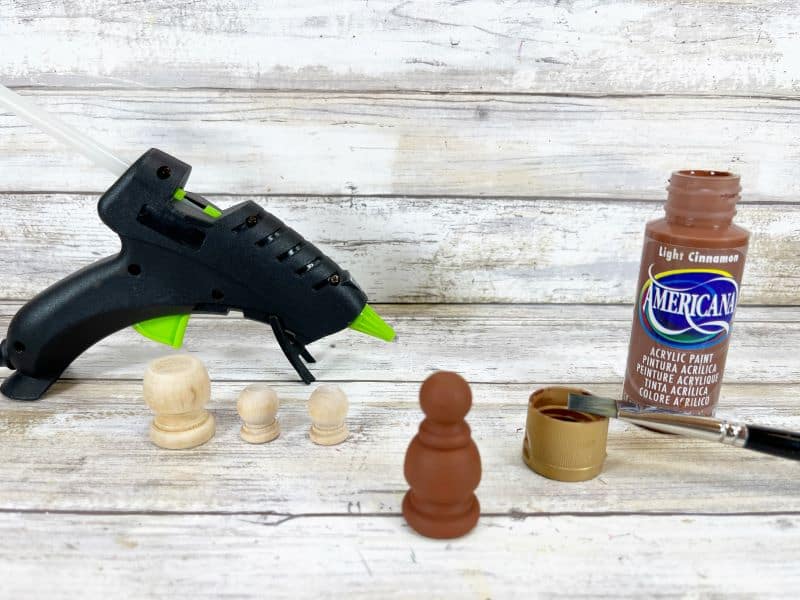
Gather all supplies. Wooden embroidery hoops can be found in the stitching area of the craft store. Unfinished wooden finials can be found in the craft section.
Loosen the metal screws and separate the inner and outer hoops so you have three hoops in each size.
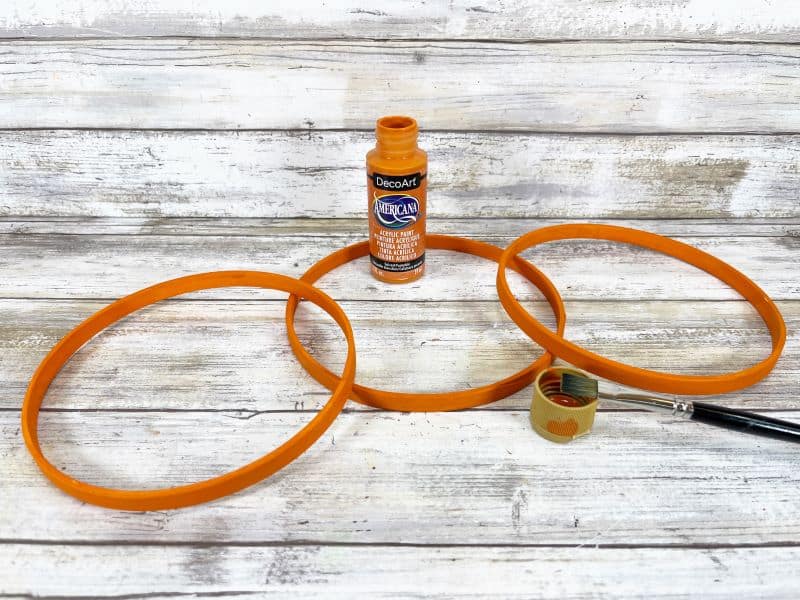
Paint the 6” embroidery hoops with bright orange acrylic craft paint. Set aside to dry and apply a second coat, if necessary. Repeat the process for the 4” embroidery hoops, using burnt orange acrylic craft paint.
Attach one of the small wooden finials to the top of the medium wooden finial with the glue gun and glue sticks to create a large wooden finial. This is for the 6" pumpkin. The other small finial will go on top of the 4" pumpkin.
Basecoat both finials with dark brown acrylic craft paint. Set aside to dry and apply a second coat, if necessary.
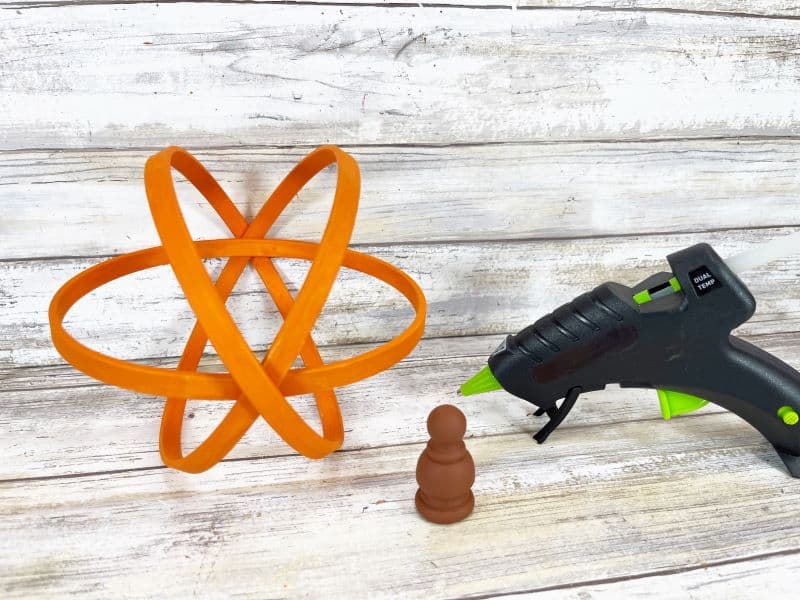
Starting with two 6” embroidery hoop pieces, insert one inside the other forming an “X” shape. Slide the third 6” hoop over the first two forming a line through the “X” as shown in the photo. Secure with a glue gun and glue sticks.
Repeat with the three 4” embroidery hoops.
Attach the large finial onto the 6” pumpkin and the small finial onto the 4” pumpkin.
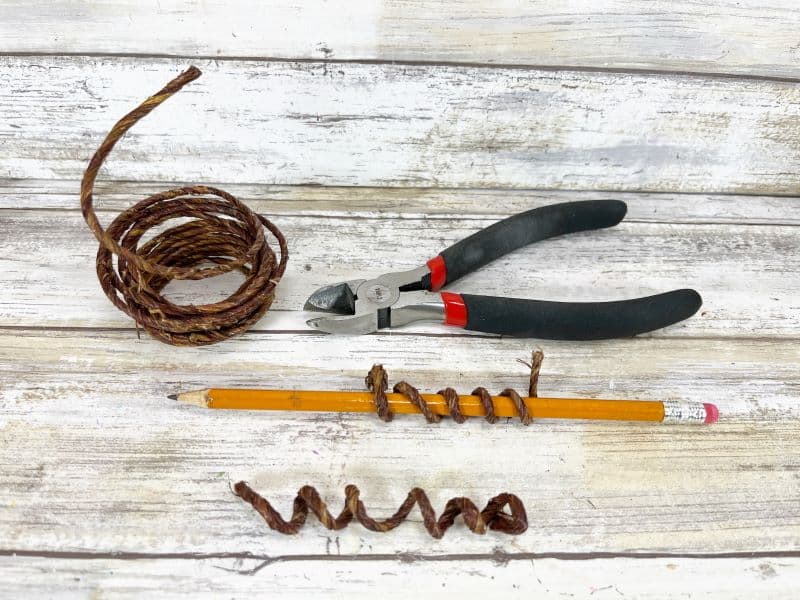
Measure and cut a 12” and an 8” length of wired twine with wire cutters. Wrap around a pencil, creating a coil and then slide off the pencil. Pull the coil apart to create a pumpkin vine.
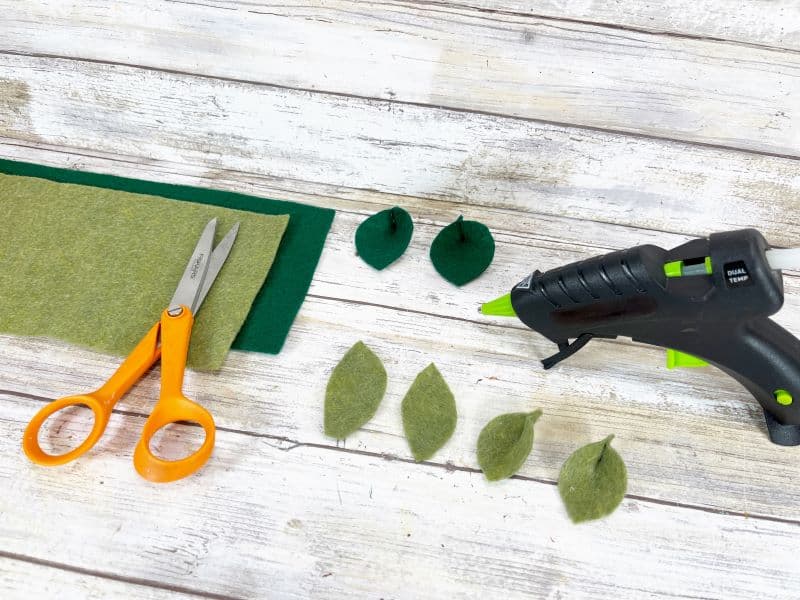
Cut several leaf shapes from olive green and dark green craft felt with scissors. Run a small line of glue at the base of the leaves and fold in half to create dimension.
To finish, attach the wired twine vines to the top of each pumpkin using a glue gun and glue sticks, and then glue the felt leaves to the side of the finials.
Notes
You're only using the inside hoops.
You can use any shade of orange to paint the embroidery hoops. We used a lighter and a darker one so the pumpkins looked different from each other.
After you glue a small finials to the medium one, you essentially create a large finial. This is for the 6" pumpkin. The second small finial goes on top of the 4" pumpkin.
Use whatever shade of green felt you'd like for the leaves.
Recommended Products
As an Amazon Associate and member of other affiliate programs, I earn from qualifying purchases.

Looking for more fall fun?
- Check out these fun autumn activities for families.
- Here are some fall art projects you can do with your tween.
- These fall crafts are perfect for tweens & teens.
- Make this awesome pumpkin sign with your Cricut.
Is your tween ready to make these embroidery hoop pumpkins?

Latest posts by Megan Zechman (see all)
- Easy Pumpkin Crafts - August 21, 2023
- Middle School Geography Curriculum - August 11, 2023
- Outdoor Geography Activities - August 4, 2023