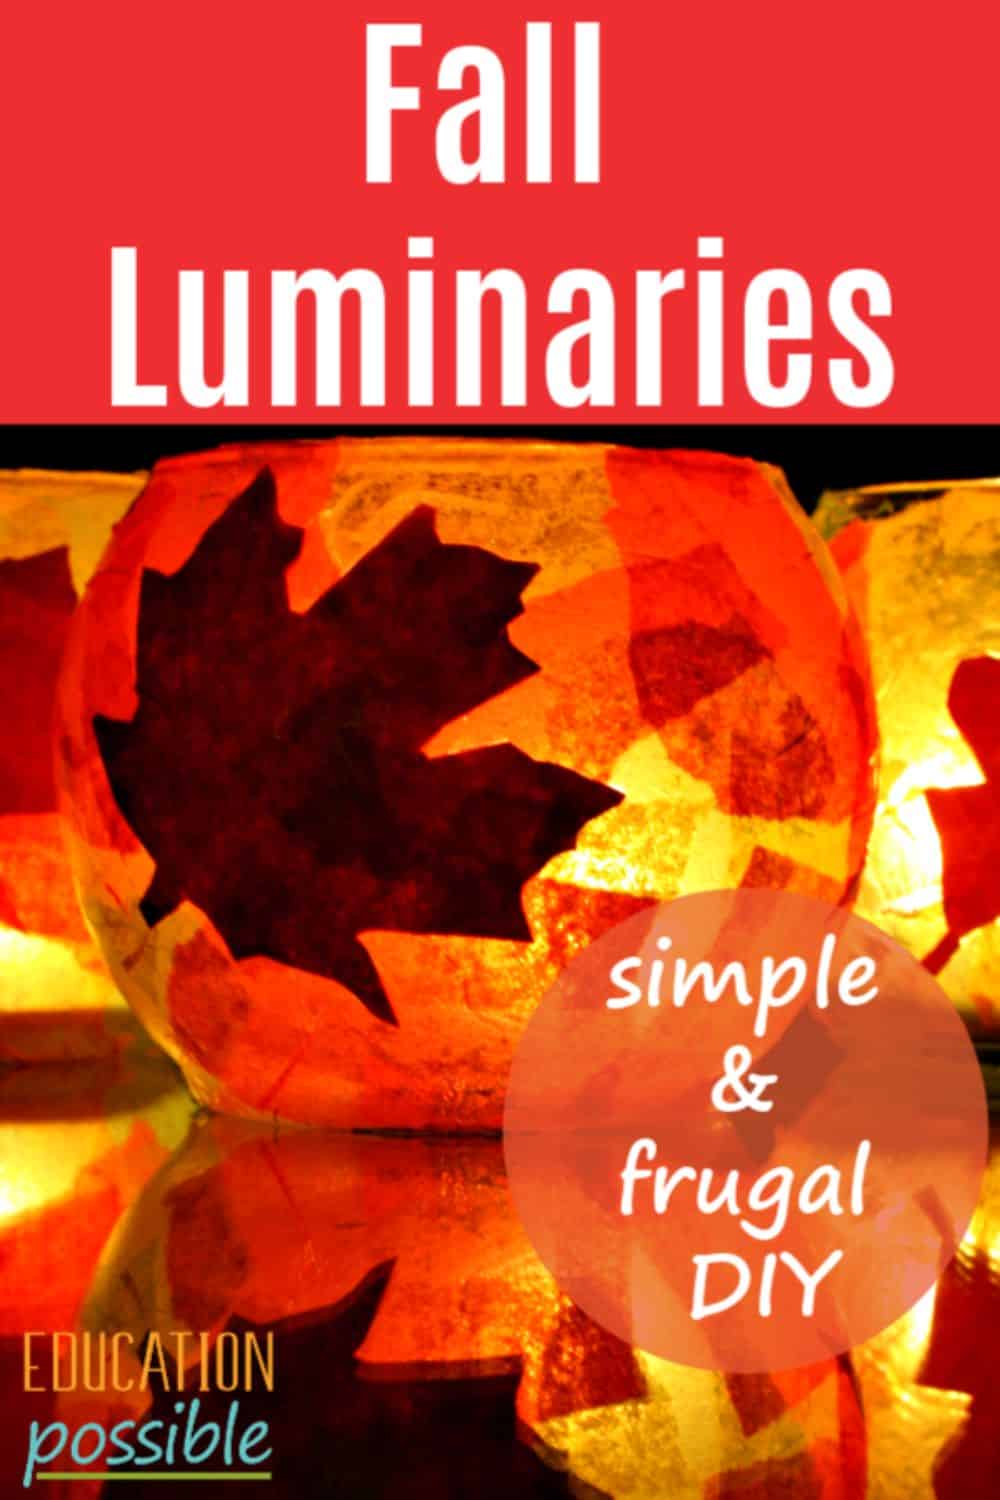
This Simple Autumn Leaf Luminary is a Fun Fall Craft for Kids

Looking for a simple DIY craft for your family? This autumn leaf luminary makes an adorable fall decoration.
Fall is our family’s most anticipated season. One of our favorite things to do is to make autumn DIY projects together to decorate our home. My older kids still enjoy craft projects, especially when they’re centered on a holiday.
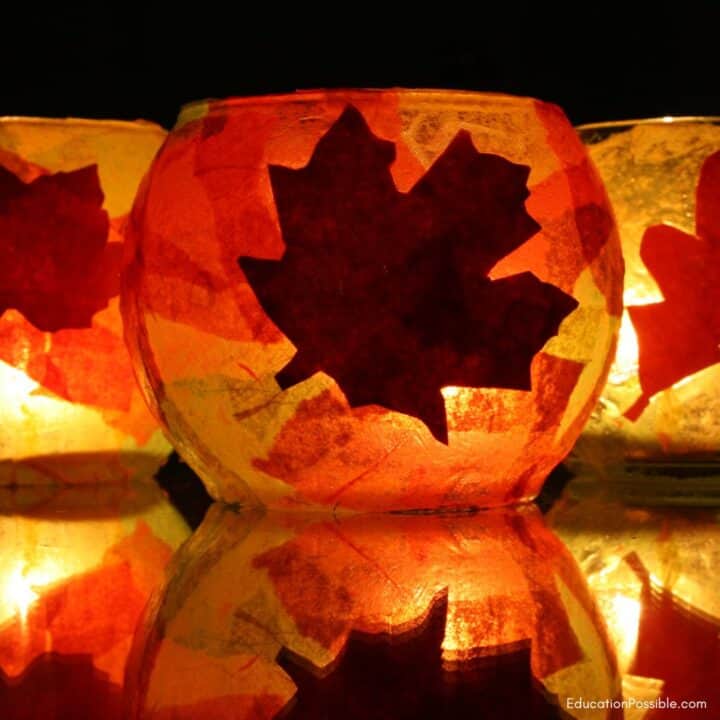
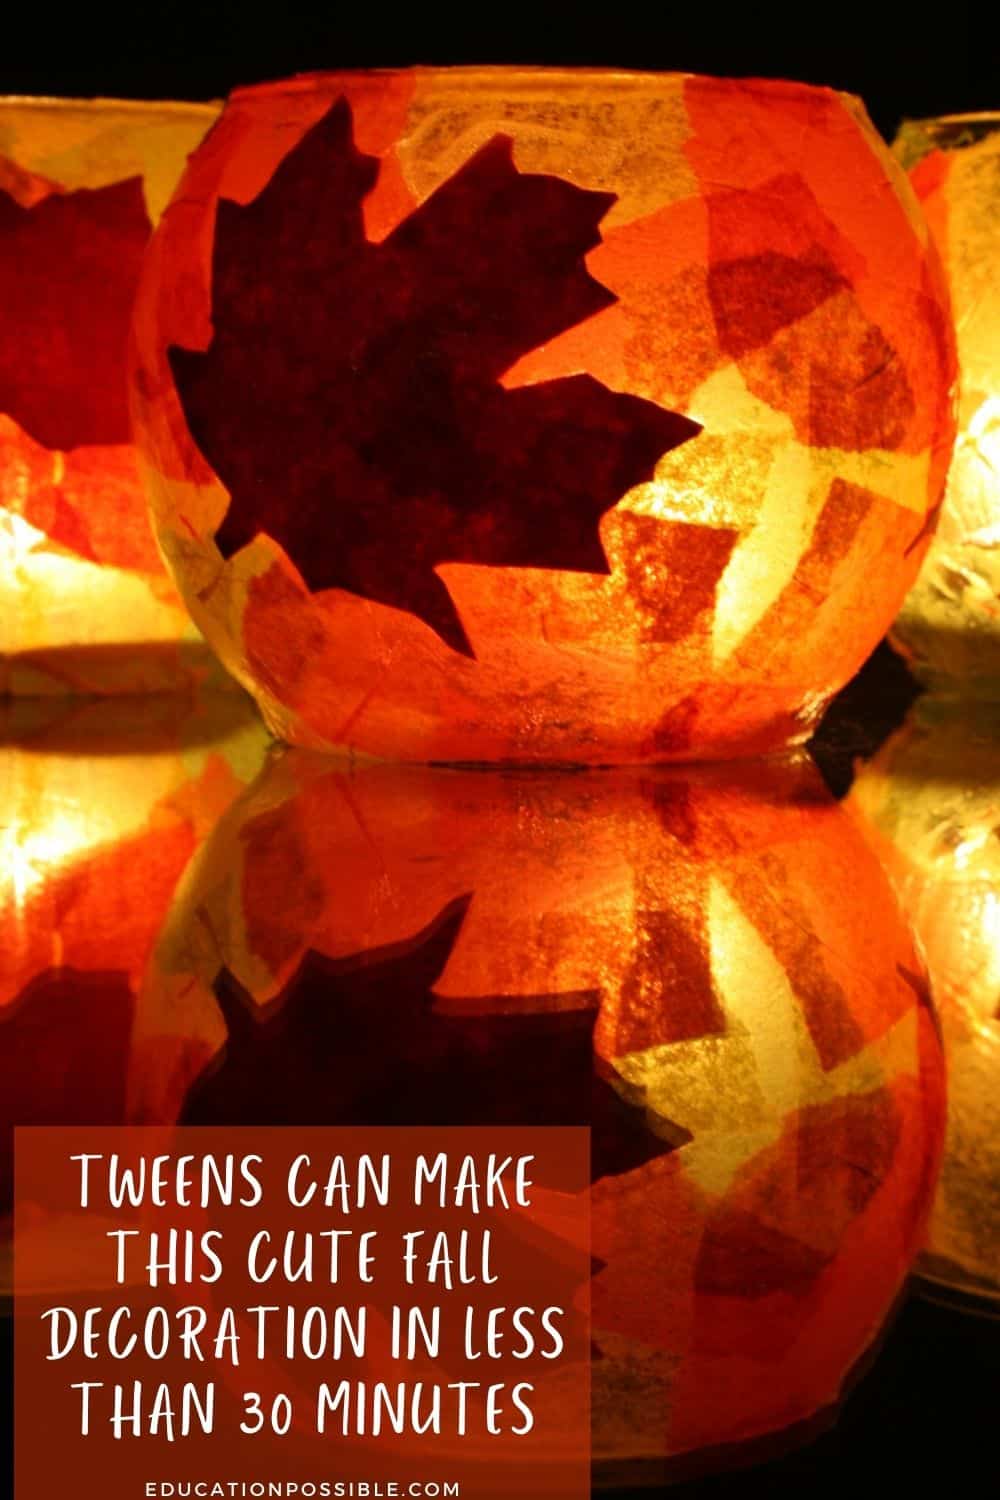
To celebrate, we made these simple, frugal fall luminaries to decorate our home and let me tell you, they are so beautiful at night.
Any links in this post may be affiliate links. See my disclosure statement.
Fall Luminaries Craft
This is a simple fall craft that looks amazing when lit up.
Gather all of your supplies and get ready to create a cute project that will look great on a table or a mantle this season.
Supplies you’ll need:
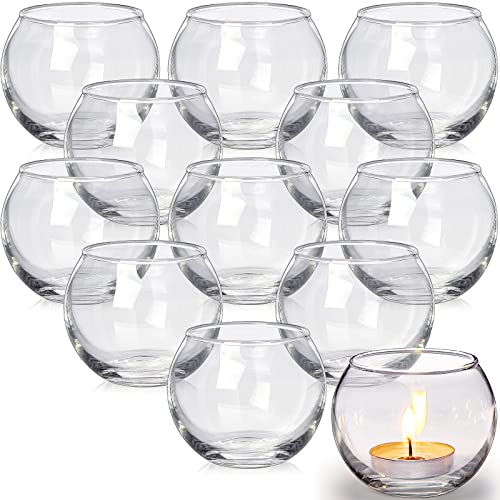
- glass globe
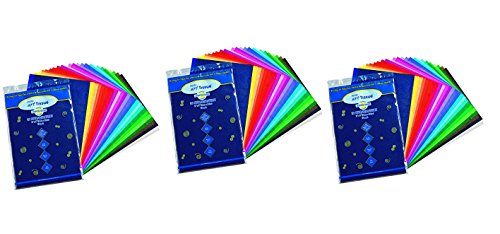
- colored tissue paper
- Mod Podge
- foam brush
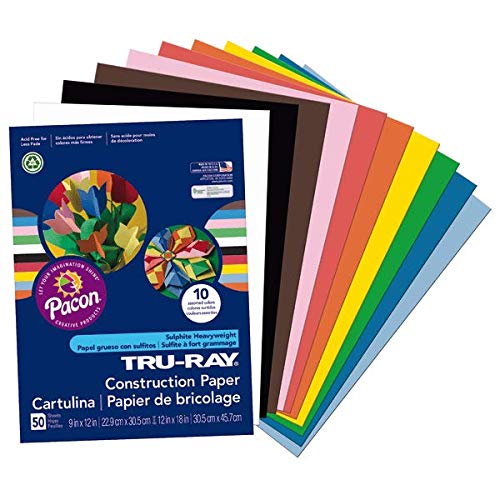
- fall colored construction paper
- pencil
- scissors
- newspaper or scrap paper
- tealight candle
Glass Tealight Candle Holder Tissue PaperMod PodgeConstruction Paper

Autumn Leaf Luminary
Use these step-by-step instructions to make a fall luminary with your kids.
Fall Luminaries
With supplies from the Dollar Store, you can create these beautiful fall luminaries with your kids to decorate your home for the season.
Materials
- Round Glass Tea Light Candle Holder
- Colored Tissue Paper
- Mod Podge
- Construction Paper in Fall Colors
Tools
- Foam Brush
- Pencil
- Scissors
- Newspaper or Scrap Paper
- Tealight Candle
Instructions
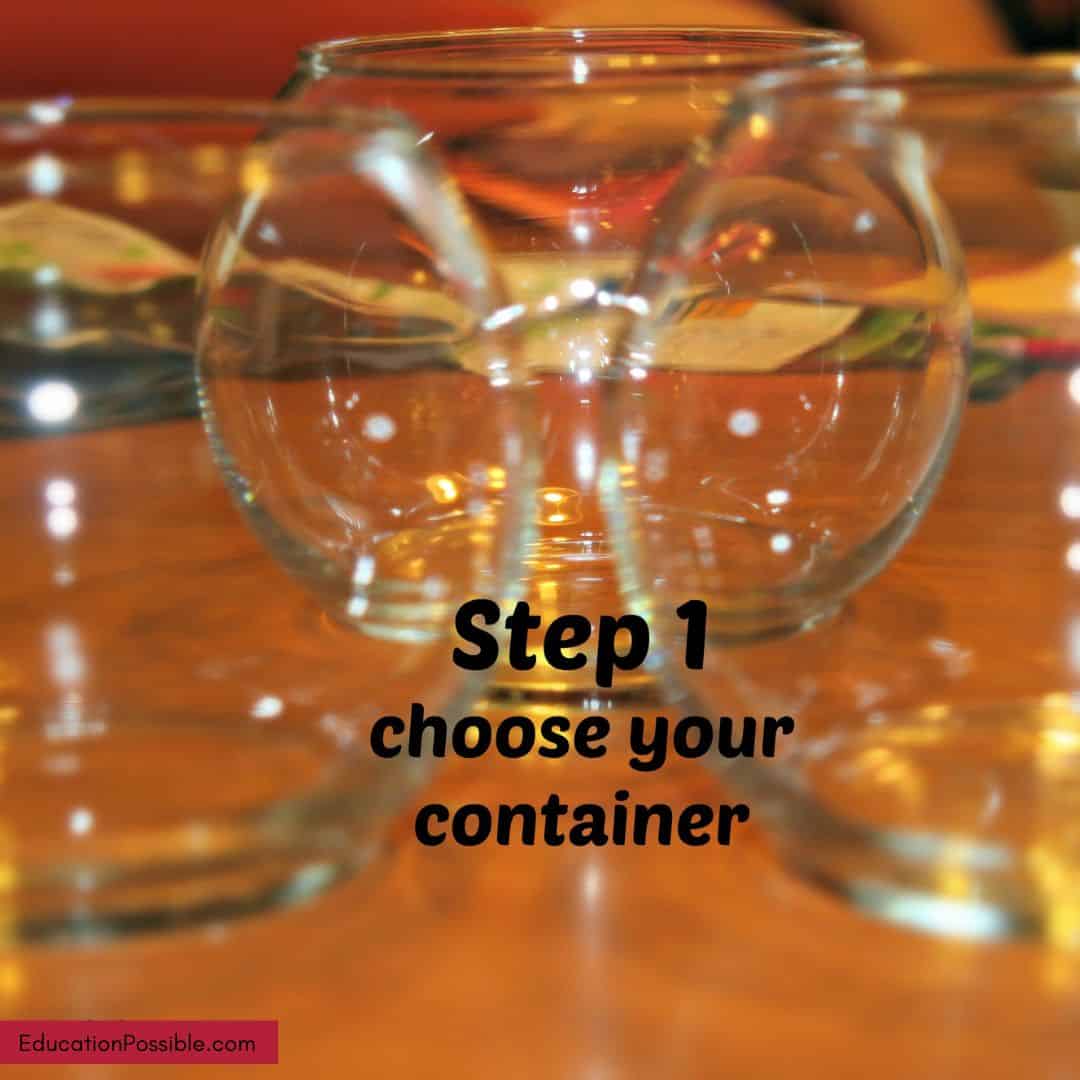
First, you need to pick a glass container, any shape or size.
Personally, I LOVE using these rounded globes because they are a good size and look beautiful when they're finished. I found these at the Dollar Store.
Make sure you take the time to clean them and remove any stickers.
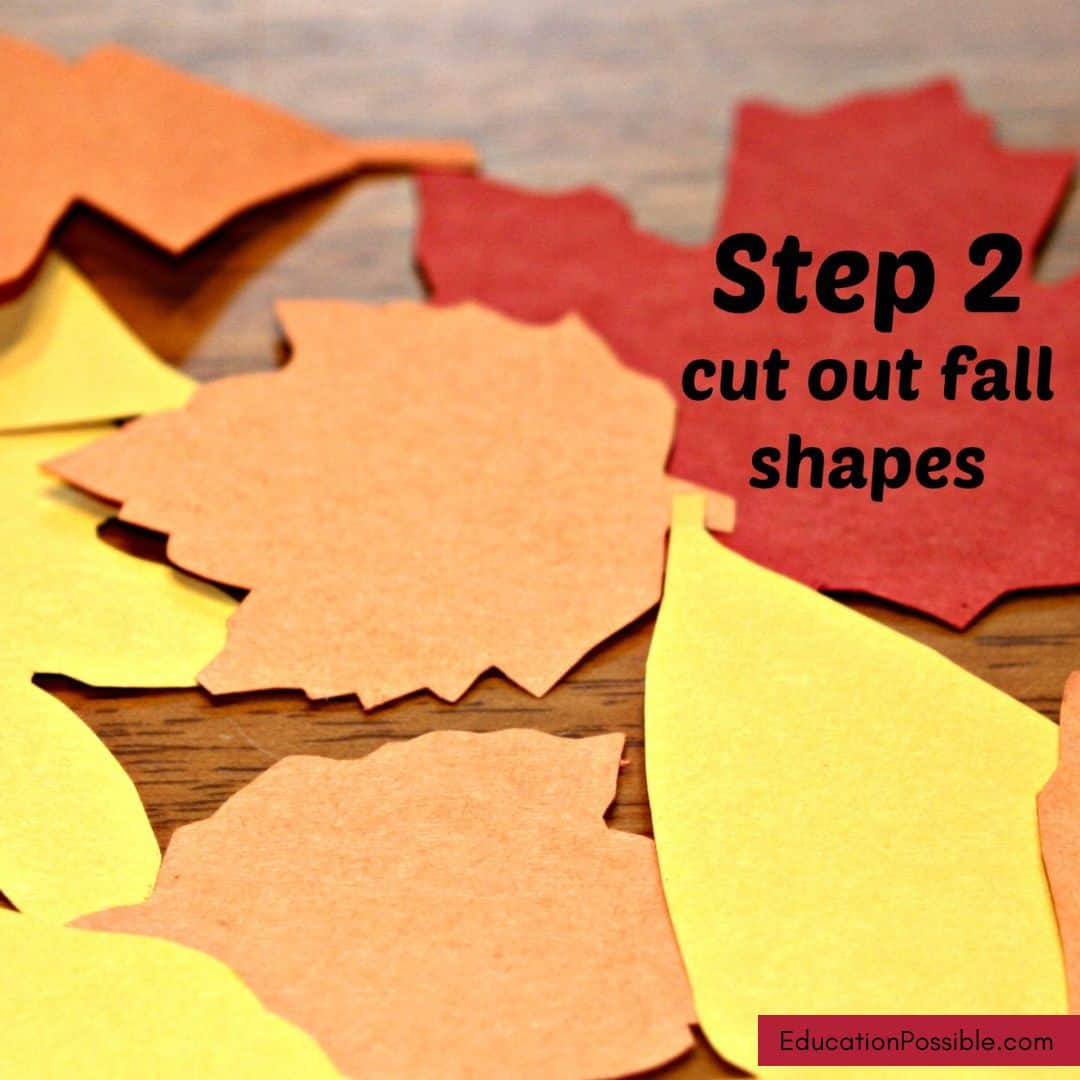
Trace leaf outlines on red, yellow, and orange construction paper and cut them out. We used 3 different leaf shapes for our luminaries, but you can add as many styles as you'd like.
That's the beauty of DIY - it's all up to you!
Choose the tissue paper colors you want to use, tear it up into various sizes and put it in a pile.
It's challenging to rip tissue paper after your hands are full of glue, so it's best to have this done before you start.
This is the stained glass portion of the luminary, so choose the colors you want to shine through.

Smooth a layer of Mod Podge onto the glass with your foam brush. Take a piece of tissue paper and place it on the glue, carefully tapping it to stay in place.
It's easier to work in sections, so start with an area and after that is full, move to the next one.
For the top, either fold the tissue paper over the edge or stop layering just before the edge.
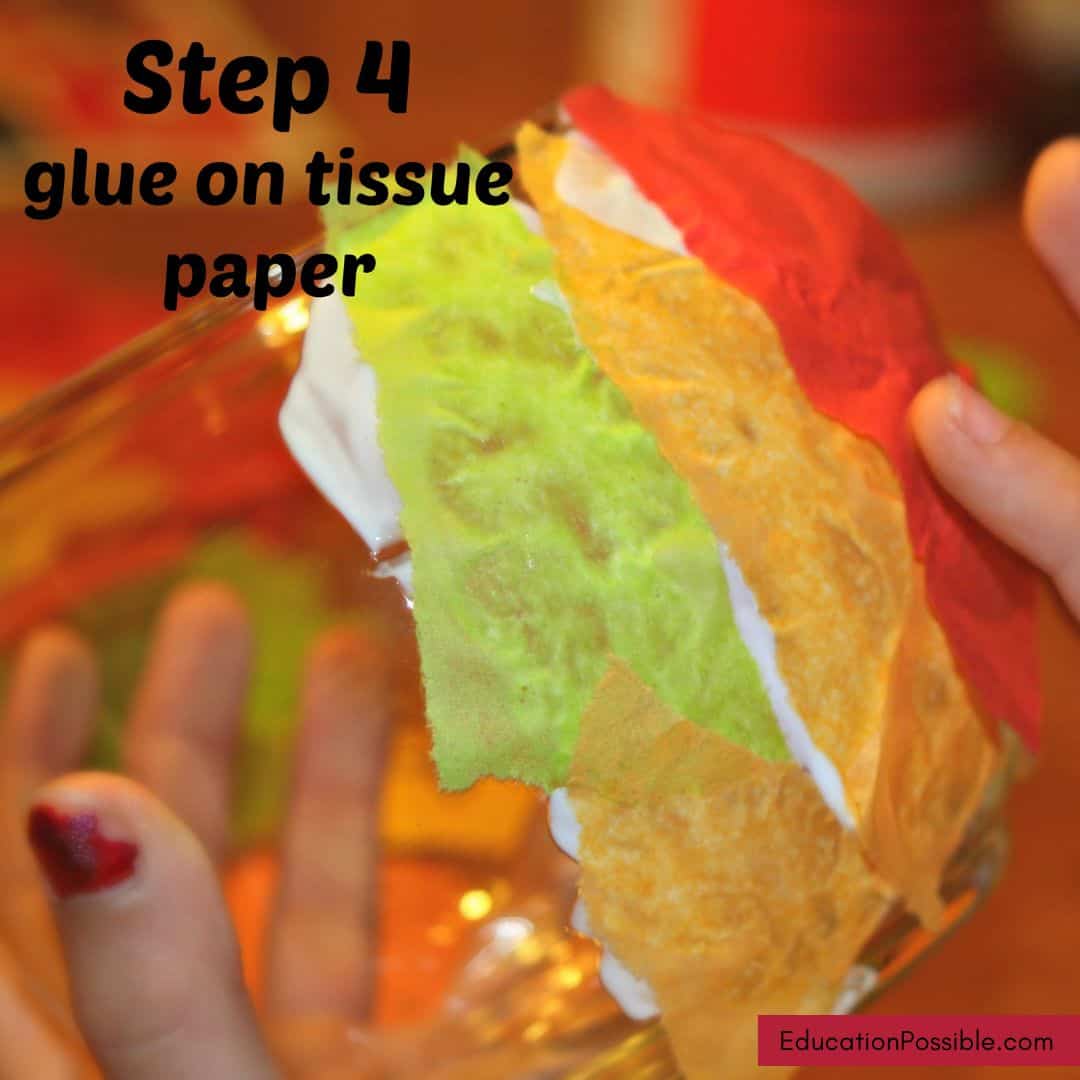
Keep the bottom clear so you can set the glass container aside to dry. Make sure you're layering to create new colors and add depth to the project, like stained glass.
Be creative!
Carefully add a top layer of Mod Podge over the whole luminary, making sure all tissue paper ends are secure.

Now is when you will add on your construction paper leaves.
Decide where the shapes you cut out should go, then coat one side of the shape with Mod Podge, dabbing with your foam brush.
Place it on the glass, over the tissue paper.

Coat it with a thick layer of glue, using your fingers to get it as flat as you can. This can be challenging, but be patient and use a lot of adhesive.
Set the luminary down on your newspaper or scrap paper to dry (usually less than 24 hours).
Once it's dry, add a tea light and stand back to admire the beautiful fall luminary you've created.
Notes
- To make this project more challenging for your older kids, encourage them to draw intricate shapes or fall images.
- Don't forget to leave the bottom free of Mod Podge so it's easy to put it down to dry.
- This craft takes little time to make. You'll just need to wait for the glue to dry after you're done.
Recommended Products
As an Amazon Associate and member of other affiliate programs, I earn from qualifying purchases.


This is such an easy and frugal craft that looks amazing when lit up and you can easily adapt them for any holiday or season, like these Christmas and winter luminaries.
For a different type of luminary, check out this candy corn luminary.
These may be very simple crafts, but older kids will have a blast making them.
More Fall Projects for Middle School
- These embroidery hoop pumpkins are adorable.
- Upcycle crochet thread balls and turn them into these cute pumpkins.
- Tweens will love turning clothespins into a fall pumpkin wreath.
- Celebrating Fall with Art: Mixed Media Workshop for Teens
- Easy and Practical Fall Chalk Art Projects
- Thanksgiving Table Decorations Kids Can Make
Crafts aren’t the only thing you can do to celebrate the season. Check out these fall activities for families with older kids.
Have you ever made autumn leaf luminaries with your kids?

Latest posts by Megan Zechman (see all)
- Easy Pumpkin Crafts - August 21, 2023
- Middle School Geography Curriculum - August 11, 2023
- Outdoor Geography Activities - August 4, 2023
27 Comments
Comments are closed.
This is such a pretty craft! 🙂
Thank you Anne! We love making them for the different holidays.
These are beautiful! Often times, glass pieces can be picked up at garage sales, flea markets, or estate sales for little to nothing. Great project idea – thanks for sharing! Be blessed! #InspiredBN
Thank you DaLynn. What a great idea for gathering unique glass pieces. I usually grab mine at the dollar store, but I think my girls might enjoy seeking them out your way. We love making these for the different holidays.
Love this idea, especially love that I could switch it up and make it Christmas themed and let the kids hand it out as gifts!
They are so fun and easy to make Sarah. It’s amazing how different you can make them for all of the different holidays!
That’s so pretty! Thanks for sharing ( I found you on the Ultimate Homeschool Link-up)
Thank you Lisa! I’m so glad you found us on the link-up.
These would make a beautiful addition to our Thanksgiving table in November – I know what we’ll be doing for artclass soon. Thank you for the inspiration!
You’re welcome Linda. Adding them to the Thanksgiving table is a wonderful idea!
I love this idea! So easy and beautiful. I chose your link up from the Hearts for Home Blog Hop as one of my favorites and I am featuring it on the blog hop tomorrow. Thanks for sharing!
Megan,
These are so pretty and I love that the kids can make them too! I love when I can use decorations from October through Thanksgiving and don’t have to put them away because they go with both Halloween and Thanksgiving 🙂 Thank you for linking up to our Spooktacular Halloween link party.
Michelle
I love multiple use decorations too! We always have some luminaries sitting out – they just change with the holiday/season. What a fun link party!!
I love this its such a fun craft! Thank you for sharing! Now following you!
Sheena @ http://thekeeperofcheerios.blogspot.com/
Thank you Sheena! I just adapted the process for Christmas and winter. Here is what I made – https://educationpossible.com/diy-craft-holiday-luminaries. I’m glad you found us!
I recently found your site and am already a fan!I wanted to reach out to you and see if you would be willing to test out some of my glass etching craft supplies for free for feedback. Will you please let me know by email? I will try to come back to this page later to see if you replied in the comments too. These will be shipped directly to you at no cost. I look forward to hearing from you. Thank you Eric
Eric,
Can you reach out to me and share a bit more about your craft supplies? Thank you!
Megan – megan@educationpossible.com