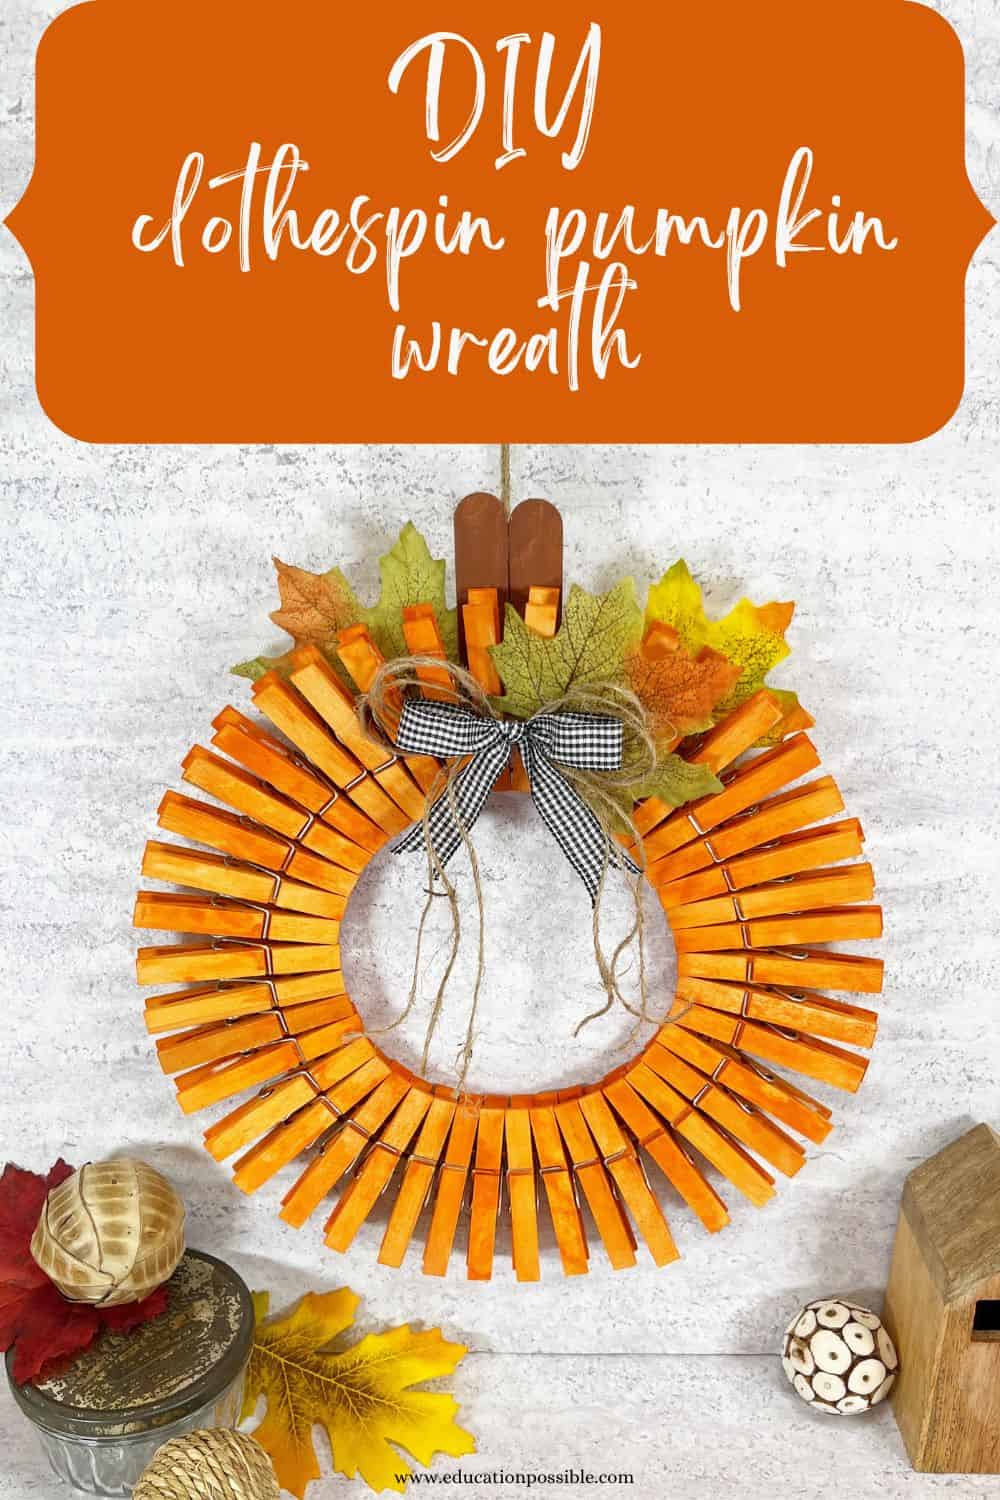
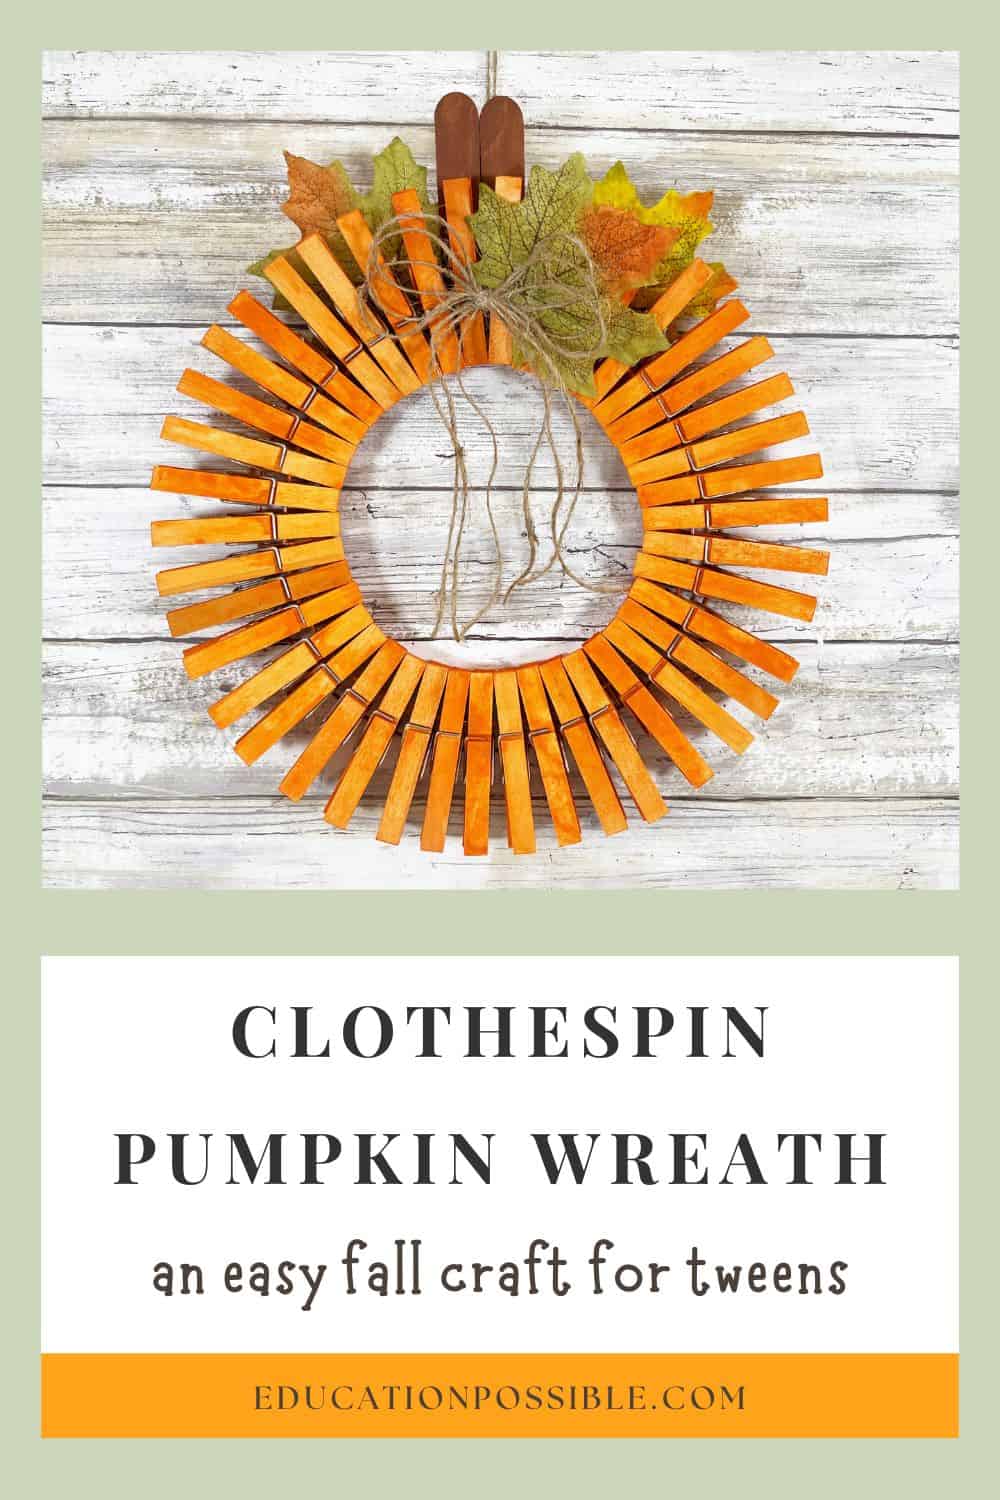
This Clothespin Pumpkin Wreath is an Easy Craft for Tweens

This clothespin pumpkin wreath is a simple craft your tweens will want to make!
Fall is my favorite season of the year. The temperature dips and there are so many awesome seasonal activities. Plus, you get to spend time making adorable crafts.
One of my favorite fall crafts is this wreath made from clothespins. It’s incredibly easy to create and it looks like a cute pumpkin hanging on your door or wall.
So grab your tween and your supplies, and get started on your next DIY decoration.
Any links in this post may be affiliate links. See my disclosure statement.
Table of Contents
Fall Crafts for Tweens
From pumpkin spice everything to apple picking, there are so many things to love about fall. One of our favorites is all the fun crafts you can make! They’ll definitely get you excited about the change of season and all the awesome stuff that comes with it.
Crafting is also a great way to bond with your tween. When you work together on a design, you get to enjoy quality time while creating something you can decorate your home with for the season.
They also give tweens an outlet to be creative, which is extremely important as your kids get older.
Use this simple wreath decoration to get you and your tween ready for fall.
Homemade Autumn Decoration
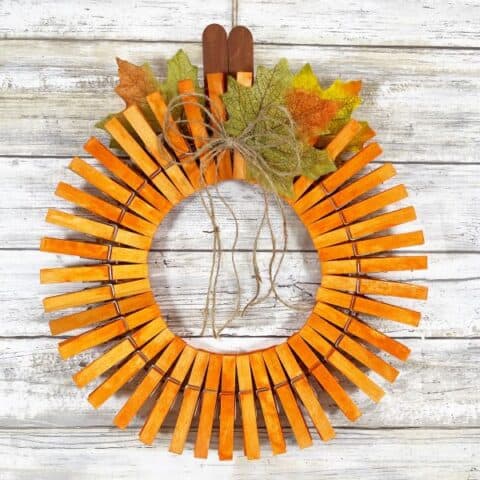
This clothespin pumpkin wreath makes a super cute decoration for autumn. You can either hang it on the wall or attach it to your front door. It’s easy to make and only requires a few supplies. You can even get most of them at the Dollar Store! And you can customize it to match your décor by changing out the bow on the front.
I think it’s such a unique way to use clothespins. Years ago, my oldest made a colorful picture frame using them, so she’s excited to add one of these pumpkins to her room. It’s such a cool project, especially for tweens!
DIY Pumpkin Wreath
As I said, this wreath is very simple to make. Aside waiting for the the paint to dry, it takes less than 30 minutes to put one together.
For the pumpkin, you’ll paint clothespins and a wire wreath form orange. Once they’re dry, attach the clothespins to the circle, forming a circular pumpkin shape. A twine bow, brown craft sticks and fall silk leaves help turn it into a pumpkin.
Keep reading for detailed instructions and printable supply list.
Customize the Pumpkin
- To create smaller or larger pumpkins, look for different sized wire frames. Just make sure to adjust the clothespin number and size.
- If you don’t want to add a jute twine bow, you don’t have to. You can omit it all together or use a ribbon bow instead.
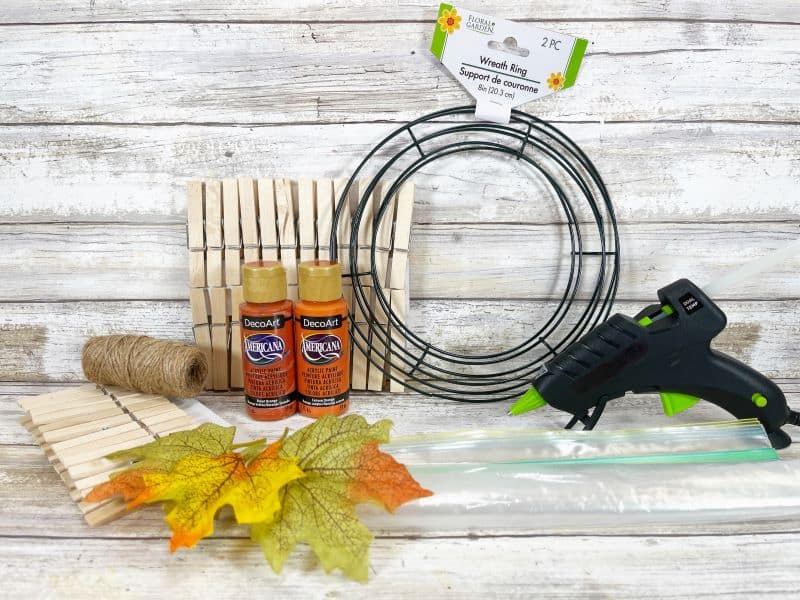
Materials Used for the Clothespin Pumpkin Craft
I’m highlighting some of the supplies needed so you know what you’re looking for.
- Burnt orange or pumpkin orange spray paint
- Natural jute twine
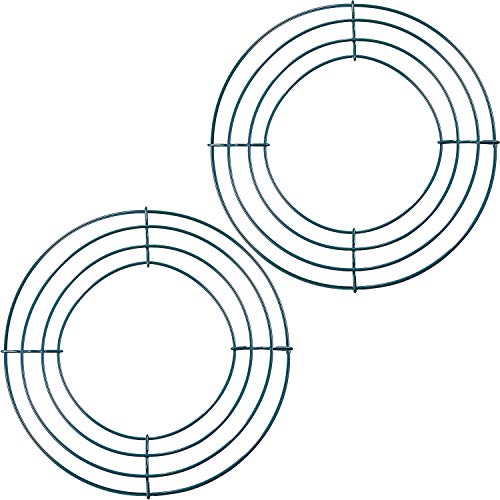
- 8″ wire wreath frame
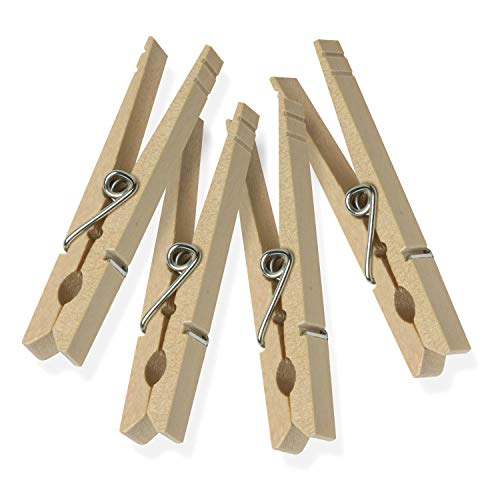
- 42 wooden spring style clothespins
Natural Jute Twine Wire Wreath FrameWood Clothespins with SpringSpray Paint Pumpkin Orange


Remember, not all supplies needed for the pumpkin wreath are listed here.
Interested in even more fall decorations you can make yourself? Check these out these fall crafts for teens.
- Turn embroidery hoops into adorable pumpkins.
- These autumn luminaries are easy to make and look amazing at night.
- Crochet thread ball pumpkins are a simple upcycle craft.
- Candy corn luminaries are adorable.
If you haven’t been crafting with your tween lately, fall is the perfect time to work on something together and this is a great project to start with. I know your tweens are going to fall in love with this wreath. They’ll have a blast making it and will enjoy seeing it hanging up in their room or in your house this season.
Are you ready to make the craft? Here are step-by-step instructions.
Clothespin Pumpkin Wreath
Using simple supplies (many from the Dollar Store), create this quick and easy Clothespin Pumpkin Wreath in just about 30 minutes. The hardest part is waiting for the paint to dry! Perfect for any style of décor for your home.
Materials
- Full Size Clothespins, Wooden Spring-Style - 42 of them
- Wire Wreath Form, 8”
- One Jumbo Craft Stick
- Fall Leaf Bunch
- Natural Jute Twine
- Acrylic Craft Paint – Burnt Orange, Dark Brown
- Spray Paint - Burnt Orange
Tools
- Glue Gun and Glue Sticks
- Gallon Zipper Bag
- Cookie Sheet
- Aluminum Foil
- Paintbrush
- Scissors
- Ruler
Instructions
BEFORE YOU BEGIN
Gather all of your materials in one place.
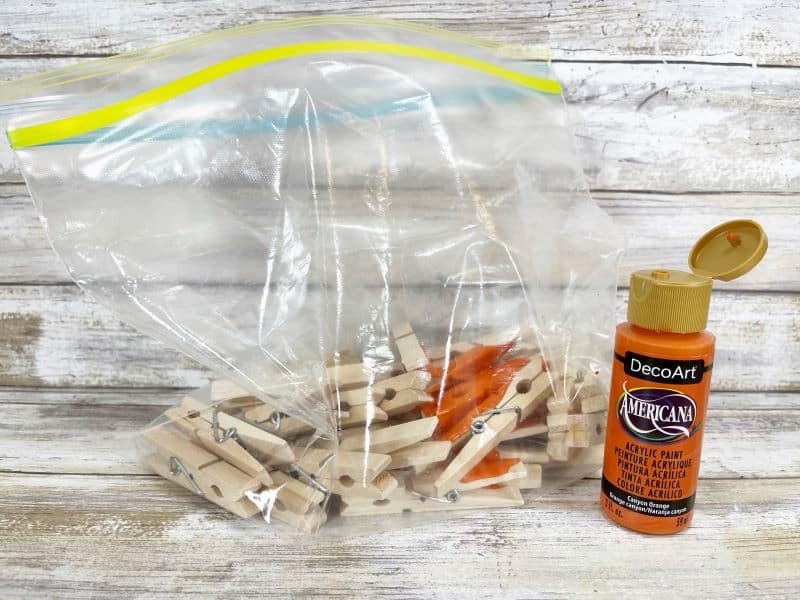
STEP ONE
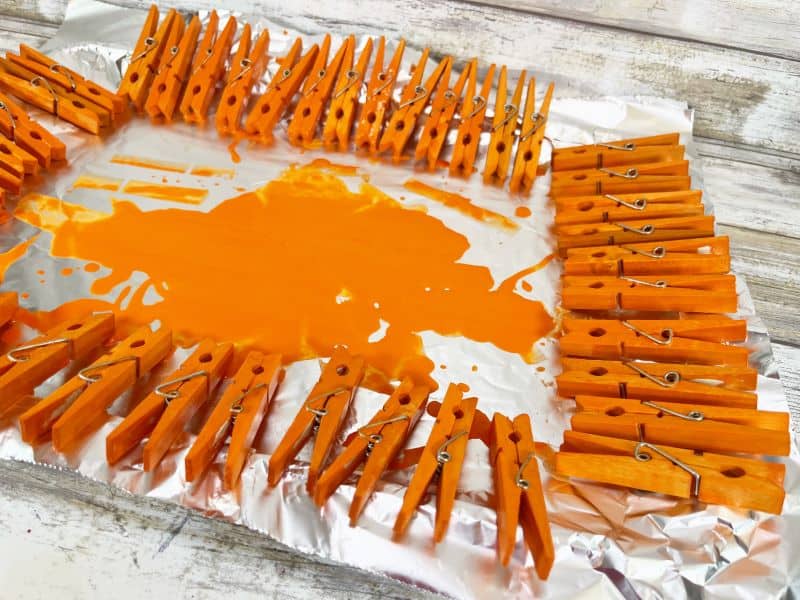
Place 42 wooden spring style clothespins in a gallon zipper bag, then add a half dollar size dollop of burnt orange acrylic craft paint, and two tablespoons of water.
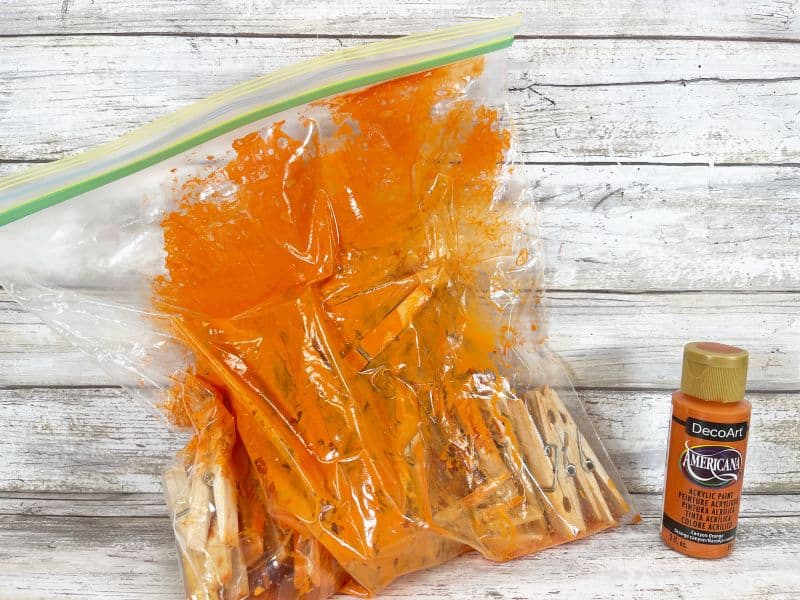
Zipper the bag closed and knead the clothespins in the bag until all are covered in the burnt orange acrylic craft paint. If working with kiddos, this step is perfect to do in the kitchen sink.
STEP TWO
Cover a cookie a sheet with aluminum foil, unzip the plastic bag, and turn out the painted clothespins onto the cookie sheet to dry.
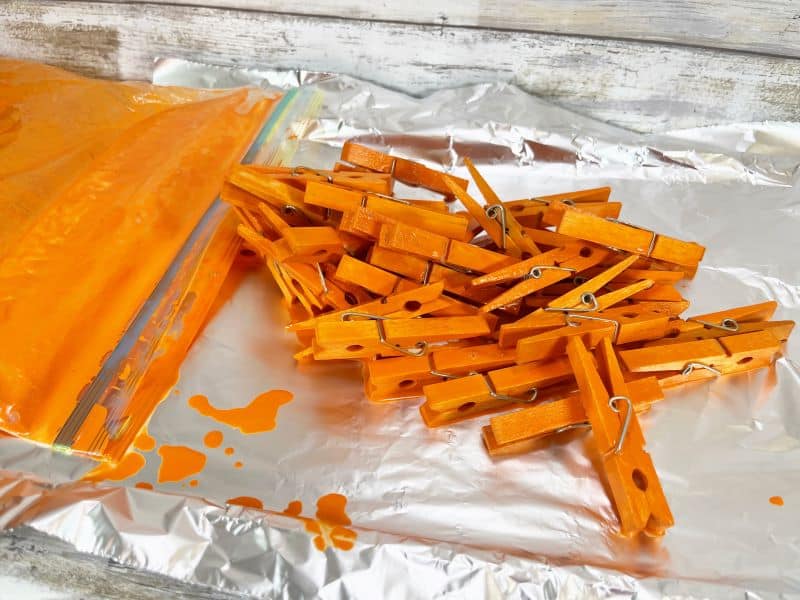
For faster drying time, prop the wooden clothespins around the edge of the cookie sheet. Turn the clothespins over, once the tops are dry.
STEP THREE
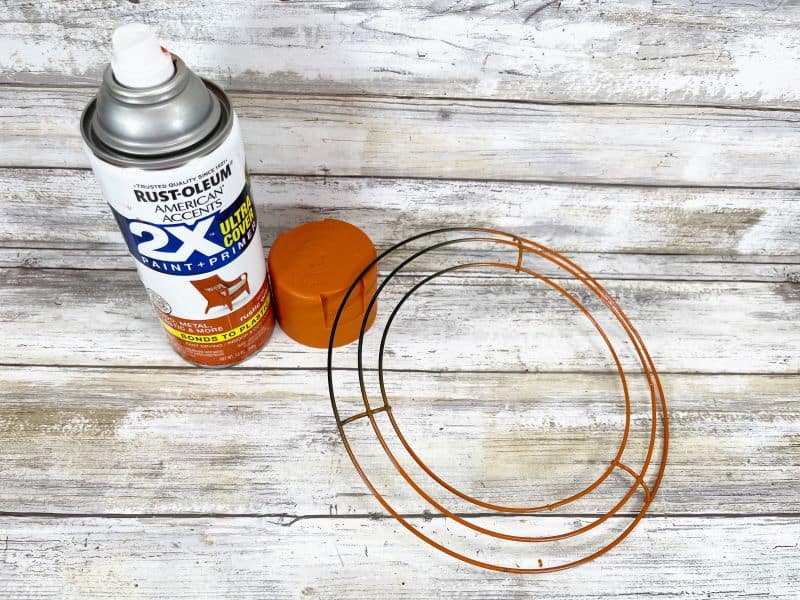
In a well-ventilated area, or outside, cover the wire wreath form with burnt orange spray paint. Set aside to let dry.
STEP FOUR
Clip the wooden clothespins around the two inner circles of the wreath form, using the outer ring as support, so they won’t wiggle around.
Continue to clip the orange painted wooden clothespins around the wreath form. Approximately 14 clothespins should fit into each of the three sections of the wreath.
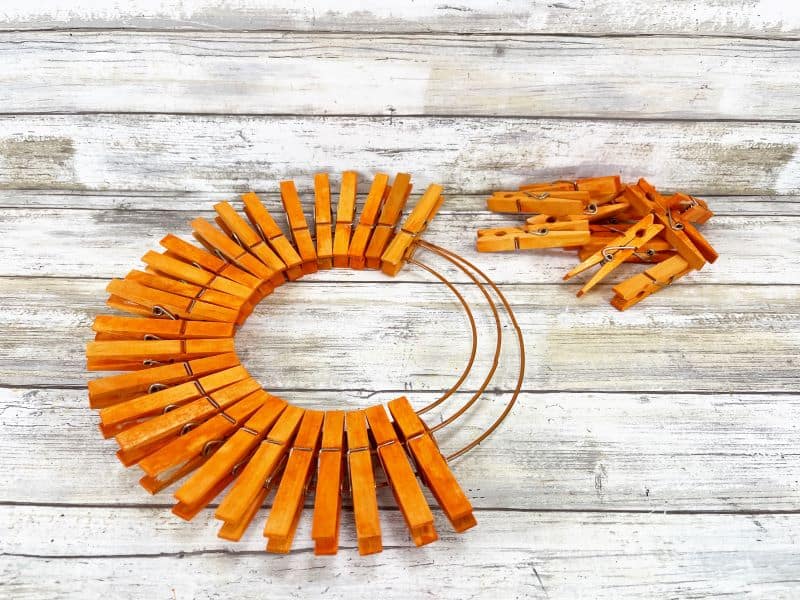
Once all of the clothespins are clipped on, space them equally around the wreath form. The clothespins can be secured with glue if hanging outside.
STEP FIVE
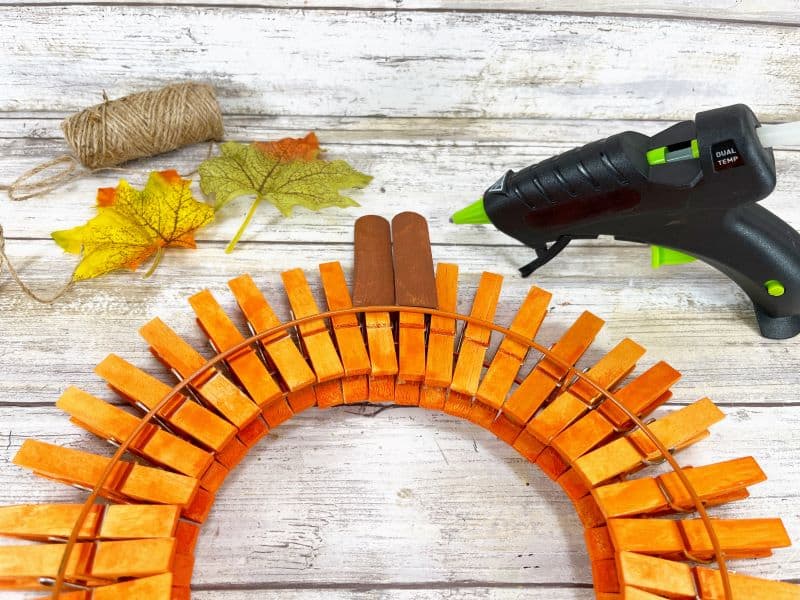
Cut one jumbo craft stick in half with scissors. Paint with dark brown acrylic craft paint. Set aside to dry and apply a second coat, if necessary.

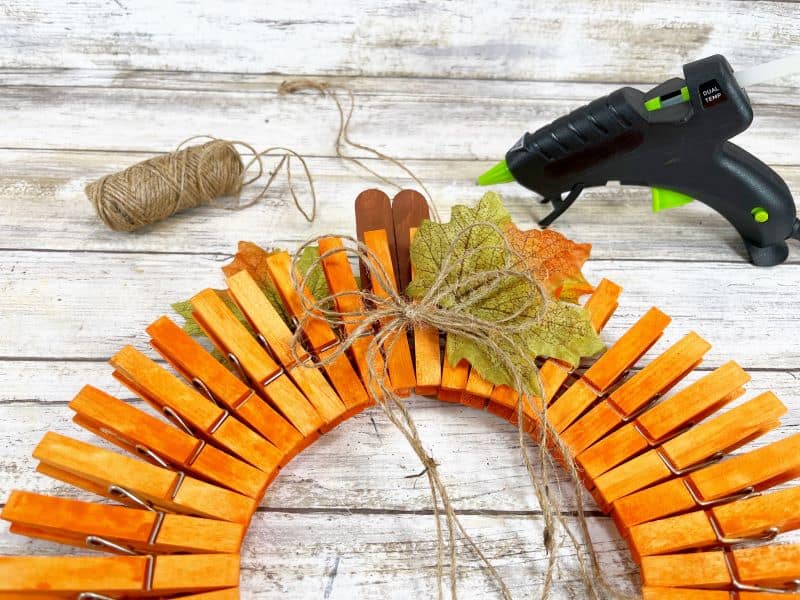
Attach the craft sticks to the top back of the wreath with a glue gun and glue sticks.
STEP SIX
Cut two or three leaves from a silk stem with scissors. With a glue gun, glue them to the back and front of the wreath, near the stem.
STEP SEVEN
Measure and cut three 12” lengths of natural jute twine with scissors. Tie in a bow.
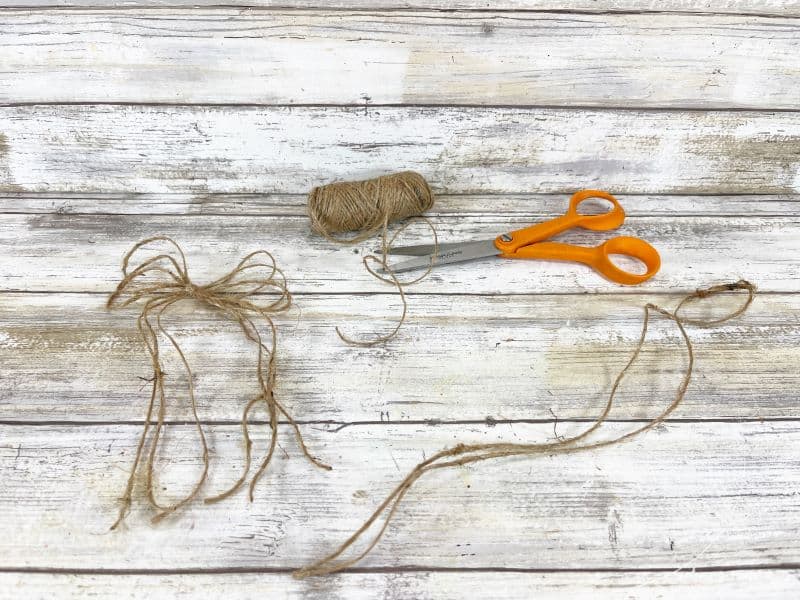
Secure the bow to the top front of the wreath with a glue gun and glue sticks.
You can hang the wreath by the wire frame or tie a piece of the twine to the top for a hanger.
Notes
- You can find full size clothespins in the laundry section of your local store.
- If you don't want to cover the clothespins in paint the way I outlined above, you can always paint them one at a time, by hand.
- You don't have to paint the wreath form if you don't want to. Only a small portion of the wire shows between the clothespins.
- Use a regular twine or go with a darker brown for more contrast.
- Putting together the craft takes 30 minutes or less, but you may have to wait longer for the paint to dry.
Recommended Products
As an Amazon Associate and member of other affiliate programs, I earn from qualifying purchases.


Additional Fall Ideas
- Plan some fun fall activities for the family.
- Use chalk pastels to create some fall chalk art.
- Let your tweens use markers to turn pumpkins into unique decorations.
- These owl painted rocks are so cute and are excellent fall projects.
Are you going to use this pumpkin wreath to decorate this season?

Latest posts by Megan Zechman (see all)
- Easy Pumpkin Crafts - August 21, 2023
- Middle School Geography Curriculum - August 11, 2023
- Outdoor Geography Activities - August 4, 2023