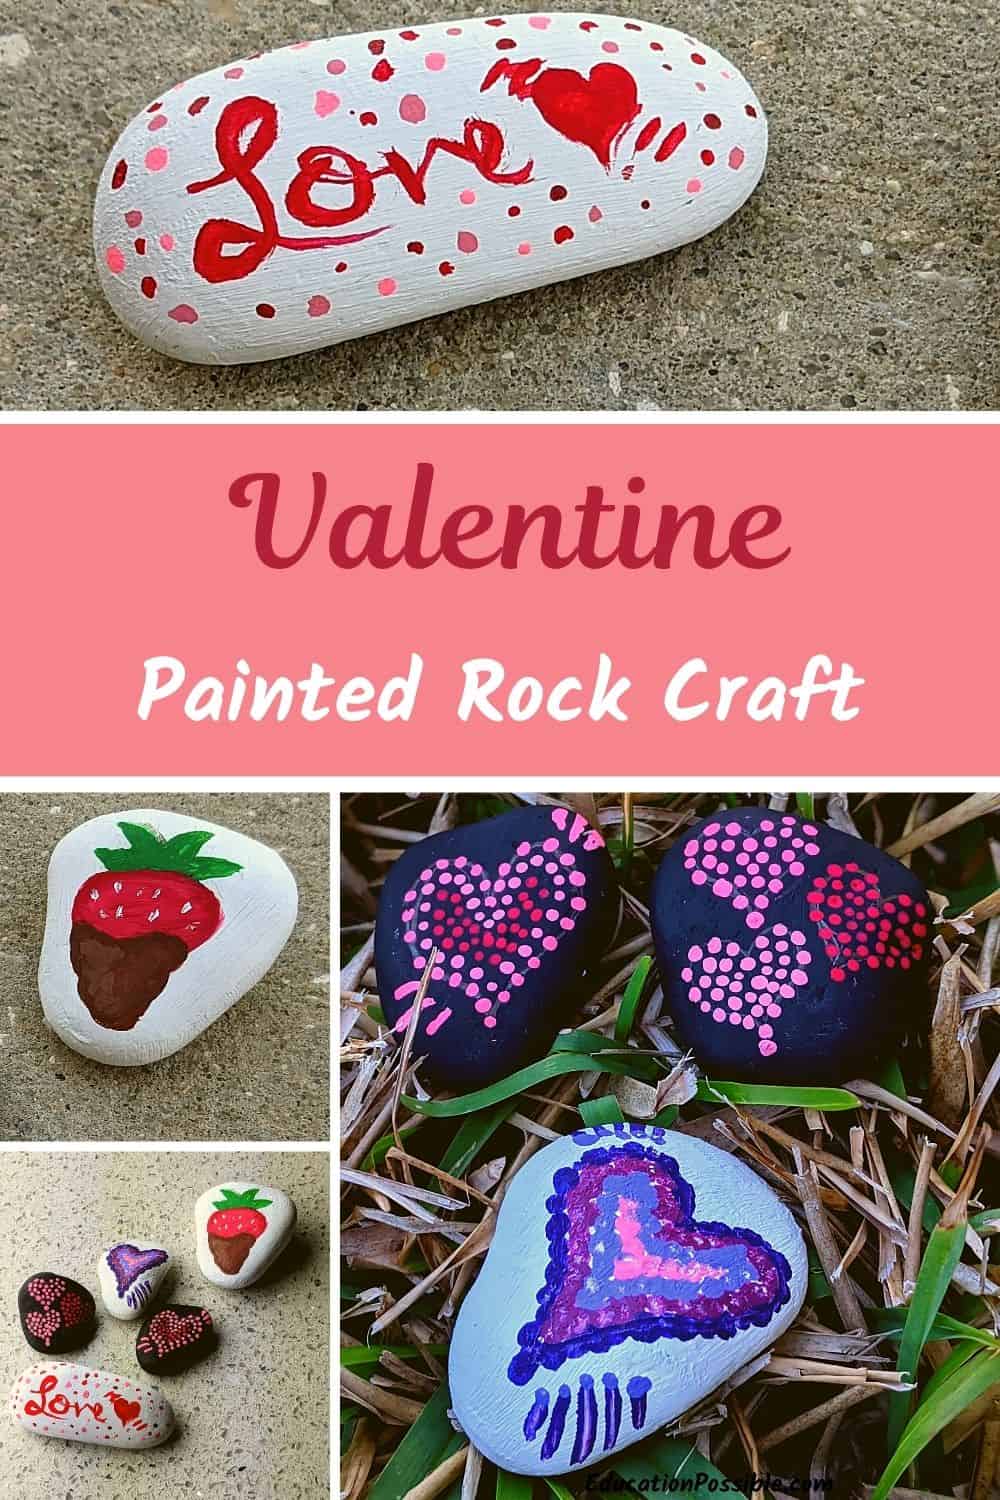
Easy Valentine Painted Rock Craft for Tweens

This easy Valentine painted rock craft is a one that tweens will enjoy making this holiday.
Cute painted rocks are a unique way to share some love with others this Valentine’s Day.
It’s also an excellent craft for families because you need very few supplies to get started and there are endless ways to decorate them.
Keep reading to see how you can make your own Valentine-themed stones.
Any links in this post may be affiliate links. See my disclosure statement.
Table of Contents
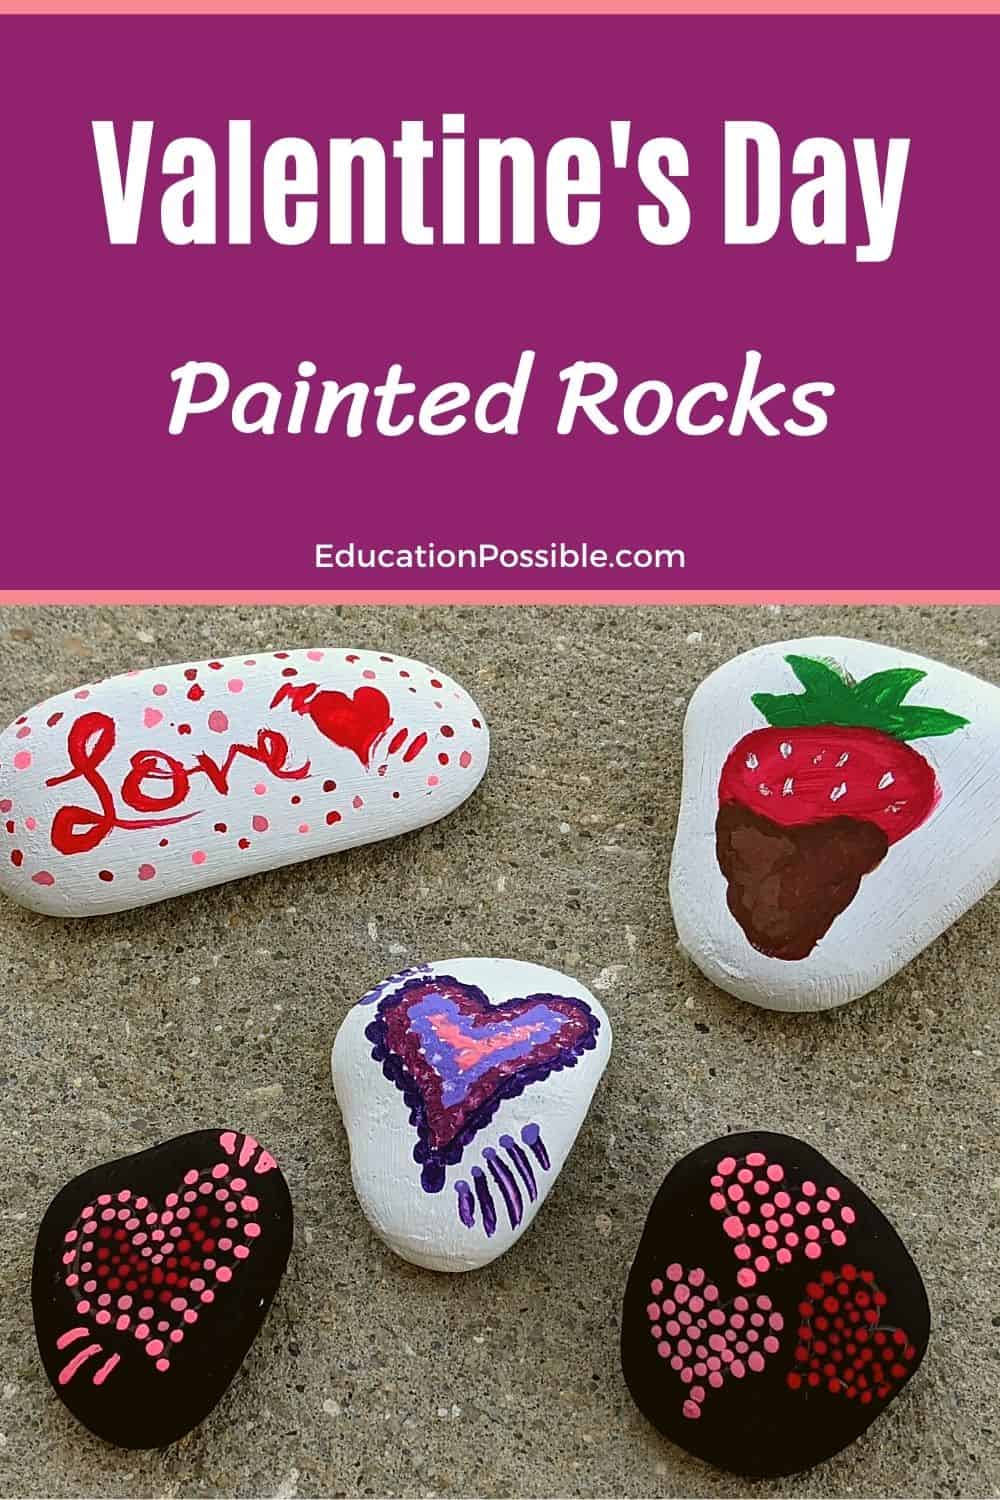
Valentine’s Day Painted Rocks
Rock painting has grown exponentially over the past couple of years, ranging from the simplest designs to extremely elaborate. It’s a craft that people of all ages and skill level can do.
Colorful rocks have become synonymous with random acts of kindness. Many crafters have been painting inspiring words and pictures onto stones and placing them out in the community as pieces of encouragement.
That’s why Valentine’s Day is a great time to paint some rocks. Since it’s a holiday that revolves around showing love and kindness to others, it makes sense to use something that shares a similar message.
So, whether you’re a rock painting expert or have never painted a single one, it’s time to jump in and make some Valentine rocks.
How To Paint a Rock
Overall, the process is quite simple. Gather some rocks and paint, then add a design to the stone.
But there are some nuances involved that will help make your project pop.
- Wash and dry your stones.
- Paint one side of the rock using a foam brush. Once that’s completely dry, turn it over and do the other side.
- Sketch out your design using a pencil.
- Using a thin paintbrush, fill in the stencil.
- Once everything is dry, spray a thin coat of clear sealant over it.
Keep reading to see how we made the rocks you see here and a printable supply list.
Where Do You Find Rocks
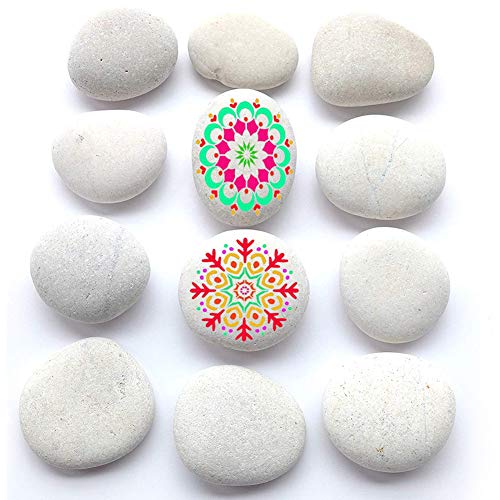
There are quite a few places you can find rocks that work well for this type of DIY craft. Essentially, you’re looking for small, smooth stones.
Rivers, beaches, and hiking trails make excellent locations to search for stones.
Keep an eye out for them as you’re outside. If you just start collecting them, you’ll have a stash ready when you want to paint.
If you’re not interested in searching for your supplies or need them right away, you can always buy some at your local craft or home improvement store.
What Do I Do With The Rocks?
Since these are Valentine’s Day rocks, the best thing you can do is give them to someone else. It’s a fun way to show them you care. Tweens can share them with parents, siblings, grandparents, friends, and teachers.
You can also use them to decorate your home for the holiday. They’ll look great sitting in a group on a table.
And there’s always the option of putting them out into the community for someone to find. If you do plan to do this, I would encourage you to think about using environmentally friendly paints so no chemicals get into the soil as the rocks sit waiting to be found.
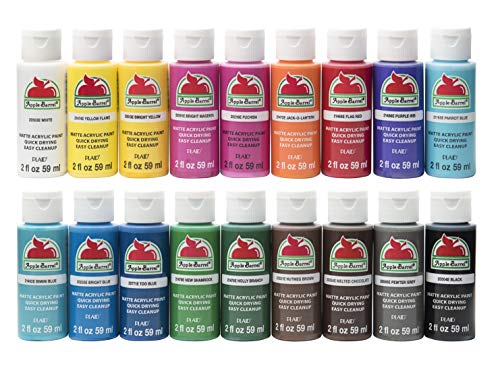
Materials Used for Valentine Rocks
Here are two main supplies you’ll use to make your rocks.
The rest of the supplies needed for Valentine’s Day painted rocks are listed below.
How To Make Your Stones Unique
It’s incredibly easy to personalize your Valentine’s Day rocks.
- paint symbols common to the holiday like hearts, arrows, ribbon, lace, and roses
- use traditional Valentine colors like red, pink, white, and purple
- search for heart-shaped rocks to use for your design
Honestly, you’re only limited by your imagination. If you need some help, look online for some ideas to get you started.
DIY Valentine Painted Rock Craft
Are you ready to make some unique stones? Here are step-by-step instructions.

Valentine Painted Rocks
Have some fun making these Valentine-themed painted rocks.
Tools
Instructions
- Wash your rocks and let them dry, so you can start with a clean surface.
- If you want the rock to be a different color, paint it now, using a foam brush. Make sure you let the one side dry before you turn it over. You may need more than one coat. We painted some of ours white and left the dark rocks plain.
- Allow it to dry.
- Sketch your design onto the rock using a pencil.
When you're painting rocks, follow these steps first, before moving on to your main design.
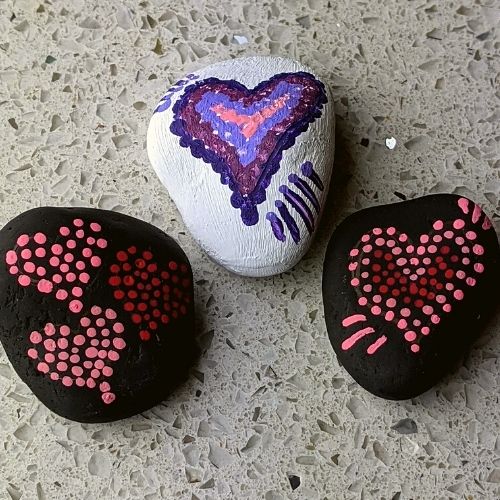
To make dotted heart rocks:
Sketch on a heart using a pencil. This will be the outside row of dots, so make your outline the size you want the final design. If you want more than one heart, draw them.
Using a small tipped paintbrush, place small dots of paint around the edge of the heart you drew. Either let the paint dry, or be very careful not to touch it during the next steps.
Place another round of small dots just inside the first line. You can use the same color or a different one like we did on our white rock.
Keep moving inward with dots until you've filled in the original heart sketch, changing colors as you'd like. Add on any lines or swirls for your design. We put 5 purple lines onto one stone and three pink ones onto another one.
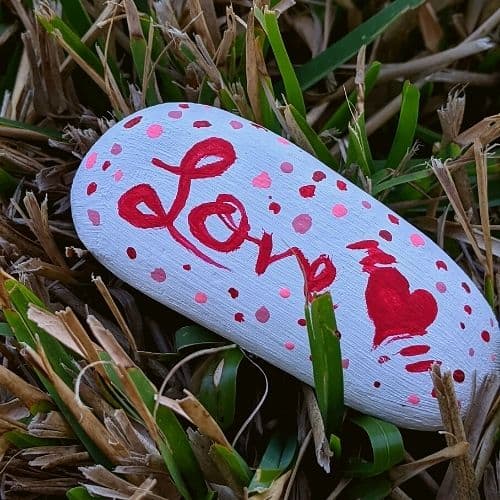
To make a rock with words:
Using a pencil, write out the word(s) you want as the design. Or, if you're comfortable with a paintbrush, skip this step and move on.
Using a small paintbrush, go over the pencil lines with acrylic paint. Add other design elements to the stone, being careful not to smear the existing paint. On our love rock, we added colorful dots, a red heart, and lines.
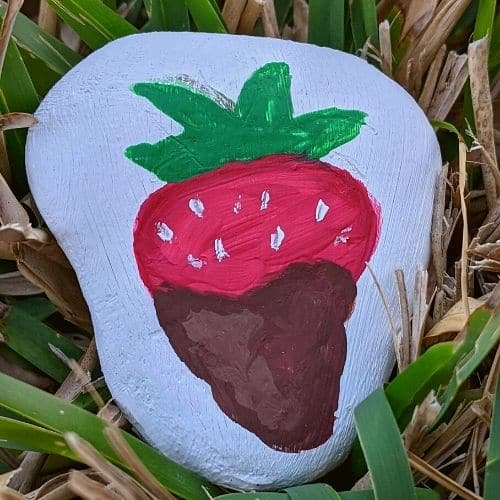
To make the chocolate covered strawberry:
Sketch out a strawberry shape, including the leafy top. If you're not comfortable drawing this by hand, find one you can trace.
Paint the top half of the strawberry red. Once that dries, fill in the rest of the strawberry shape with brown paint, to represent chocolate. Paint the leaves green. After the red dries, add small white dots for the seeds.
When you're finished painting all of your rocks, let everything dry, then spray them with a thin coat of clear sealant. This will help preserve the design and color.
As you can see, painted rocks are incredibly easy to make. Tweens, teens, and adults will have so much fun creating these sweet Valentine’s Day stones.
Additional Teen Craft Ideas
- This ribbon tree is an easy craft that looks amazing when finished.
- If Valentine’s Day isn’t your thing, here are some awesome winter crafts for older kids.
How are you going to design your painted rocks for Valentine’s Day?

Latest posts by Megan Zechman (see all)
- Easy Pumpkin Crafts - August 21, 2023
- Middle School Geography Curriculum - August 11, 2023
- Outdoor Geography Activities - August 4, 2023