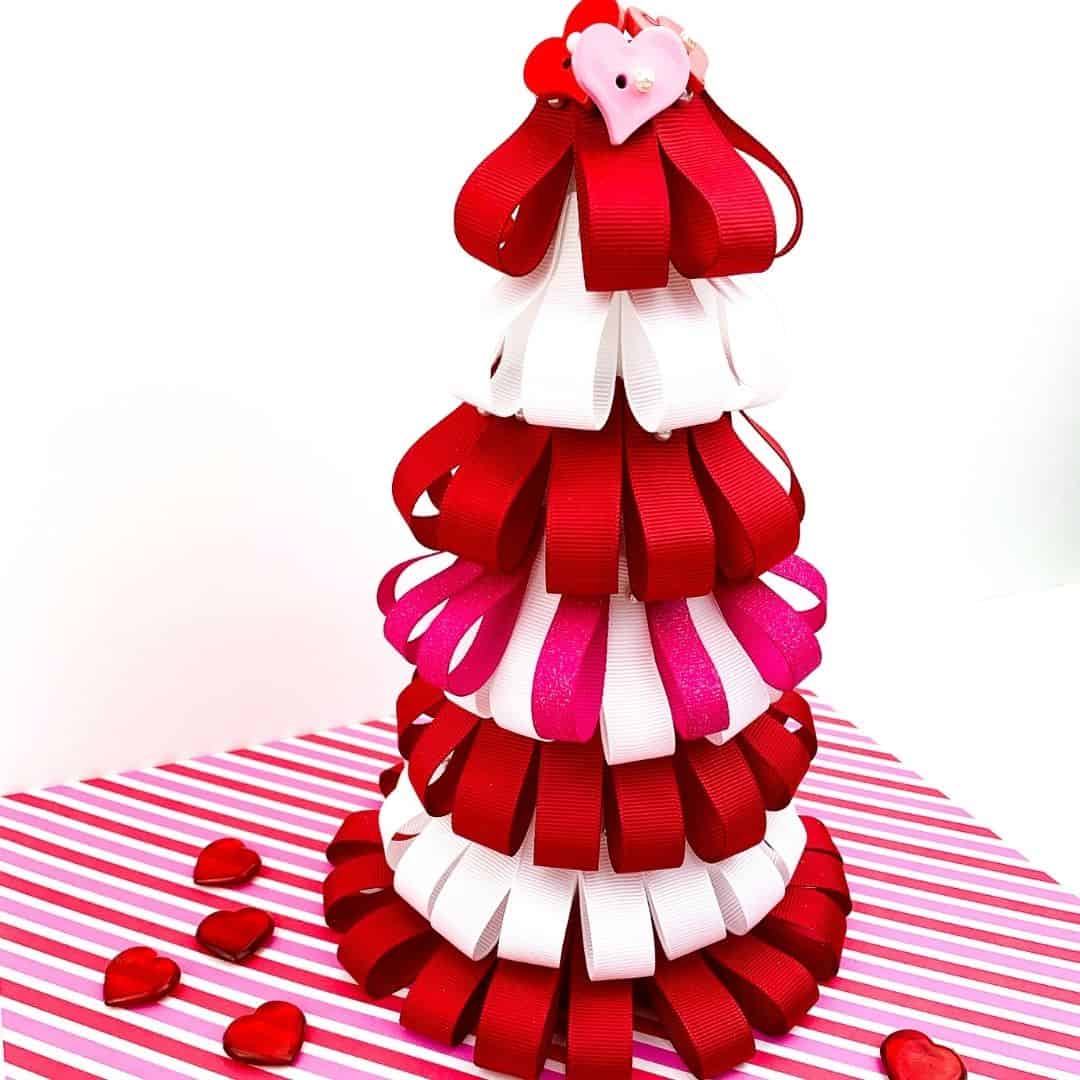
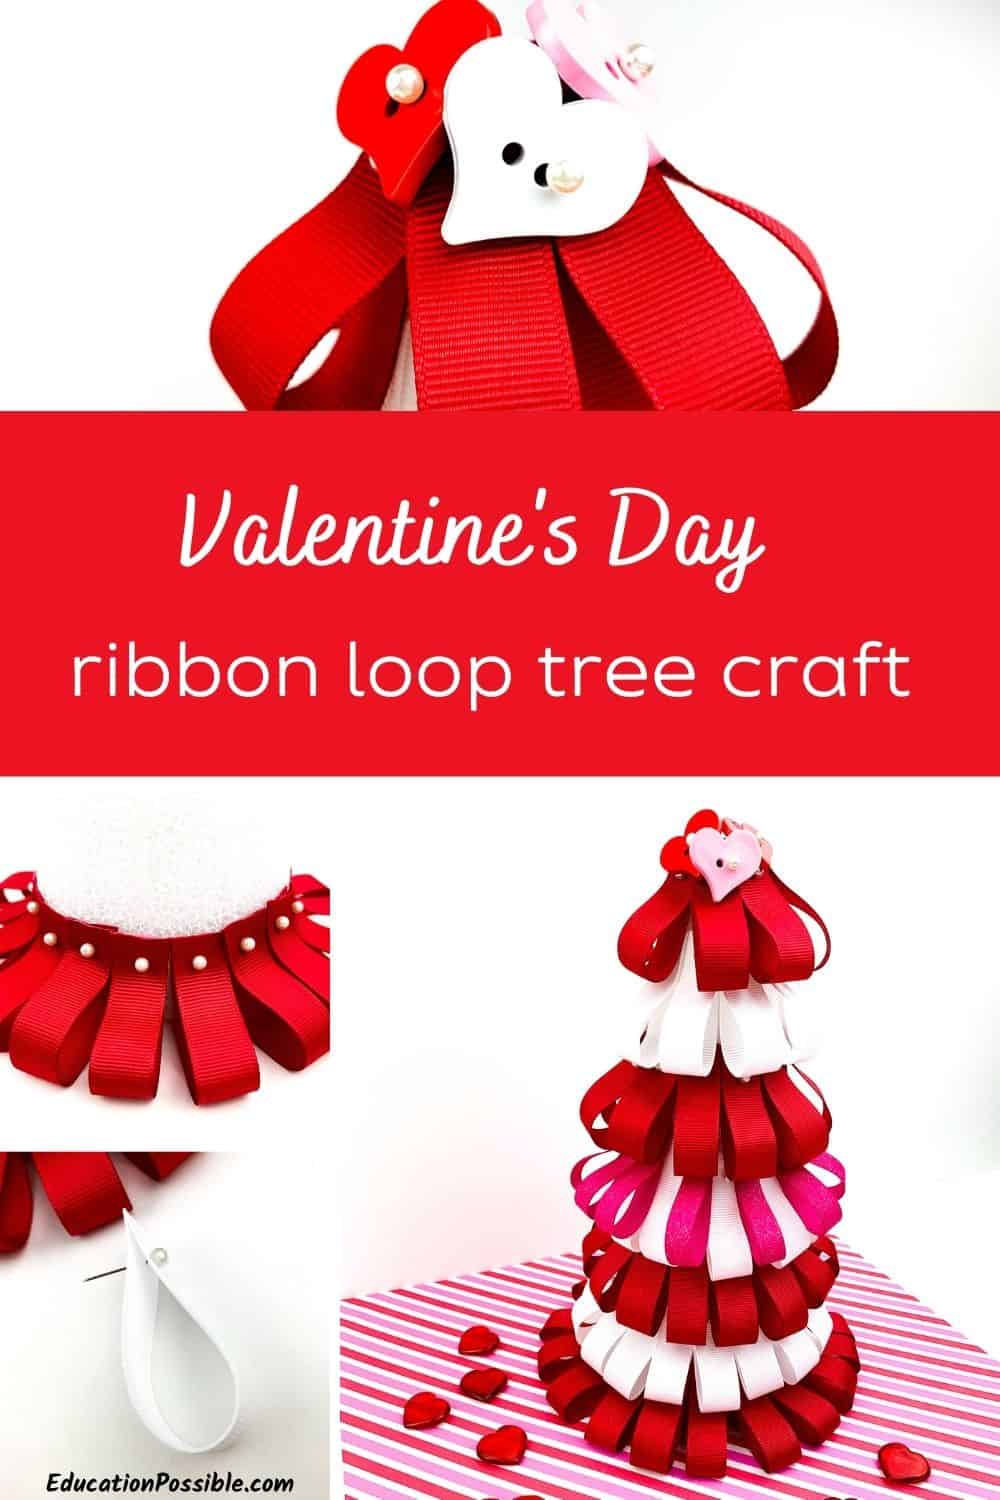
Easy Valentine’s Day Ribbon Loop Tree Craft

This Valentine’s Day ribbon loop tree craft is a unique project for tweens and teens.
This festive piece is made of ribbons and makes a darling holiday decoration that looks beautiful when displayed.
It’s incredibly simple, so it’s a great DIY craft for you to make with your kids.
You and your teens will have so much fun that you’ll most likely want to make a bunch to give to your friends for a special homemade gift this Valentine’s Day.

Any links in this post may be affiliate links. See my disclosure statement.
Table of Contents
Valentine’s Day Ribbon Loop Tree
If you enjoy decorating your home with different kinds of trees at Christmas, you’ll fall in love with this one.
This year, expand your tree collection by making a Valentine-themed one out of grosgrain ribbon and Styrofoam. It’s so adorable and will definitely give your home a joyful look this holiday.
You and your tweens can easily make one in about 30 minutes. The longest part is cutting pieces of ribbon. It’s easy to customize these, so encourage your older kids to be creative with theirs. When they’re done, they can display it in their room.
It would also make a great DIY project as part of a Galentine’s Day celebration.
Wondering what to do with yours? Add it to a mantle or use it as a table centerpiece. Go crazy and make a bunch of trees in different sizes to create a whole Valentine forest.
How to Make a Ribbon Tree
This is a straightforward DIY craft. Basically, to make the tree, you cut the ribbon into strips, match the ends to form a loop, and pin it to the styrofoam cone.
If you don’t want to hold the ends together as you try to pin the ribbon to the Styrofoam, you can use a small dab of hot glue to hold the edges together. Then you just pick up a folded ribbon and attach it to the tree. You won’t be able to put the pin through the glue dot, so make sure you leave enough room.
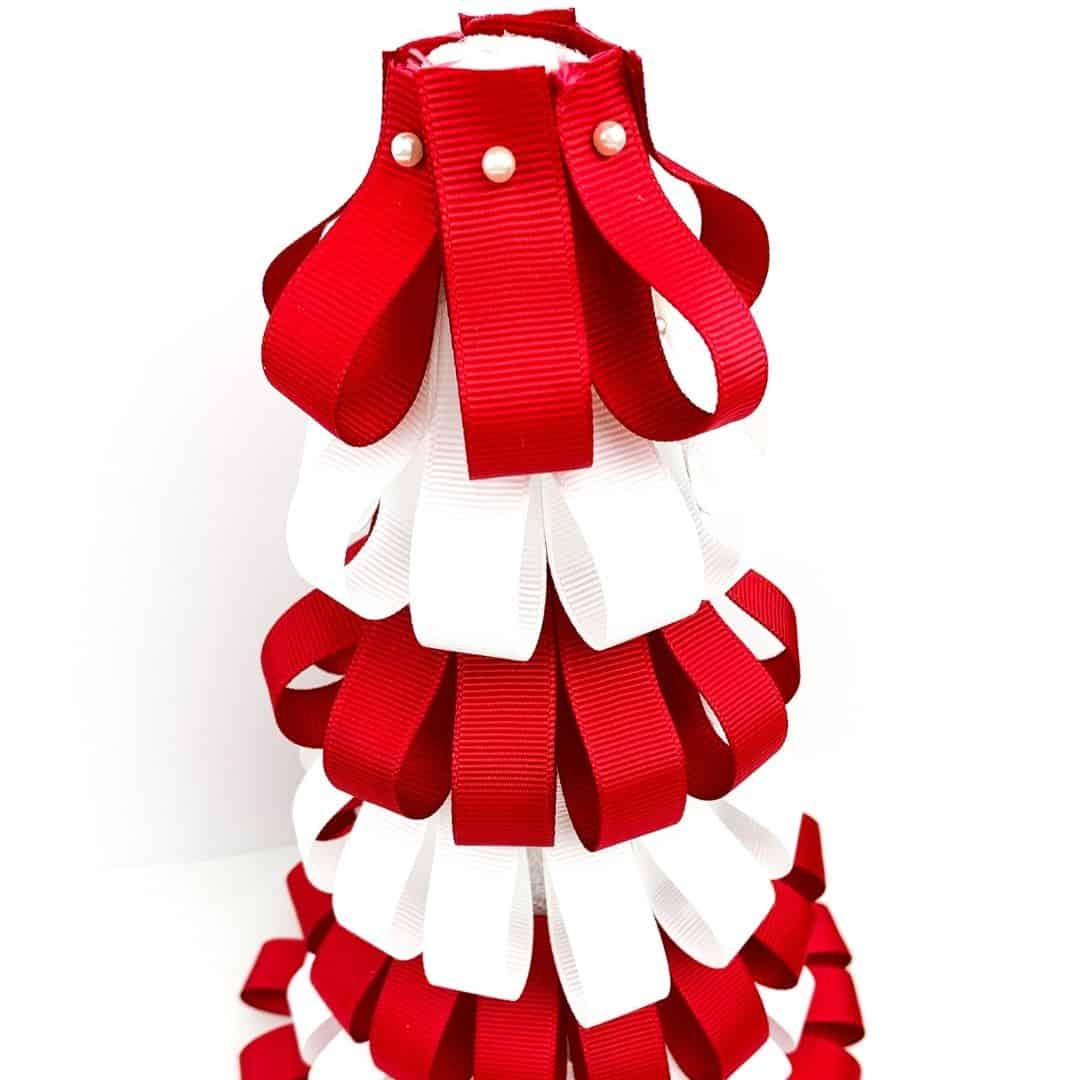
After you finish one row, move up and repeat the process. Just make sure that the loops of your current row cover the pins of the one below. Keep attaching ribbon until you reach the top of the tree. Our tree had 7 rows of ribbons on it.
To cover the top, pin or glue some heart buttons onto the cone to hide the ribbon edges.
It’s really that simple.
Keep reading for more detailed instructions and printable supply list.
Ideas to Make Your Tree Unique
- Change the size of your tree by using a smaller or larger Styrofoam cone. Just make sure to adjust the length of ribbon that you use.
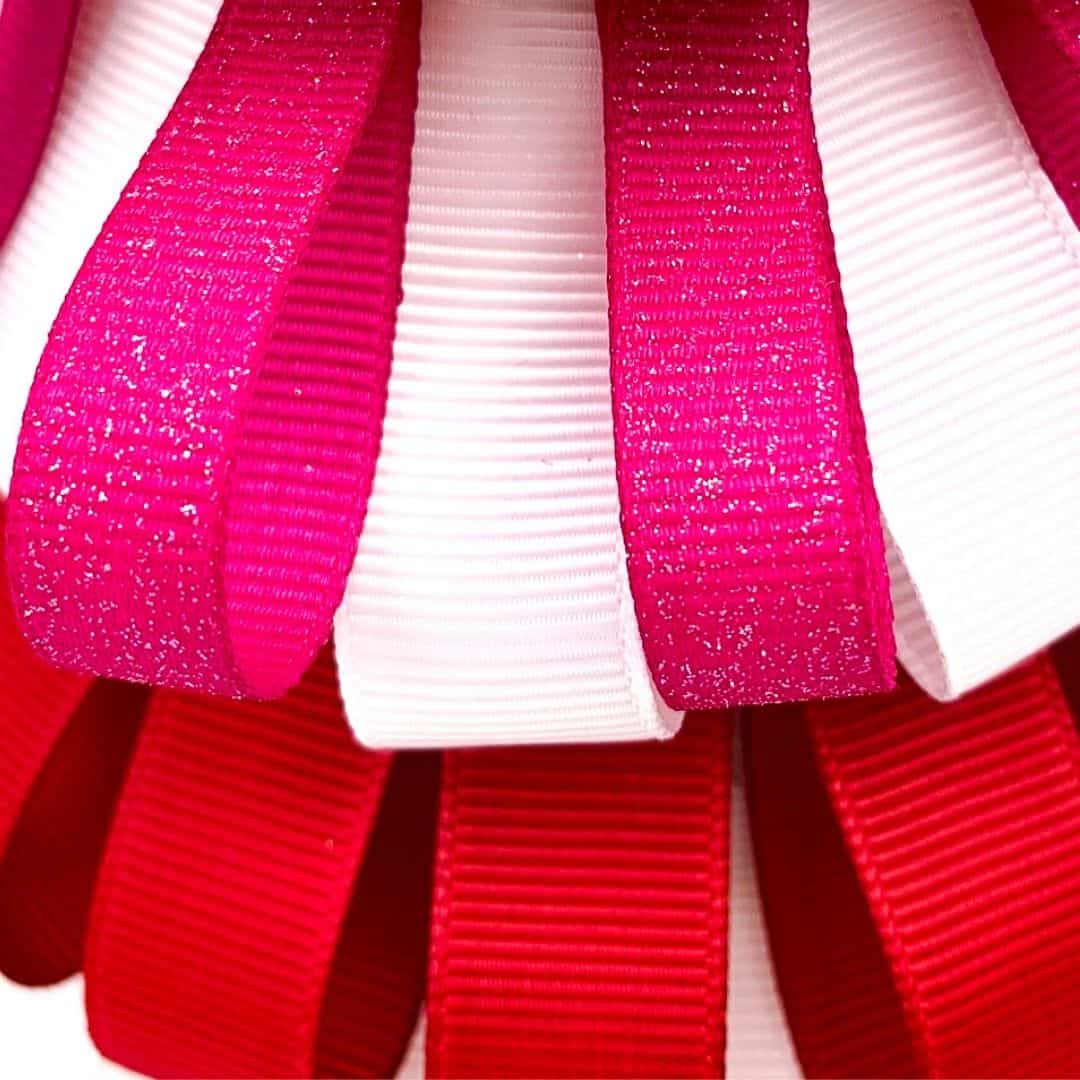
- Give your tree a more striped effect by alternating strips of colors within the different layers instead of using just one hue per row.
- Feel free to play around with the ribbon width as well. You could make the bottom rows wider than the top ones.
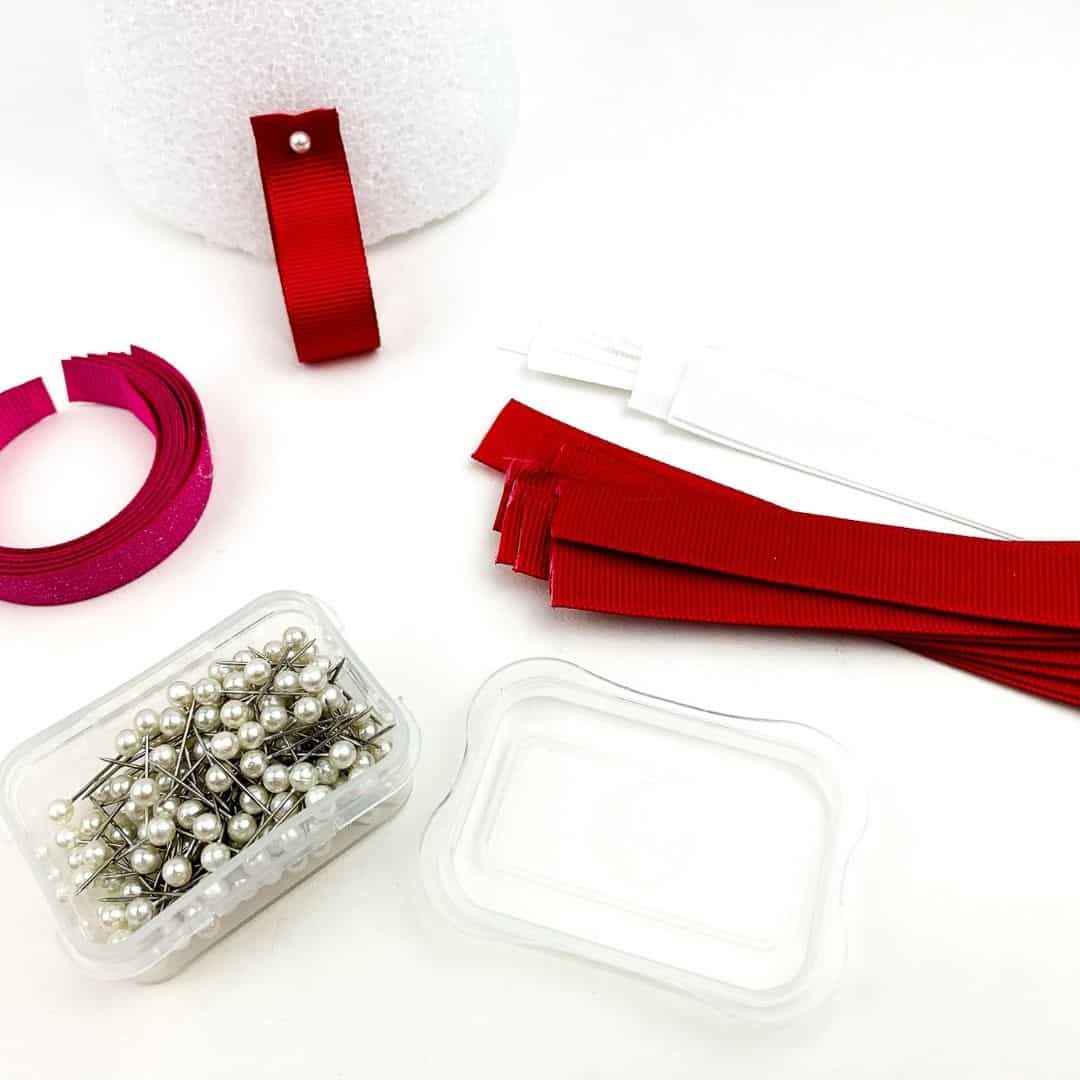
Materials Used
Here are three of the main supplies you’ll need for your tree.


This is not a complete list of the supplies needed for the Valentine’s Day ribbon tree. You’ll find that below.
DIY Ribbon Tree Craft
Are you ready to make your own tree? Here are step-by-step instructions.

Valentine's Day Ribbon Tree Craft
A pretty DIY ribbon tree that you can use to decorate for Valentine's Day
Materials
Instructions
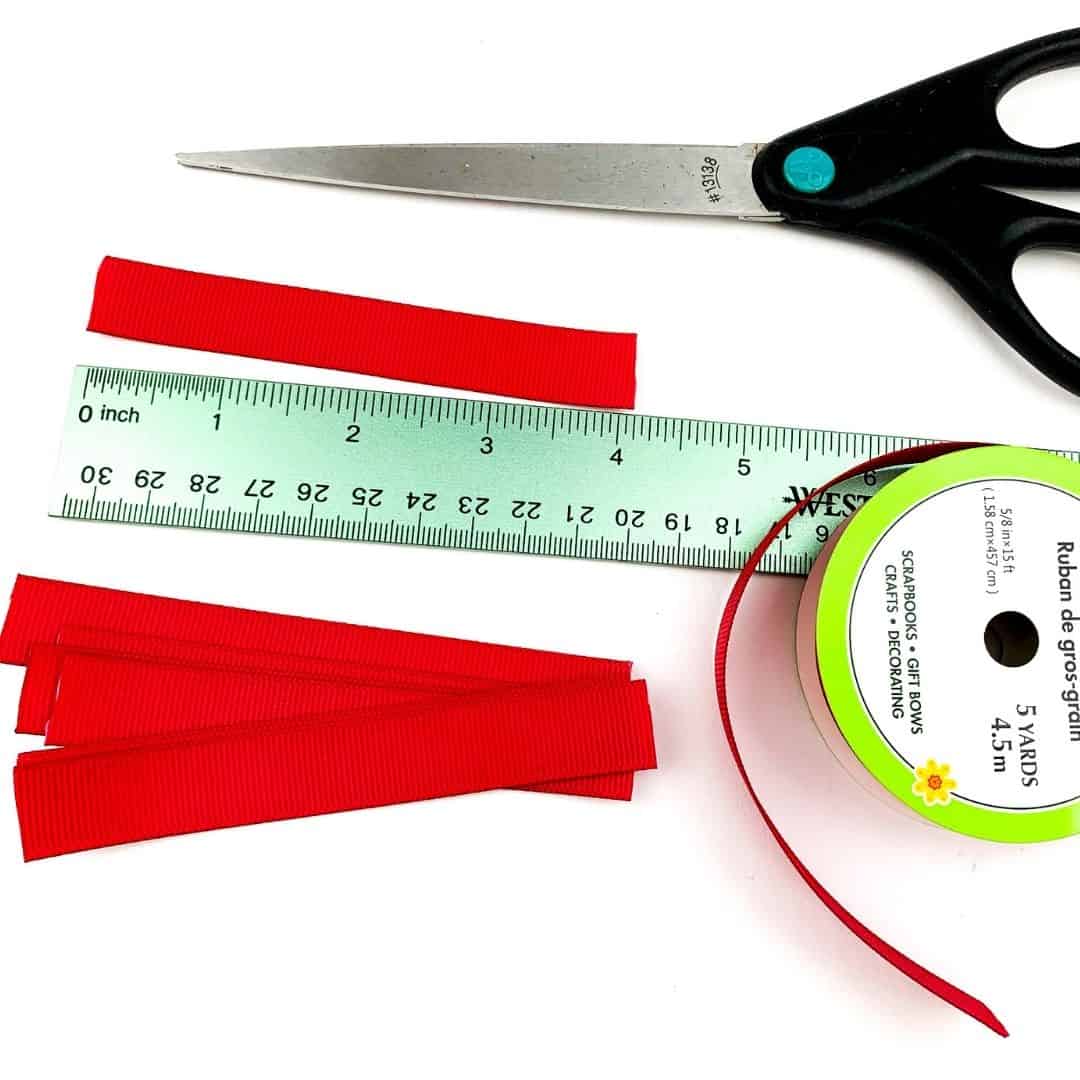
- Cut the red, white, and pink ribbon into 4 inch strips.
- Unwrap your Styrofoam tree if it has plastic on it.
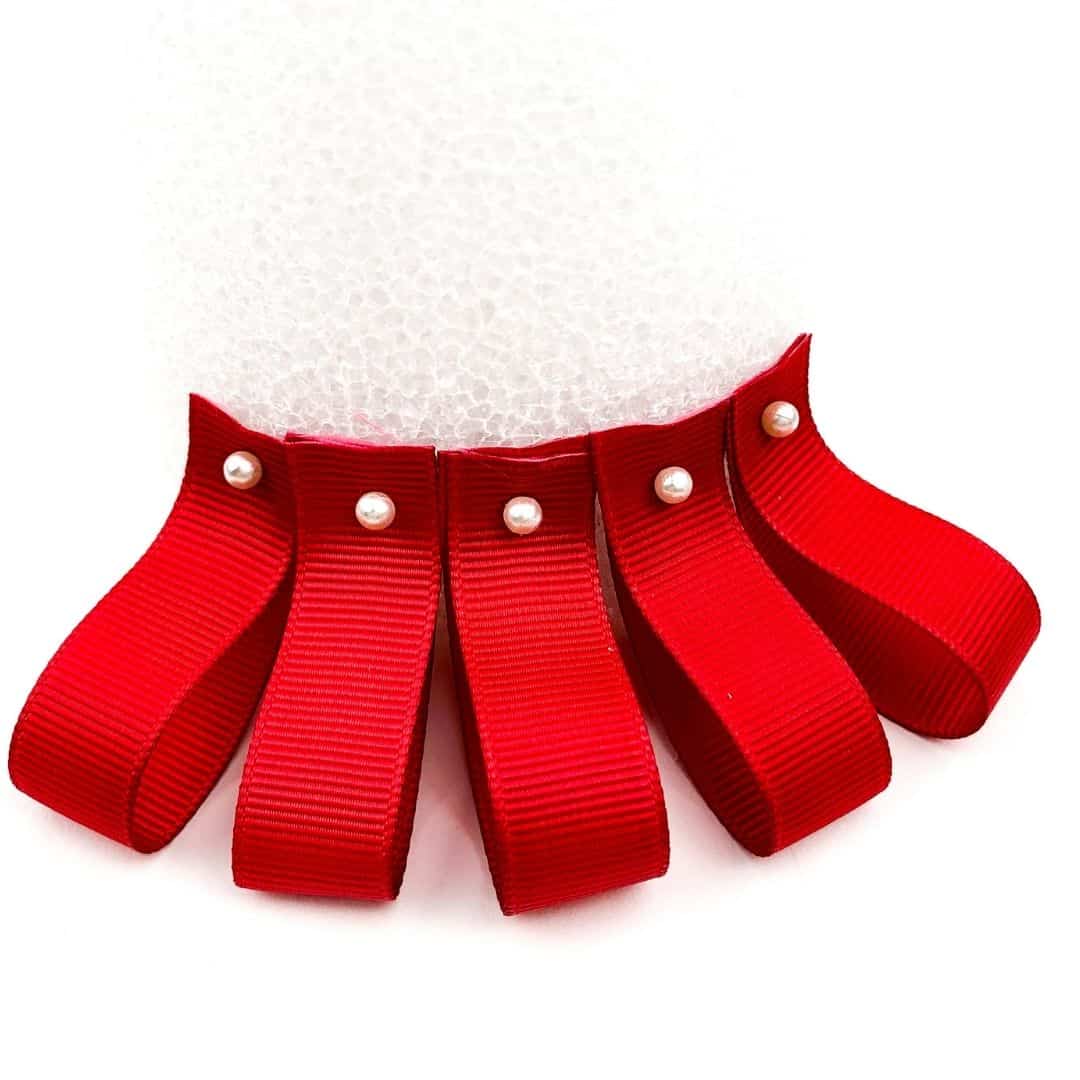
- Starting with the red ribbon, bring the ends together to create a loop.
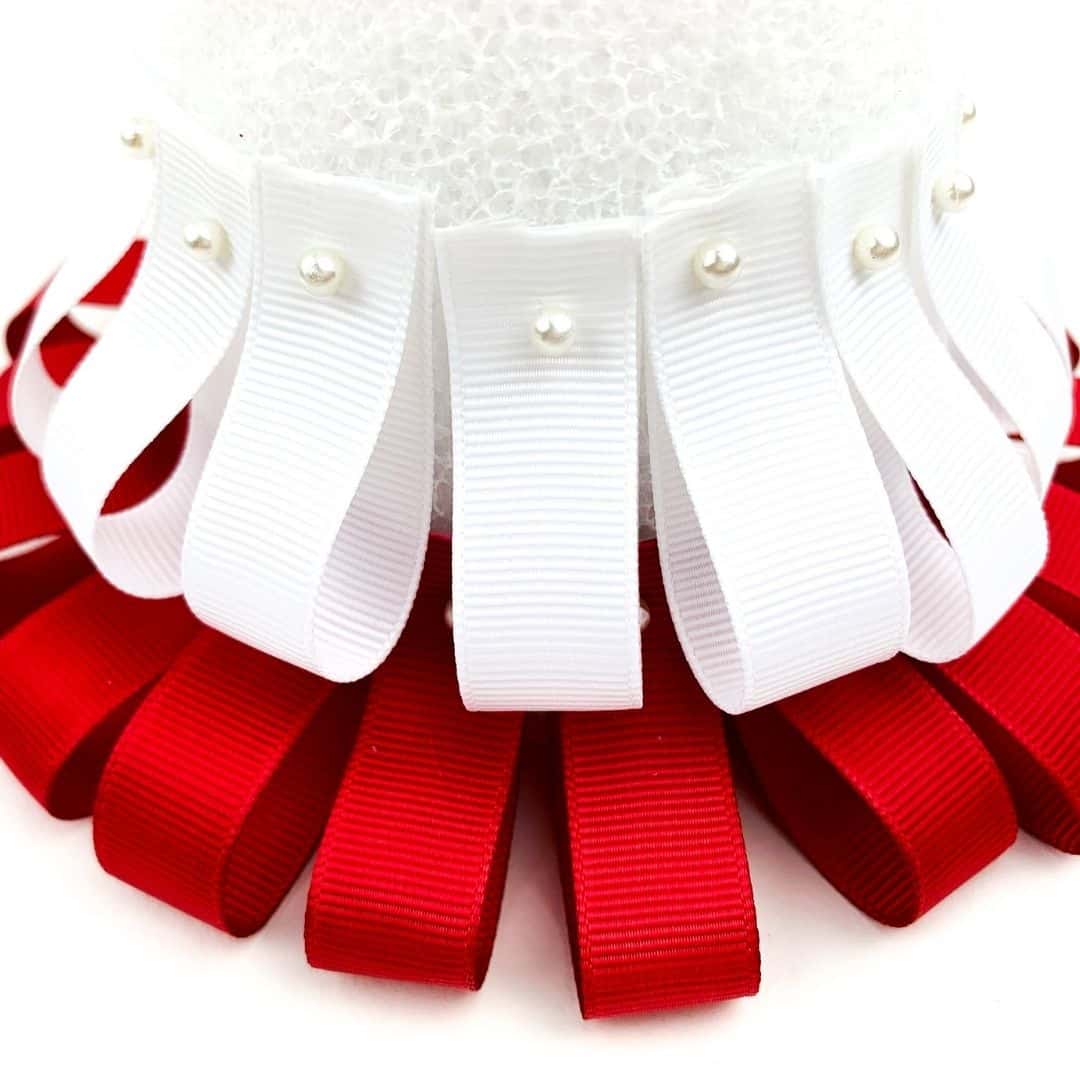
- Place a pin through the loop where the ends meet.
- Pin the ribbon onto the Styrofoam tree about one inch up from the bottom. Continue pinning red ribbons, next to one another, moving around the bottom of the cone.
- Move up to the next row, using the white ribbon. Repeating step #5, pin the white ribbon all around the cone. Pin them high enough so that the bottom of the loop slightly covers the pins from the first row.
- Place another row of red ribbon above the white loops, following the instructions in step #6.
- The next round is where you'll use the pink ribbon. With this row, alternate pinning white and pink loops around the cone, like you did in previous steps. This is the only row with pink ribbon loops.
- Starting with another red ribbon row, continue pinning rows of ribbon like this until you cover the whole tree, taking care to alternate colors.
- When you can no longer add loops, you're done with the ribbon. We ended up with 7 layers on ours. With the top row, you might want to use hot glue to attach it so you won't see the pins.
- Cover the top of the Styrofoam by pinning 3 - 4 heart buttons to the cone. You'll put the pin through the thread holes. If you're struggling to get the buttons to remain in place, you can always glue them to the top.

- Time to display your creation.
Notes
- Measure and cut one piece of ribbon and then use that as the template for the rest.
- If you're having trouble keeping the ends together as you go to pin them to the cone, use a small drop of hot glue to connect them. Then they're already in a loop when you go to pin them. Just leave enough room for the pin.
- Not interested in pinning the loops? No problem. Just glue them onto the tree.
Hopefully, you’ll have a ton of fun making your own Valentine’s Day themed trees and it will inspire you to make even more holiday decorations.
Additional Craft Ideas
If you and your tweens enjoyed making this project, here are some ideas you can use to spend even more time this winter crafting together.
- Painted rocks are a fun way to show your love for others.
- Add some color to your home this Valentine’s Day with this yarn pom-pom garland craft.
- This list includes a bunch of winter crafts that are great for tweens and teens.
- Make a sock snowman to use as a cute winter decoration.
Are you excited to make your own Valentine ribbon tree?

Latest posts by Megan Zechman (see all)
- Easy Pumpkin Crafts - August 21, 2023
- Middle School Geography Curriculum - August 11, 2023
- Outdoor Geography Activities - August 4, 2023
2 Comments
Comments are closed.