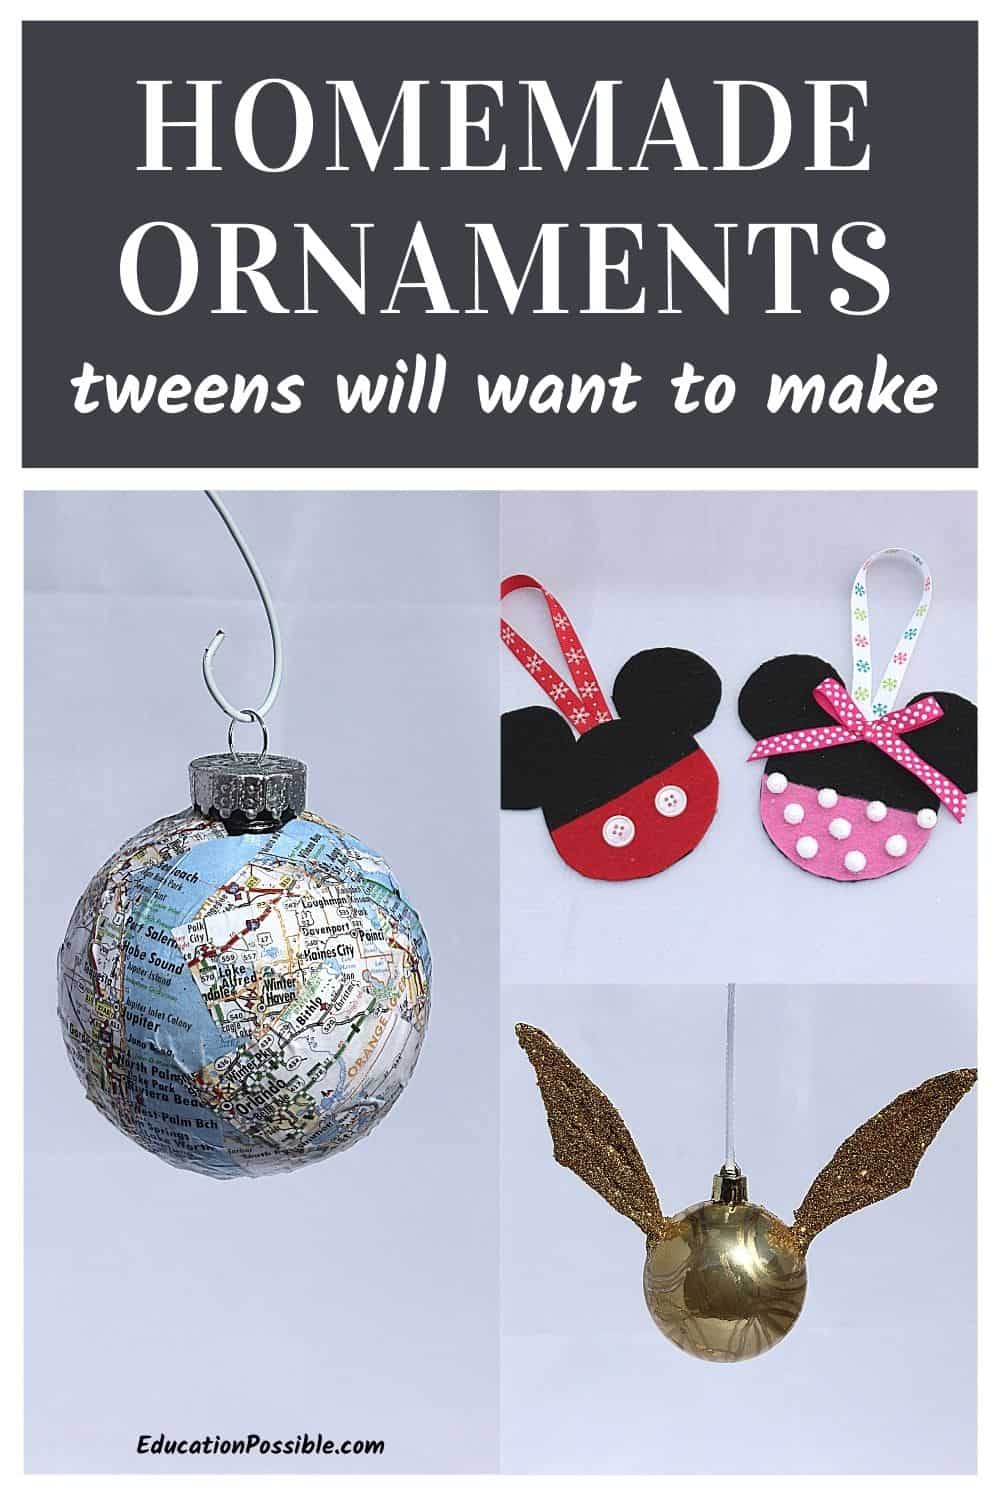
5 Homemade Christmas Ornaments To Make With Tweens
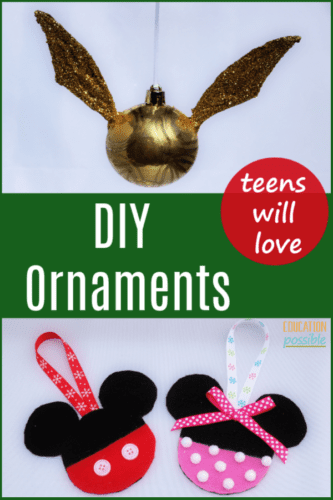
These homemade Christmas ornaments are so cute and easy to make. They’re the perfect Christmas crafts for teens and tweens.
Crafting homemade ornaments with tweens is a great way to get into the Christmas spirit. DIY ornaments add a personalized touch to any home, and they’re fun and easy projects that can be done together!
Making decorations yourself adds a cozy, personal touch to your tree and can be great memories for years to come.

Homemade Christmas Ornaments
Ever since my girls were little, we have made ornaments to hang on our Christmas tree each year. It’s one of our favorite holiday traditions.
It’s wonderful to pull out our Christmas decorations every November and see all of the treasures inside.
From the hand prints from when they were preschoolers to the more intricate designs they created as they got older, I treasure them all. Plus, it’s fun reminiscing about the stories that go along with each ornament.
If you haven’t been making ornaments with your kids lately because they’ve lost interest or they think they’re too old for crafts, this is the year to create those memories again.
The five found below should get them excited. They’re all teen-friendly, cost-effective, and will take little time to complete.
How to Make Christmas Ornaments
Christmas ornaments are a great way to dress up and add personality to your tree. Making them yourself is a fun way of celebrate the holiday.
They can be anything from an incredibly simple popsicle stick star to an elaborate quilled paper snowflake and everything in-between. You just have to pick a project that you love.
Here are some tips for creating beautiful, homemade Christmas ornaments:
- Consider what material you want to use for the ornament. Will glass balls be safe on your tree or should you use plastic? Wood, fabric, and paper all make excellent ornaments.
- Think about what kind of design or motif you want your ornament to have. This will help when it’s time to choose colors and decorations.
- Gather a variety of materials: Get creative and look for colorful ribbons, fabrics, paper, felt, buttons, beads, yarn and other craft supplies to make your own tree decorations.
- Decide whether you want to create something completely unique or if you want to follow someon’es step-by-step instructions
No matter what you choose, there’s no wrong way to make a homemade ornament. Just choose a design and process that works for you and your family.
Any links in this post may be affiliate links. See my disclosure statement.
Christmas Ornaments to Make
Whether your family makes ornaments for your personal tree or to give as gifts to friends and family, the ones listed here are cute and simple to make.
Below you’ll find step-by-step instructions for the following ornaments:
- a glittery feather ball
- a snowglobe
- Minnie Mouse and Mickey Mouse Felt Silhouettes
- a map ball
- a Harry Potter golden snitch
Ready to get started?
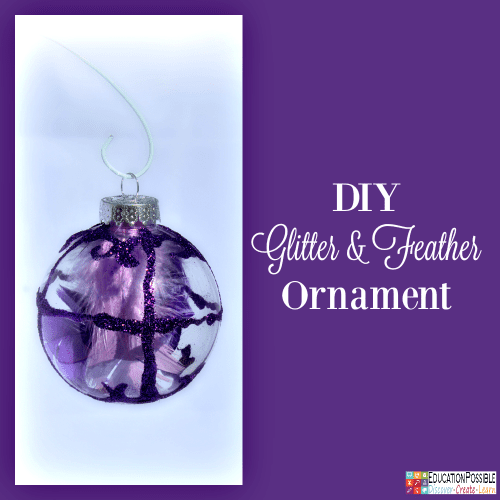
Glass Ornaments with Feathers Inside
If you have a tween that loves sparkly things, this is the perfect ornament for your tree.
You need:
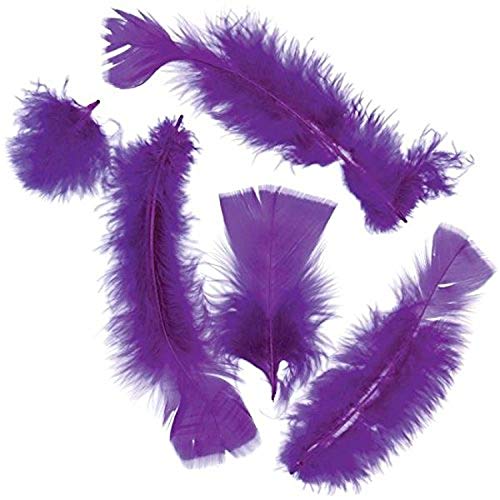
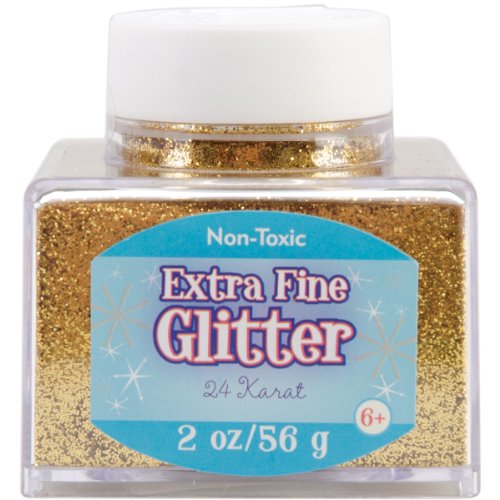
Glass Christmas Ball Ornaments Extra Fine GlitterTurkey Flat FeathersElmer’s Liquid School Glue
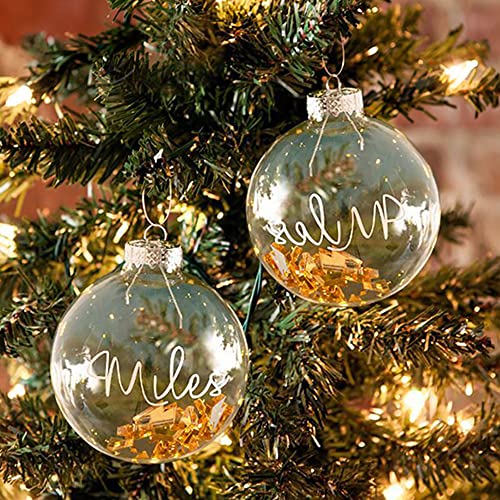
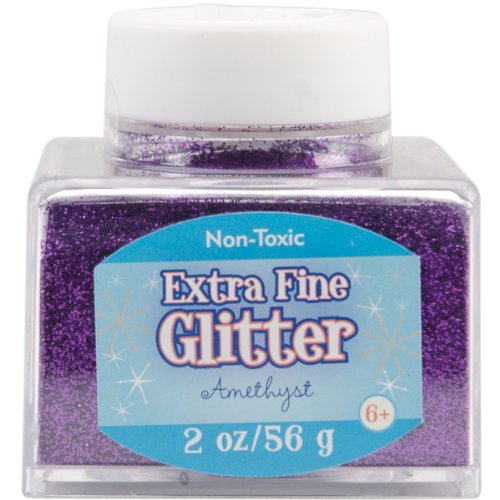

My youngest daughter loves glittery things, so it was no surprise that she made this ornament. You could use glitter glue, but if you want yours to really sparkle, use glitter instead.
- First, make swirls and designs on a clear round ornament with white glue and then cover it with glitter. Making swirls with glue can be challenging, so before you start, practice some designs on a scrap piece of paper.
- Shake off the excess glitter and set the ball aside to dry.
- After it dries, take off the silver top and put a couple of colored feathers inside. Put the top back on, add a hook and hang it on your tree.
Tweens will love how this sparkles every time the tree lights catch it.
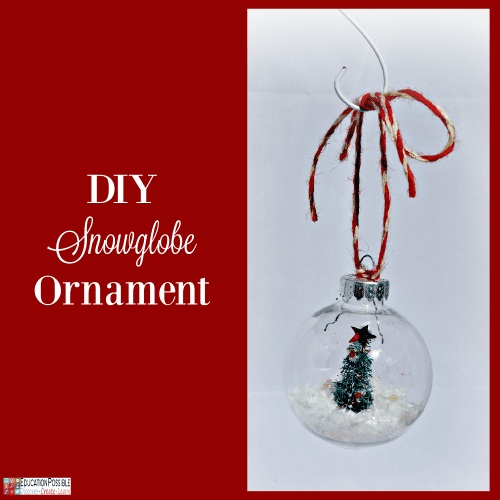
Snow Globe Ornament
You and your tweens can make mini snow globes to hang on your tree.
You need:
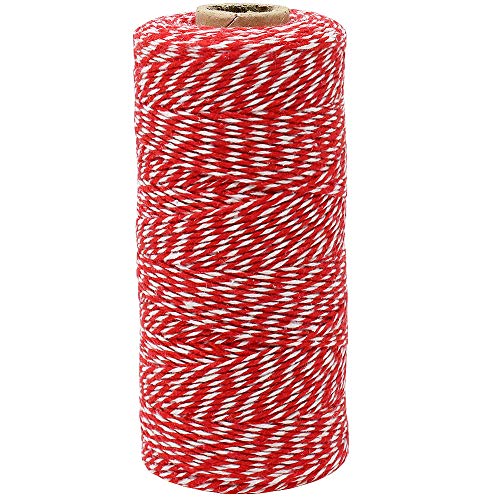
Glass Christmas Ball OrnamentsMini Sisal TreesSparkling SnowBakers Twine


My oldest thought making Christmas ornaments into a snow globe was such a cool idea. Follow these instructions to create a cute snowy scene for your tree.
Before you begin, make sure that the tree you choose fits through the opening of the ball.
- Carefully take the silver top off of a small, clear round ornament.
- Put a dab of hot glue on the bottom of the tree and use tweezers to put it through the hole and stick it to the bottom of the ball.
- Give the glue a few minutes to cool down and dry, so it’s not sticky.
- Pour in some thick, white, shiny glitter to create the illusion of snow.
- Add the top back onto the ornament.
- Cut a piece of the twine and tie it onto the top, leaving a large enough loop to hang from a branch.
Just like that, you have a miniature snow globe for your Christmas tree.
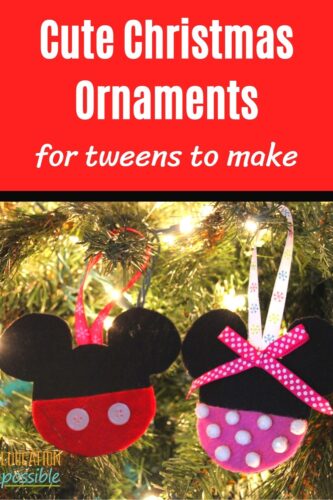
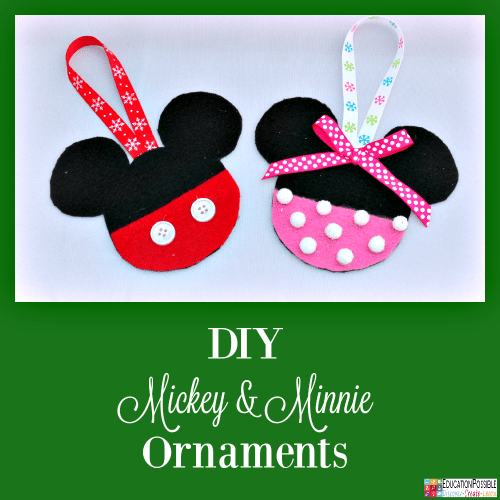
DIY Mickey Mouse Ornaments
Living in Central Florida, we are huge Disney fans, so we have many Disney-themed ornaments on our tree. I hope your tweens are as excited as mine to add these Minnie and Mickey Mouse felt ornaments to your collection.
You need:
- Stiff Black Felt
- Red Felt
- Pink Felt
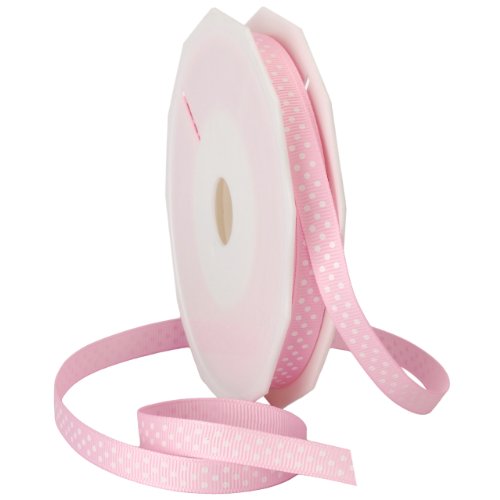
- Pink Ribbon
- White Buttons
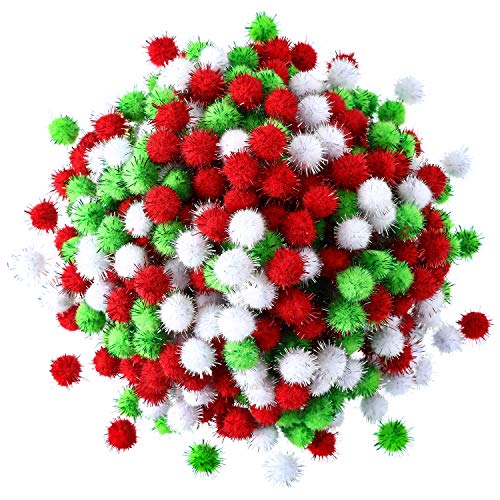
- White Pom-Poms
- Ribbon
- Tacky Glue
- Scissors
Soft Felt Fabric SheetChristmas Pom Poms3/8 Inch Snowflake RibbonSwiss Dot Grosgrain Ribbon


We drew out a Mickey head silhouette the size we wanted our ornaments. If you don’t want to draw your own, look online for a silhouette that you can trace.
After you have the basic shape you want, follow these steps to create the Mickey and Minnie Mouse ornaments.
- Trace the shapes onto the stiff black felt. Cut out both full silhouettes. Make sure you use the stiffer felt instead of regular felt, so they’ll stay flat and hang nicely on your tree.
- Fold the paper head in half, top to bottom, and place it on your red and pink felt. You can use soft felt for this step because it’s getting glued to the stiffer piece of felt.
- Trace around the large part of the paper (ignore the ears) and cut out a half circle. Make sure it fits on the bottom half of your black felt silhouette without hanging over. Trim as needed. Once they’re in place, glue them down.
- Glue two small white buttons on the red felt for Mickey’s pants, and nine small white pom-poms on the pink for Minnie’s polka-dots.
- Cut a piece of pink ribbon approximately 10″ and tie it into a bow. Place it between Minnie Mouse’s ears and trim as needed. Add some glue to the back of the bow (where it’s tied) and stick it to the black felt.
- Cut two pieces of coordinating ribbon, approximately 12″ for the hanger. Glue the ends together on the back of the silhouette to create a ribbon loop.
- Let the glue dry and hang them from the tree.
Aren’t they sweet? You will get a ton of complements on them. They make amazing gifts for any friends who are Disney fans.
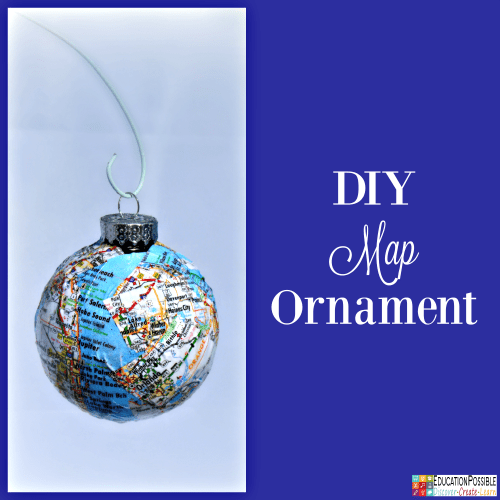
DIY Map Ornaments
This ornament is super easy to customize. Just choose a map of a location that’s important to you.
You need:
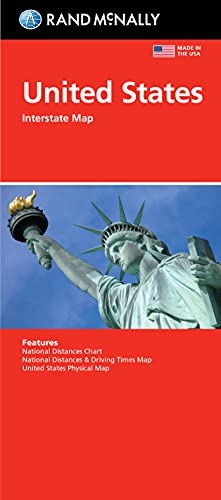
Glass Christmas Ball OrnamentsRand McNally Folded MapMod PodgeFoam Brush


After you gather your supplies, follow these instructions.
- First, find a paper map that holds special meaning to you and tear it up into various sized pieces.
- Cover a portion of a clear round ornament with Mod Podge and lay down pieces of the map.
- Smooth it over with more glue.
- Continue layering the pieces of the map until they cover the ball. Make sure that any areas you want to highlight go on the last layer so they’re on the top.
- When you’ve attached all the pieces, smooth a top layer of Mod Podge over everything and then let it dry.
- Add a hook to it and hang it on the tree.
If you love to travel as a family, this map ornament is a great way to bring a bit of your trip home with you.
Instead of purchasing something, make one of these to capture the memories your family created on a vacation.
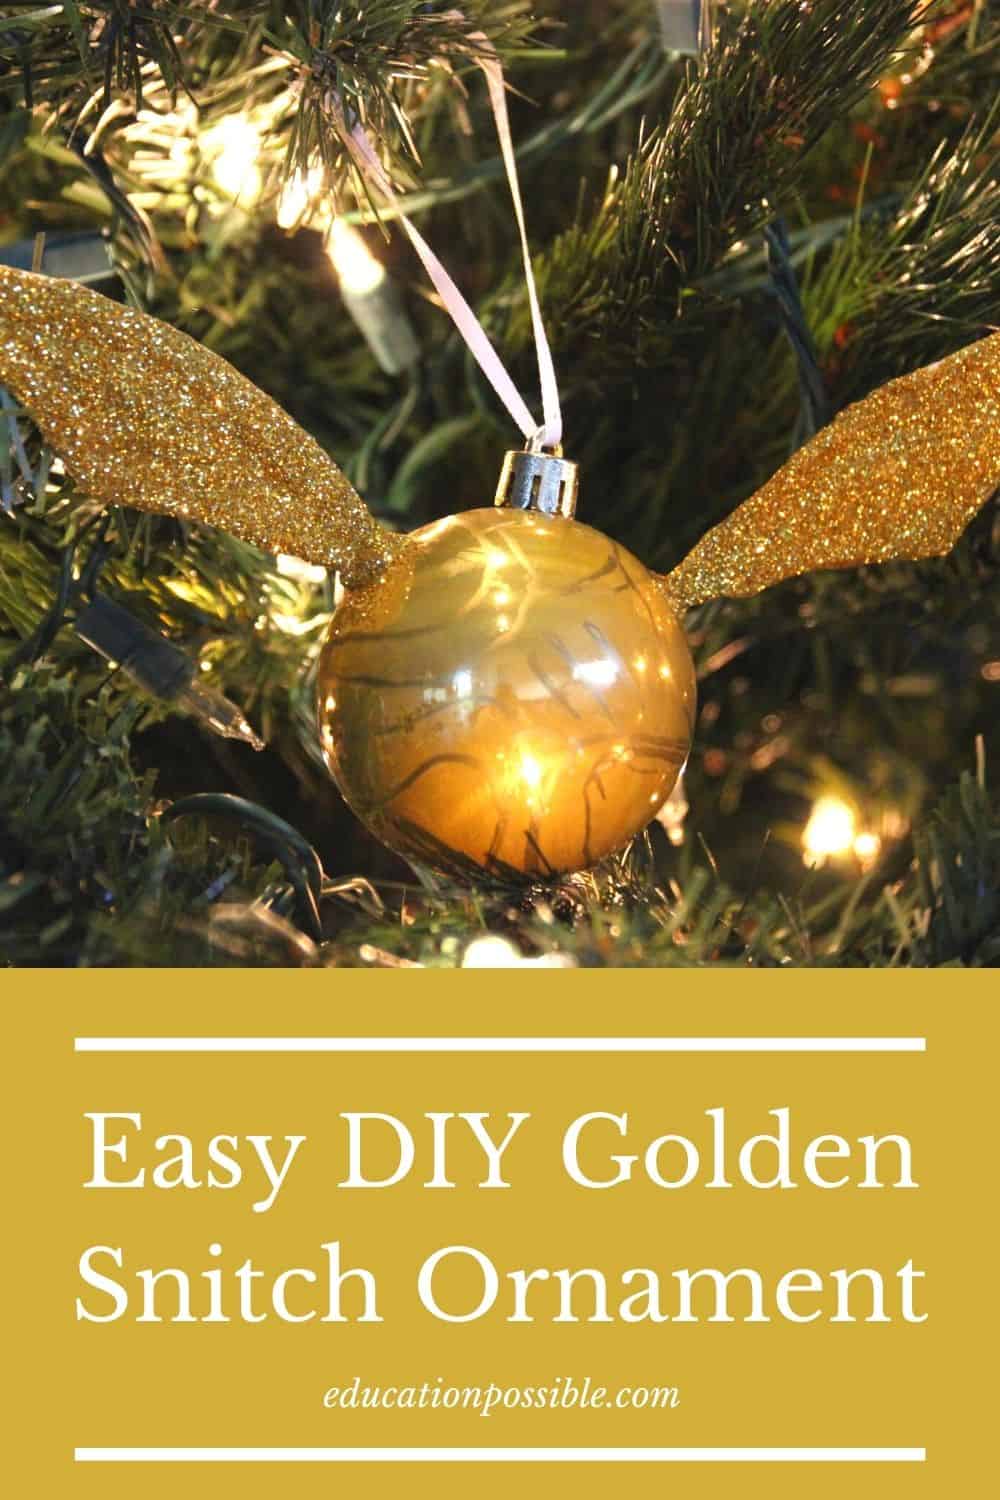
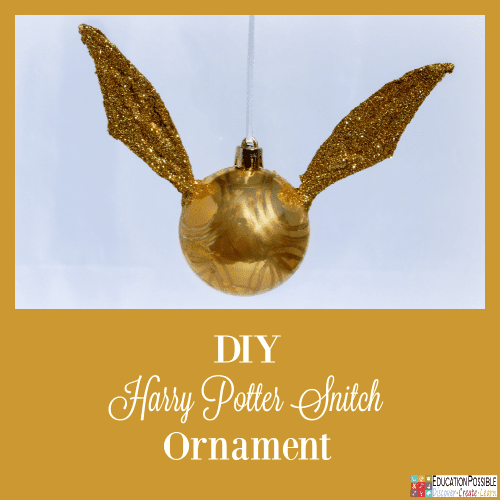
DIY Golden Snitch Ornament
Do you have Harry Potter fans in your house? They’ll be thrilled to make a Golden Snitch ornament for the tree.
You need:
- Round Plastic Gold Ornament
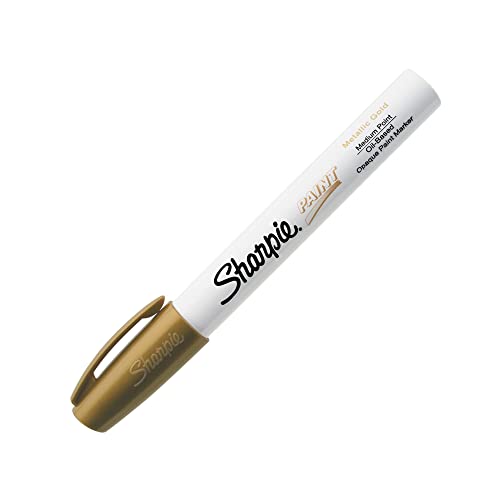
- Metallic Gold Pen
- Gold Glitter
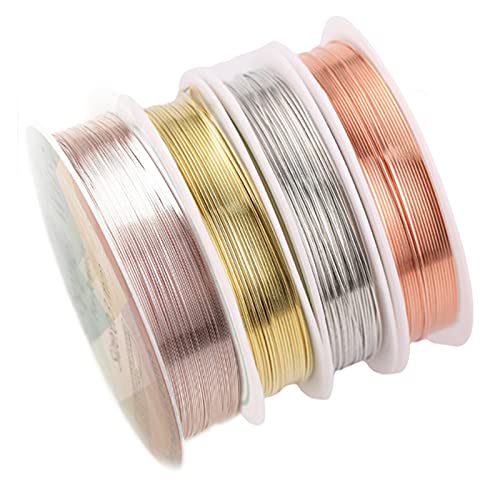
- Thin Wire
- Wire Cutter
- Tissue Paper
- Glue
- Foam Brush
- Scissors
- Push Pin
Gold Plastic Christmas OrnamentsMetallic Gold SharpieExtra Fine Glitter, GoldJewelry Wire, 22 Gauge
My oldest loves Harry Potter, so she couldn’t wait to make a quidditch ornament. Follow these instructions to make your own.
- Grab a plastic gold ball ornament and some scrap paper. Sketch out a set of wings on the paper, making sure they match the ornament in size.
- Once you’re happy with the size and shape of your wings, take your thin wire and construct it into that shape, using the paper wings as a guide.
- Close the wire by twisting it together a couple of times to create a tight spiral that will hold the ends together. Don’t twist too much because you’ll need the end to be relatively thin. Cut off any excess wire.
- Spread white glue over the wire wings and place a couple of sheets of white tissue paper on both sides, sandwiching the wire wing in between the paper. Let the glue dry.
- Cut away most of the excess tissue paper, making sure to leave a small border around the wings. Add glue along the wire, on the back of each wing and roll over the tissue paper, gluing down the border, encasing the wing.
- Spread glue all over the tissue paper and cover it with glitter. Let dry.
- Use a metallic paint pen to draw swirls on the gold ornament.
- Take a push pin and make small holes on the sides of the ornament where you want the wings. You want the holes just large enough for the twisted end of the wings to fit into. Hot glue the wings into place.
After you make this golden snitch, try this Harry Potter broomstick ornament or Harry Potter potion ornaments.
Tweens can make them for your tree and some for a fellow Harry Potter fan!
Christmas Ornaments to Make and Sell
If your tween absolutely falls in love with making their own ornaments, they could take it a step further by selling some of the ornaments they make. It might be a way for them to make extra money and learn some practical skills.
They can make a few and set up a table at a local holiday craft fair or farmer’s market.
Ornaments are a great DIY project for tweens because they can be simple and inexpensive to make. They allow for a lot of personalization, making it easy for kids to be creative.
Plus, ornaments make great gifts that people of all ages can appreciate, so they should sell well.
Personally, I think the Minnie Mouse and Mickey Mouse felt ornaments found above make an excellent choice.
More Ornaments for Teens
Need more ornament ideas? Check out these DIY and ready made tree decorations for older kids.
- Homemade Science Christmas Ornament
- DIY Harry Potter Christmas Ornaments
- Best Christmas Ornaments for Teens
- DIY Chalk Pastel Angel Ornament
What DIY Christmas ornaments will you add to your tree this holiday season?

Latest posts by Megan Zechman (see all)
- Easy Pumpkin Crafts - August 21, 2023
- Middle School Geography Curriculum - August 11, 2023
- Outdoor Geography Activities - August 4, 2023
2 Comments
Comments are closed.