5 Easy Christmas Crafts for Teens to Make


Looking for some easy Christmas crafts for teens?
Every year we spend some time making some decorations to keep and display in our home. These are a few of our favorite Christmas crafts for teens.
I don’t know about you, but I love having our home filled with handmade holiday crafts. They have so much meaning and I look forward to unboxing them each Christmas and hanging them up or putting them on shelves.
These 5 are ones that we made and still display in our home each holiday. I know you’ll enjoy creating them with your kids.
Easy Christmas Crafts for Teens
Whether your older kids love being creative or it’s new for them, the projects here will definitely get them excited to make something new for the holiday. They’re all easy enough for those who don’t have a lot of experience crafting, but interesting enough for the kids who can’t get enough DIY in their lives.
Even if it’s been years since you’ve made Christmas decorations together as a family, it’s okay. Just jump right in with one of these and start filling your home with beautiful handmade holiday designs.
Ready? Time to choose a project.
Christmas Crafts for Tweens
The crafts listed here were all chosen and created by my girls when they were in middle school. They’re definitely tween and young teen approved.
They’re all pretty easy, so you and your kids will be able to make some to add to your festive décor in little time. I hope you have a ton of fun being creative with your kids this year.
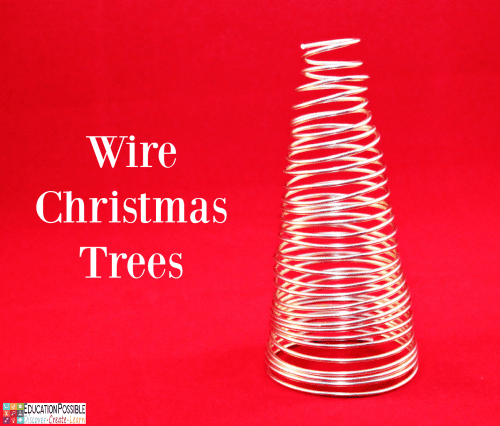
Christmas Tree Craft
This wire Christmas tree seems like such an easy craft and in a sense, it is.
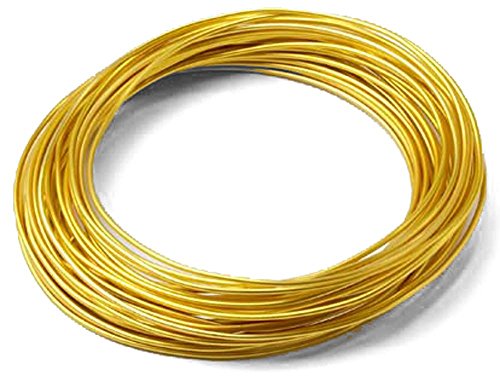
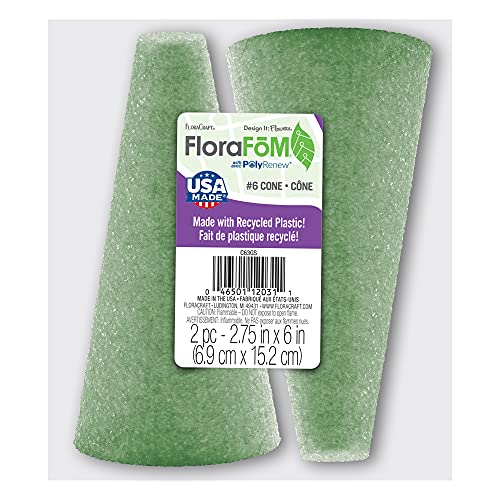
Just wrap some 12 gauge decorative wire around a Styrofoam cone, covering it as much as you’d like, snip the wire, and create a Christmas tree shape.
However, once you carefully pull the wire off of the cone, you realize it’s a bit trickier than it looks. Yes, it’s incredibly simple to wrap the wire, but the finesse comes with trying to get it to stand on its own – it’s kind of like a slinky.
It took us a few tries, but we finally succeeded in making a tree by keeping the rings a bit closer than we originally thought.
To be honest, every year when we pull this out, I end up adjusting the rings a bit.
Any links in this post may be affiliate links. See my disclosure statement.
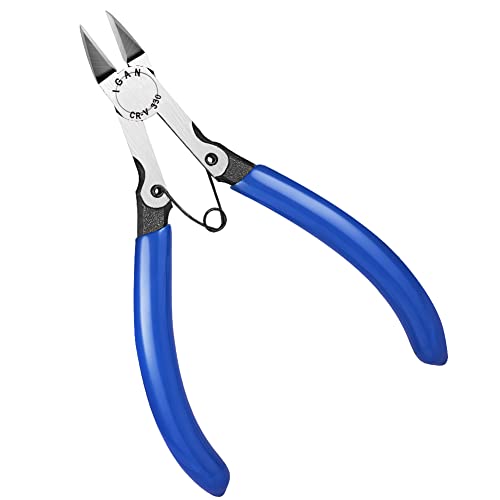
Craft Supplies:
Aluminum Wire Floral ConeWire Cutters
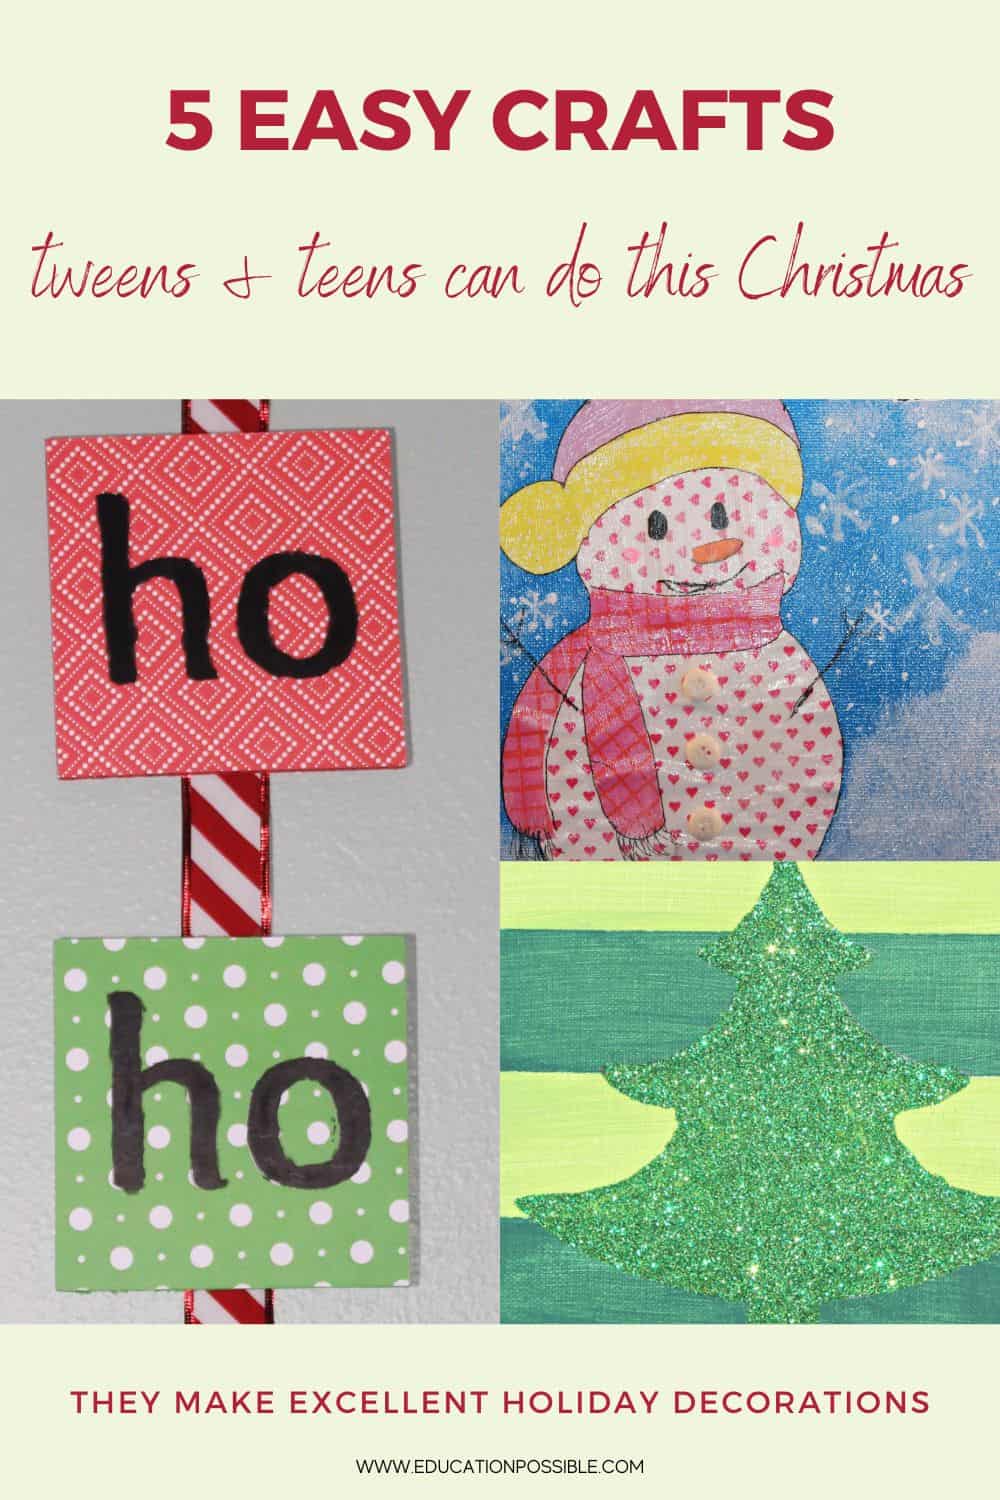
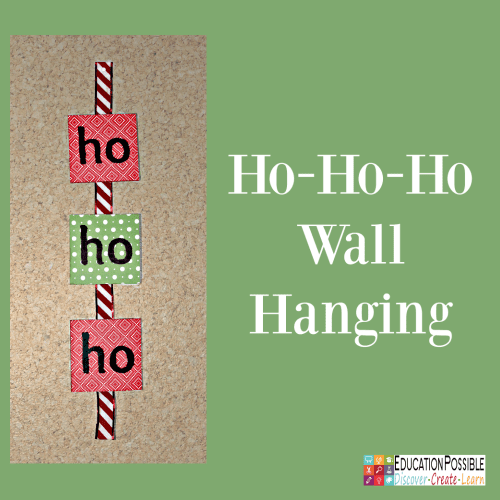
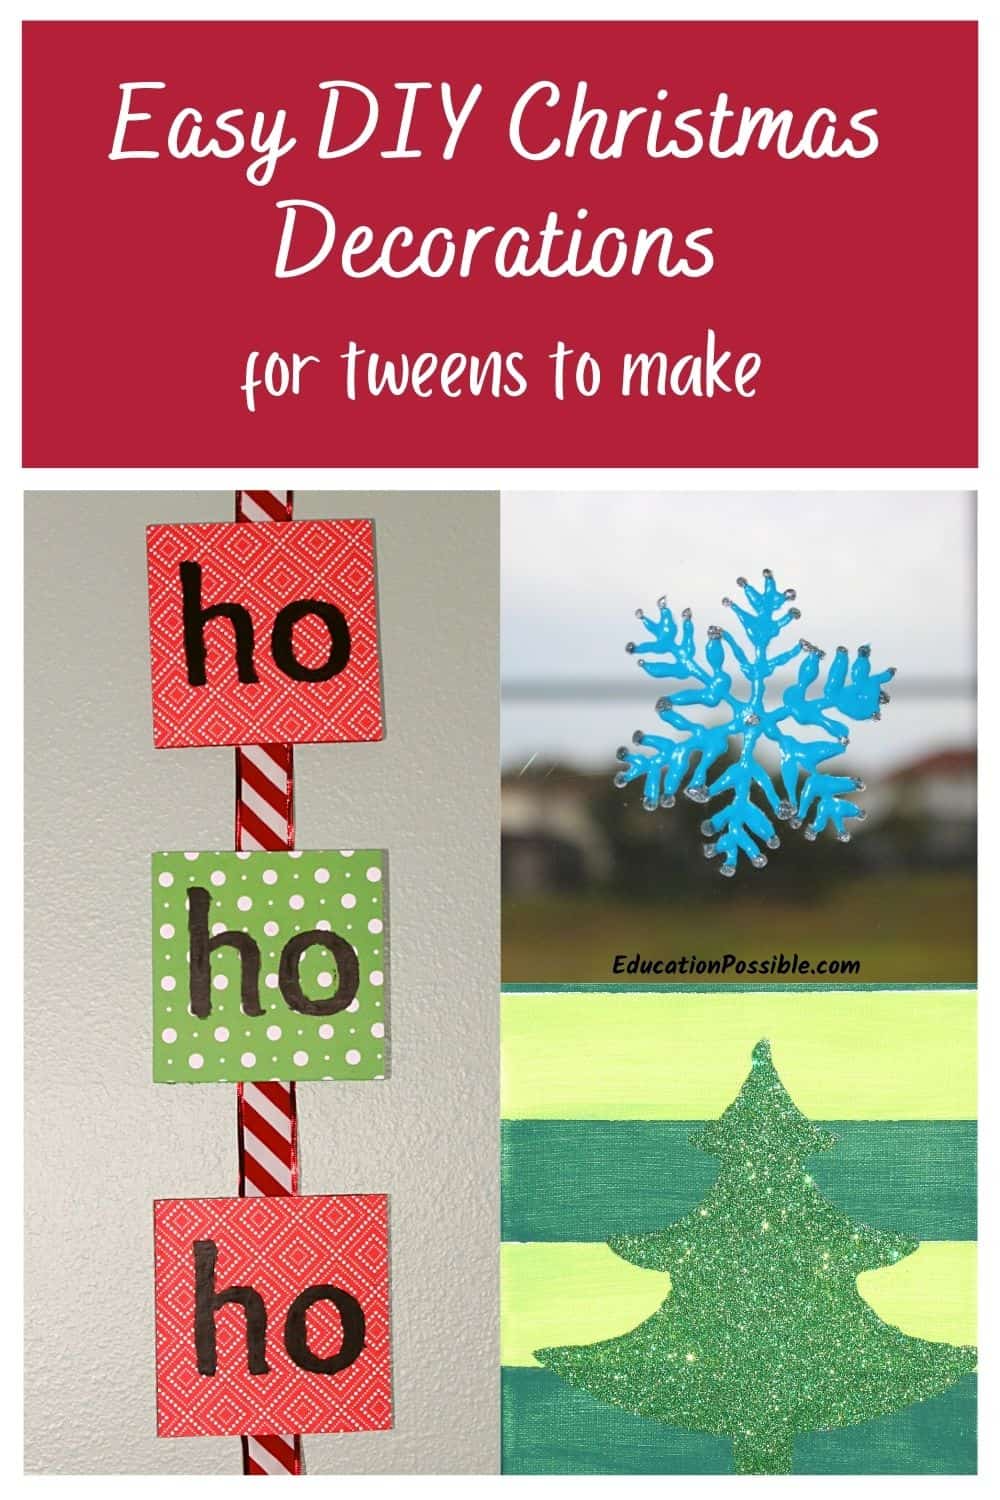
Easy Christmas Wall Hanging to Make
Over the years, I’ve seen lots of ho-ho-ho wall art and always wanted to make one. Luckily, Marianna fell in love with this project, so I finally have one to hang up each Christmas.
We used three 6″x6″ pine craft wood squares as the canvas for our words. Marianna chose two patterns of scrapbook paper, acrylic paint that matched it, and 1.5″ ribbon that complemented everything.
Wall hanging supplies:
- Pine Craft Wood Squares
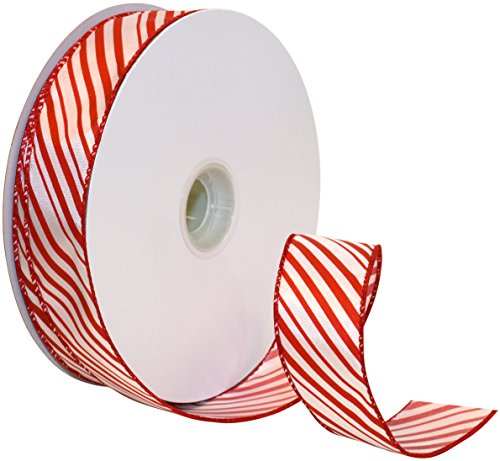
- Ribbon
- Holiday Scrapbook Paper
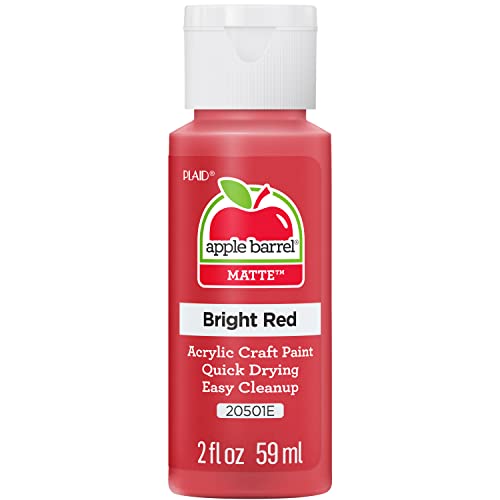
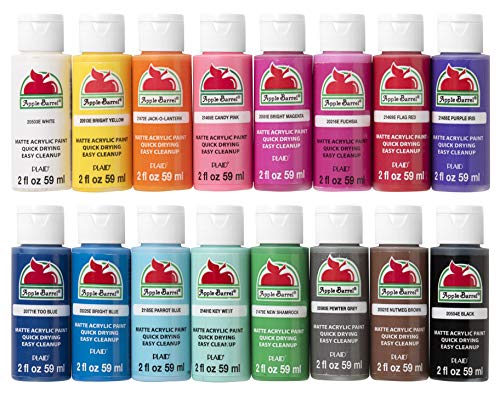
- Acrylic Paint
- Foam Paint Brush
- X-Acto Knife
- Spray Adhesive
- Hot Glue
Pine Wood SquaresPeppermint Stripe Wired RibbonChristmas PaperAcrylic Paint


Ho-Ho-Ho wall hanging directions:
- Choose the scrapbook paper pattern for each wood square.
- Paint the edges of the wood with a color that matches the paper and let it dry.
- Cover the back of the paper squares with spray adhesive and place each one onto a wood square. Once it’s firmly affixed, flip the wood over, with the paper flat on a surface you can cut on, like a cutting mat. Carefully, use an X-Acto knife to cut away the excess paper.
- On you computer, type out the words ho-ho-ho in your favorite Christmas font, so they fit on the squares. Print them out. Cut out the letters, making sure to leave a small piece of paper in place, so the letters stay attached, to help with spacing.
- Trace the letters you just cut out onto the patterned paper and fill them in with black acrylic paint. Let it all dry.
- Figure out how long you’d like your hanging and cut the ribbon to that length. Then determine how much space you want between the three blocks. For ours (shown above) we used a 32″ piece of ribbon and spaced the wood squares about 3″ apart.
- Hot glue the squares onto the ribbon.
- Attach a wall hanger on the back or use a thumbtack to hang it on your wall.
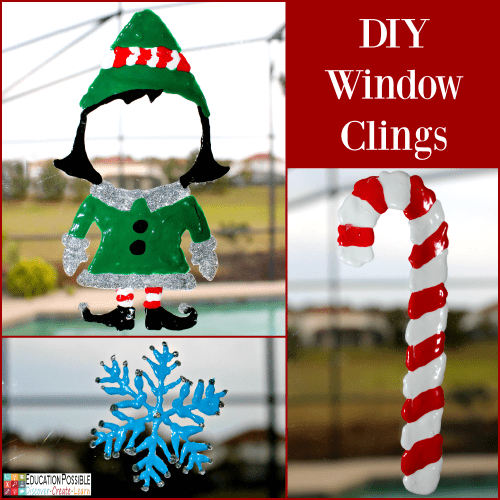
DIY Window Clings
Do you stick colorful, festive clings to your windows for Christmas? We do! In fact, we love putting on festive clings on our sliding doors for all the different holidays and seasons, like these winter snowflake window clings.
While we will still buy some fun designs from the Dollar Store, we really love making our own.
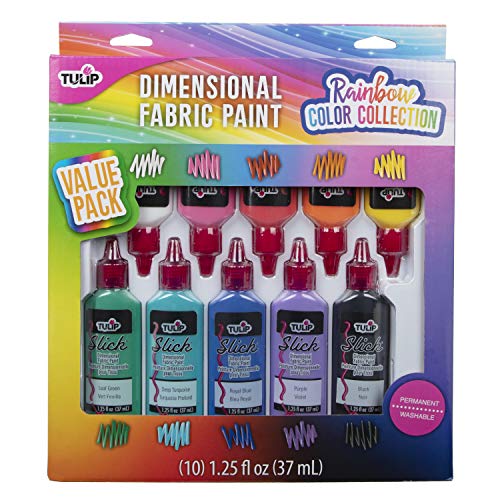
To make your own window clings, you’ll need:
Tulip Dimensional PaintReynolds Wax Paper
When we first made these, my girls thought it was the most amazing craft. To be honest, they still do.
They wasted no time creating Christmas window clings to decorate our sliding glass door, but they were bummed they had to wait for them to dry.
As you can see in the image above, they made a blue snowflake, a cute Christmas elf, and a candy cane.
How to make homemade window clings:
- First, have your tweens print a pattern from the computer that they would like to make into a window cling or better yet, encourage them to draw their own design.
- Place the pattern under a piece of wax paper or inside a Ziplock bag.
- Then take the puffy paint and carefully trace over the design on top of the protective covering.
- Let it dry overnight.
- Carefully peel off the clings and place them on the window.
Here are a couple of tips for making your own window clings:
- When you’re tracing over your image with the paint, use a lot of it. The thicker you make it, the easier it is to remove from the paper.
- Make sure all of your lines touch each other. They need to connect for stability.
- Pull the clings away from the wax paper or plastic bag very carefully. If you go too fast, you could rip it.
- If it doesn’t stick to the glass right away, place it in your hand for a moment to warm it up and make it more pliable.
I love that there is no limit to what you can make. This project is simple, cheap, and cool!
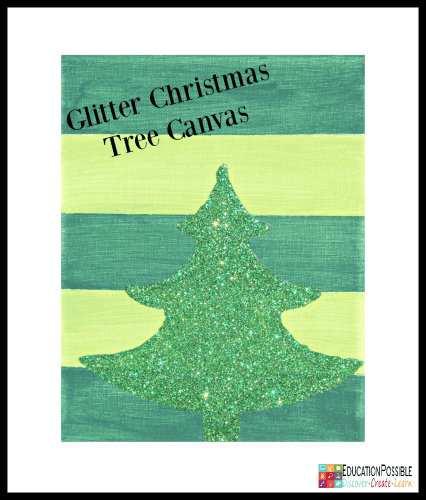
Easy Christmas Painting
I don’t really have a ton of extra shelf space, so I love finding DIY holiday decorations that can be hung up on the wall.
For your simple Christmas painting use:
- 8″ x 10″ Canvas
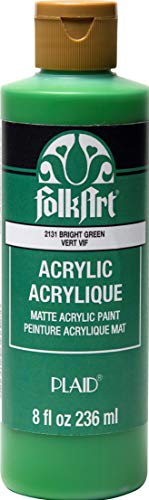
- Green Acrylic Paint – 2 complimentary colors
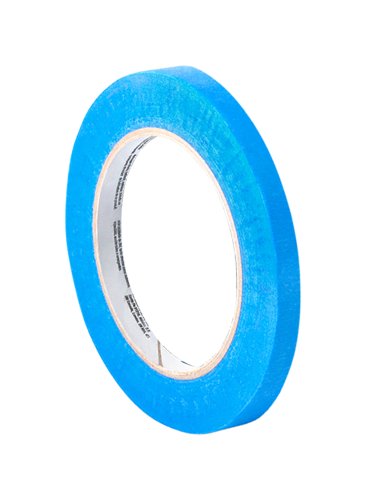
- Painter’s Tape
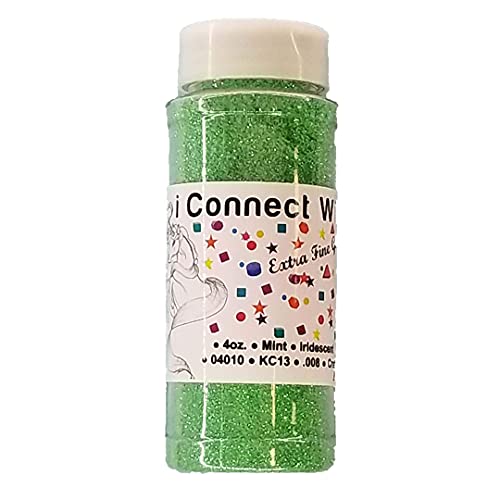
- Green Glitter
- Glue
- Foam Brush
White CanvasAcrylic Craft PaintPainters TapeExtra Fine Glitter

How to make a Christmas tree painting on canvas:
- Chose two complimentary green acrylic paint colors to make stripes on the canvas and glitter for the tree.
- Grab the canvas, painter’s tape, and a ruler. Now you’re ready to go.
- Before you paint anything, you must choose the width of the stripes. The one my tween made had 2″ wide stripes. Measure each one out and use painter’s tape to mark off the lines.
- One at a time, paint alternating colors in between the tape and let the paint dry.
- Meanwhile, draw or print off an outline of a tree, sizing it to the canvas.
- When the stripes are completely dry, trace the tree shape over the stripes with the pencil.
- Then, fill the tree in with glue and cover it with glitter.
- Let the whole canvas dry and carefully brush off any wayward glitter before hanging it up.
As you can see, it’s so beautiful. You’ll love the way it sparkles on the wall!
Snowman Art Project
Okay, so this isn’t a frugal craft, but I wanted to include it because it’s one of our favorite DIY Christmas projects. Every holiday, my kids can’t wait to hang their snowmen up on the wall.
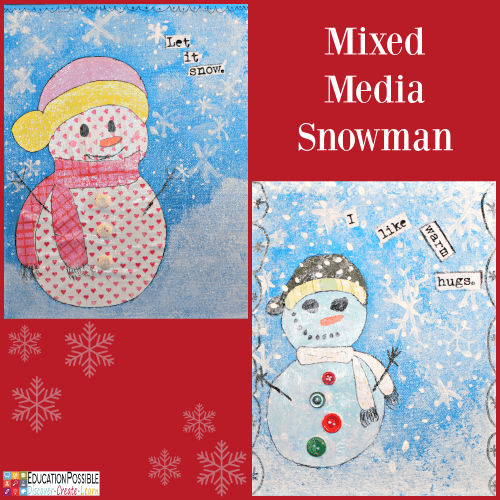
My tweens made these snowmen canvases as part of a winter mixed media art class.
This is just one of the unique designs from a fun homeschool art curriculum. The program includes 20 different holiday and winter-themed art pieces kids can make.
You can use the completed artwork as festive decorations or give away as gifts. They’re that awesome.
Like I said, this isn’t a typical DIY craft. But once you invest in the course, you can use it for your homeschool art curriculum, making it very reasonable and takes the pressure of teaching art to your tweens off your shoulders.
Tweens follow along with the teacher on the video and can complete the projects entirely on their own.
And you’ll get to use their artistic creations as some of your most-beloved holiday decorations.
To make your own snowman art, you’ll need:
White CanvasWinter Pattern PaperAcrylic PaintCraft Buttons

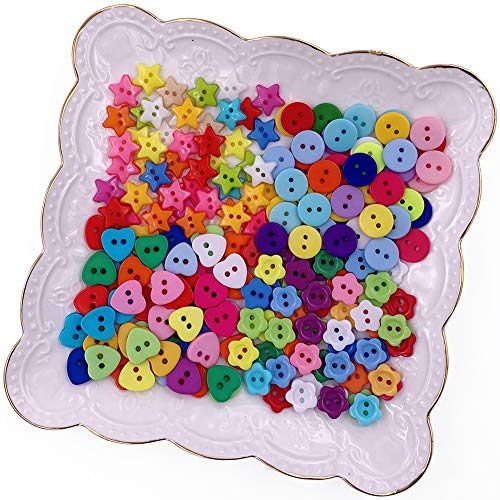
My kids have taken several mixed media lessons from Alisha, and they always enjoy them. I love that they all come with simple, easy to follow step-by-step video instructions. They always made it easy to fulfill our art requirement and my tweens loved being creative.
Holiday Crafts for Middle Schoolers
Are you looking for even more Christmas crafts for your tweens and teens?
- Harry Potter Potion Ornament
- Holiday Luminaries
- Harry Potter Broom Ornament
- Homemade Crystal Icicle Ornaments
- DIY Gifts Middle School Girls Can Make for Friends
- Homemade Paper Ornaments
What quick and easy Christmas crafts are you going to make this year?

Latest posts by Megan Zechman (see all)
- Easy Pumpkin Crafts - August 21, 2023
- Middle School Geography Curriculum - August 11, 2023
- Outdoor Geography Activities - August 4, 2023