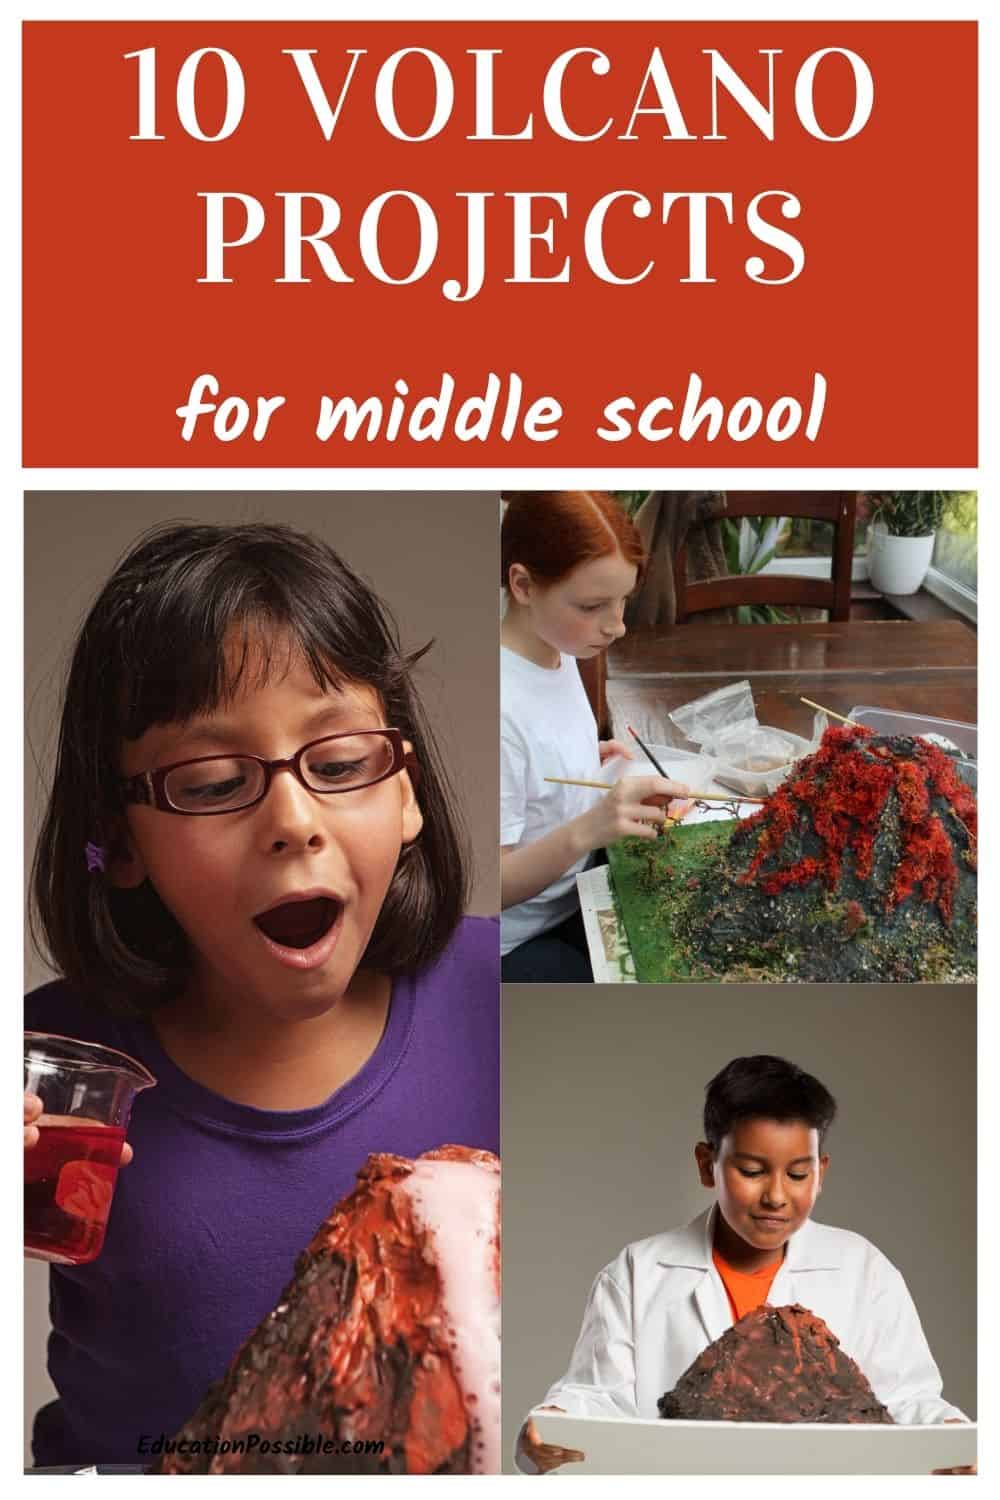
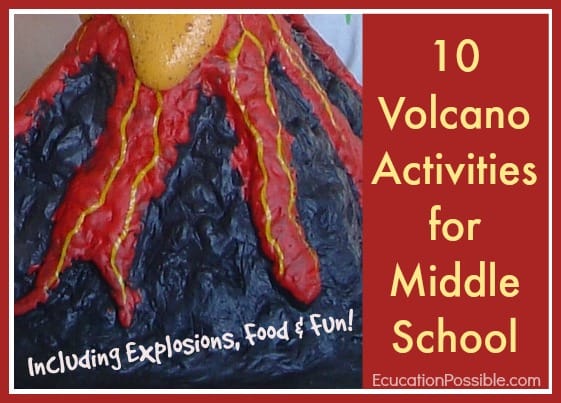
Fun Hands-on Volcano Activities You Can Do at Home
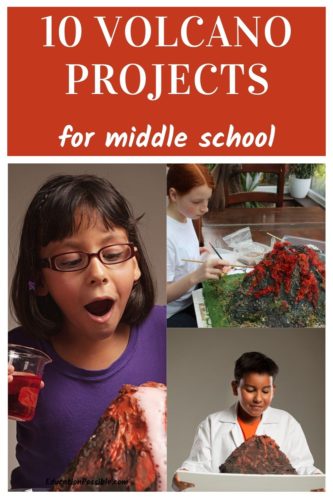
Tweens will love these volcano activities. They’re some of the easy science experiments that should be a regular part of your homeschool.
One of the best known (and go-to) projects for older kids has to be the classic baking soda volcano. Although it’s frequently studied as part of earth sciences, it also fits into other subjects like middle school geography and ancient history.
It seems every year we find a reason to break out the vinegar, baking soda, and red food coloring so we can make our own volcano. Who knew there were so many ways to study this geological marvel at home?
Not sure where to start? Keep reading for various ways you can add a volcano science project to your homeschool lesson plans.
Kids of all ages will have a ton of fun with these ideas.
Table of Contents
Volcano Activities
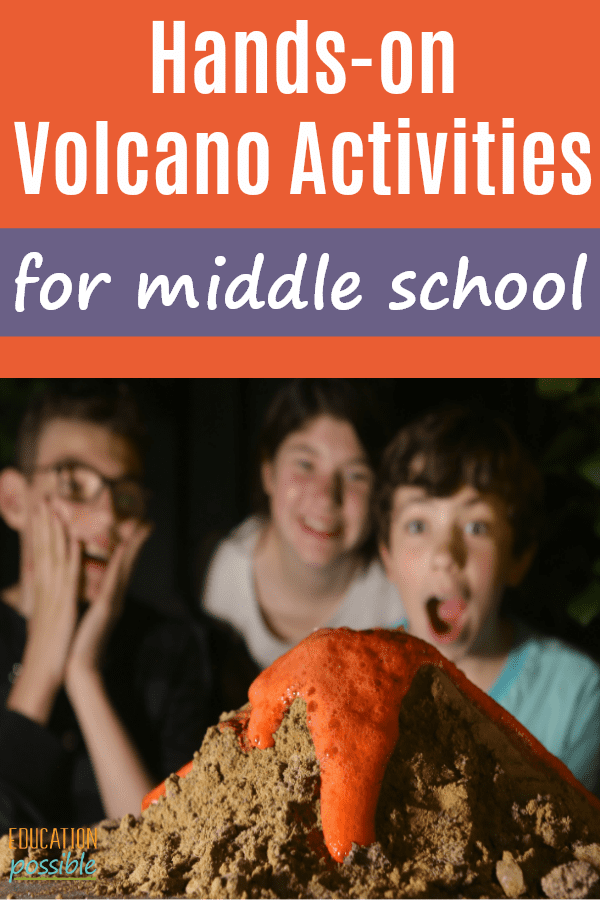
Hands-on activities like the ones below are the perfect way for older students to learn about volcanoes and see an example of a volcanic reaction.
Keep reading for a free printable for a simple volcano experiment that will make it easy for you to do this project at home with your middle schoolers.
How Are Volcanoes Formed?
The Earth’s crust is cracked and broken into pieces, called tectonic plates, that are constantly shifting, causing friction. Therefore, most volcanoes form where two plates meet. They’re formed when the molten rock (magma) from beneath the Earth’s surface comes up through an opening in the crust.
A volcanic eruption occurs when that melted rock (now called lava) and gas shoot up through the opening and spillover.
There are two types of eruptions. Lava can explode through the opening, shooting debris miles into the air, or it can be effusive, like our experiment, where lava just pours or flows out, called lava flow.
Volcanic ash is made up of tiny pieces of rock, minerals, and glass.
It forms when a volcano erupts and the hot gases escape violently into the air. The force of this breaks the magma into smaller pieces and shoots it into the air where it cools and turns into fragments of rock and glass.
Ash can also be made when hot magma touches water during an eruption. When this happens, the water boils very quickly and shatters the magma.
Different Kinds of Volcanoes
There are three types of volcanoes – cinder cone, composite, and shield.
Cinder Cone Volcano
A cinder cone volcano is made up of explosive lava that builds up around a vent. It has very steep sides and a crater at the top, which is usually filled with ash and rocks called cinders.
Cinder cone volcanoes tend to be relatively small compared to other types of volcanoes.
Composite Volcano
A composite volcano is made up of many alternating layers of lava and ash. They usually have steep sides and can be larger than other volcanoes.
Because of the different gasses in the magma chamber, composite volcanoes often produce explosive eruptions.
Shield Volcano
A shield volcano is a type of volcano that’s made up of layers of lava. It has a gently sloping shape because the lava that makes it is often very fluid. This gives it a slope instead of a steep peak.
Shield volcanoes are some of the largest in the world.
Ready to build your own erupting volcano?
Any links in this post may be affiliate links. See my disclosure statement.
Volcano Project for Kids
The most exciting way to learn is to build your own model volcano. While there are different ways to go about it, this is how to build a simple soda bottle volcano.
You’ll need:
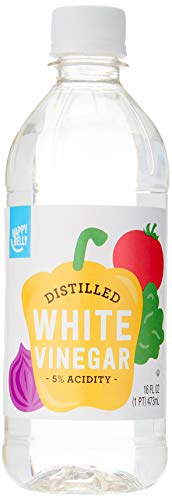
- 1/4 cup white vinegar
- 2 Tablespoons baking soda
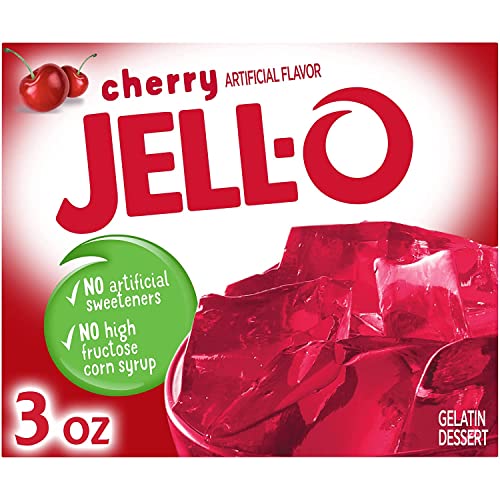
- Red coloring – Jello or Kool-Aid powder (you just need a small amount)
- Empty and clean 12 oz. plastic water bottle
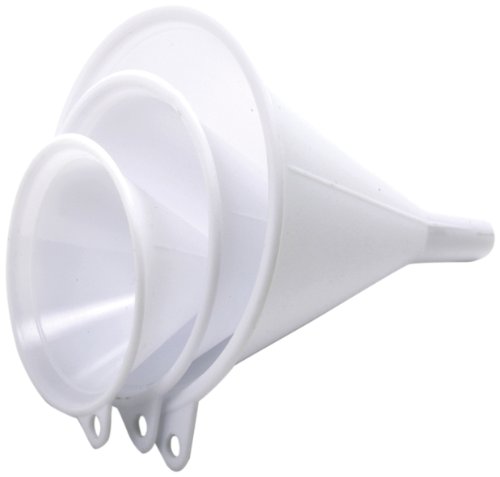
- Funnel
Mix the red coloring and baking soda in a small bowl until it’s pink. Use a funnel to put this dry mixture into the bottle. When you’re ready for it to erupt, add in the vinegar and watch the lava ooze out.
The idea is to get the vinegar in as quickly as possible.
If you want a bigger eruption from your vinegar volcano, you can use more of the vinegar and baking soda mixture or even a larger bottle.
Also, you can add some dish soap into the bottle before you pour in the vinegar as another foaming ingredient. Want to use red food coloring instead of the crystals? Like the soap, add it to the bottle before the vinegar.
White Distilled Vinegar Baking SodaJell-O CherryPlastic Funnel

So how does it all work?
It’s a basic chemical reaction. When the vinegar and baking soda combine, they react to each other, creating carbon dioxide.
This gas quickly spreads and expands, but there isn’t enough room in the bottle for it to spread out like it wants to, so it follows the path of least resistance, the opening. It leaves the bottle fast, causing an “eruption.”
Volcano Experiment
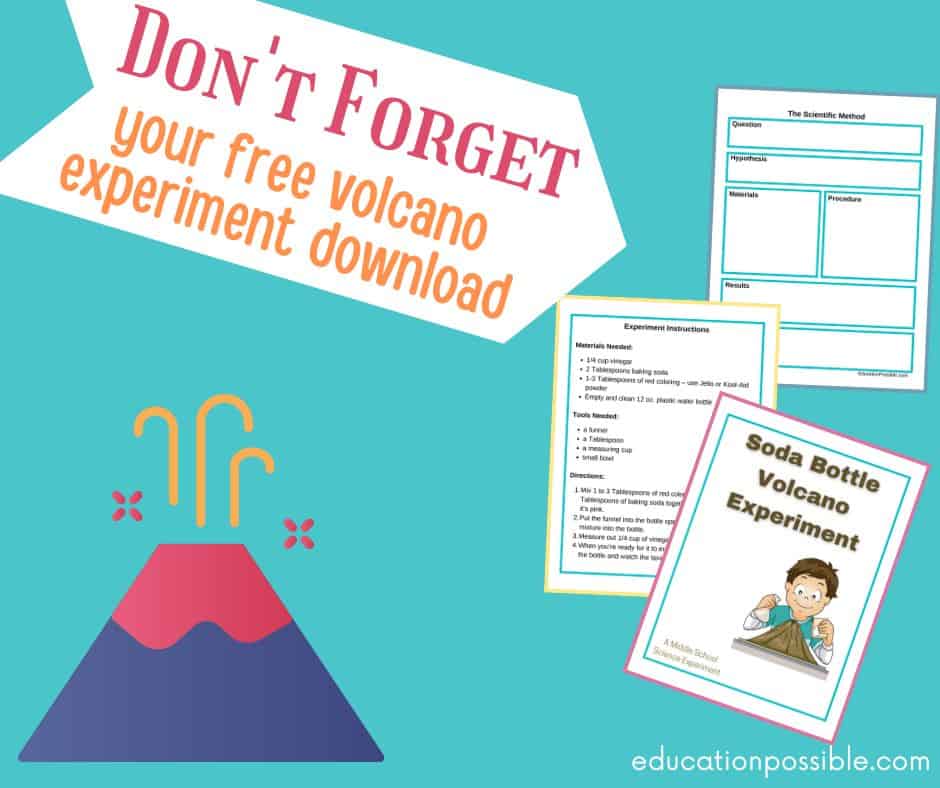
Here are step-by-step instructions for this easy volcano experiment that you can print and use, along with a scientific method sheet.
Use them together to round out this chemistry lab.
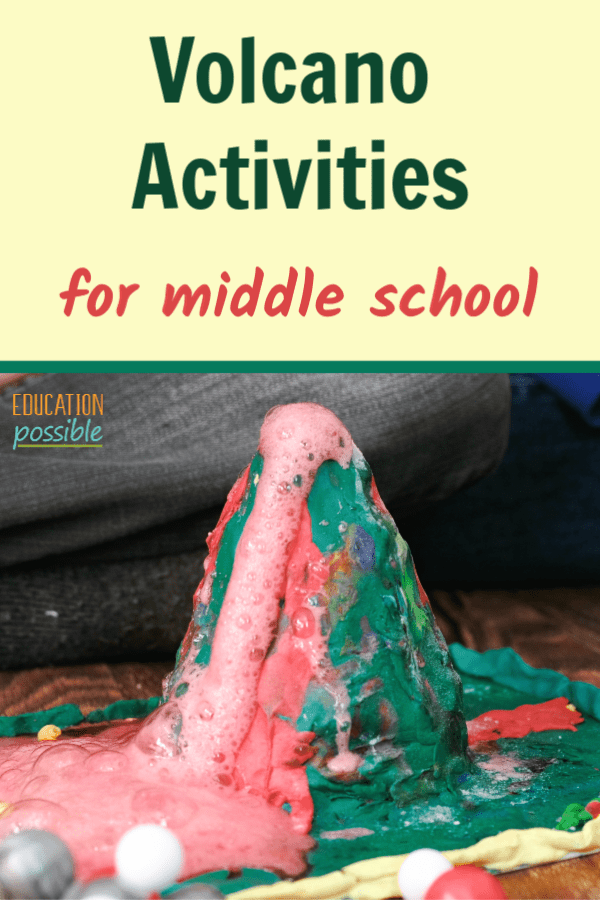
How to Make a Paper Mâché Volcano
To create a more realistic looking volcano, have your kids use paper mâché or a flour mixture to create a volcano shape around the empty bottle. This is an excellent summer science experiment!
- Glue the bottle onto a base (scrap piece of wood, old baking tray, plastic cutting board).
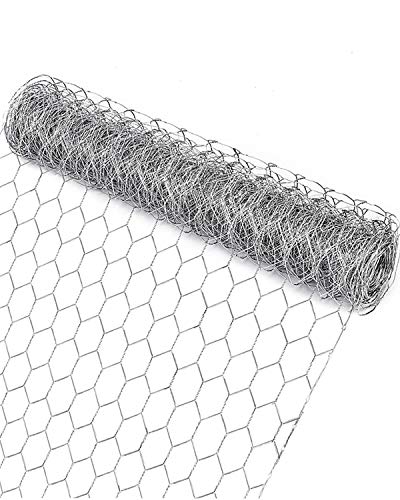
- Use chicken wire to build the frame of a volcano around the bottle. Make sure to leave the opening clear. Don’t forget to add in some bumps and craters for a more realistic look.
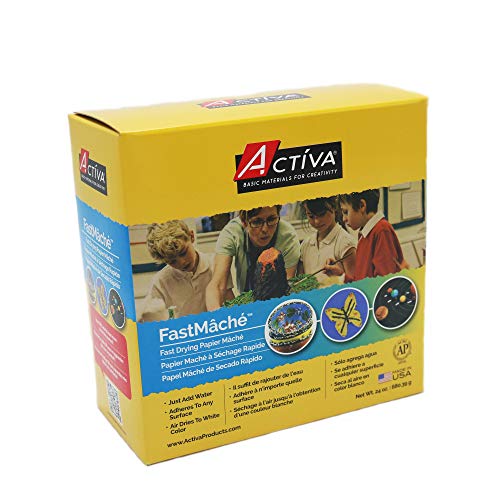
- Cover the wire in paper mâché. Allow to dry completely.
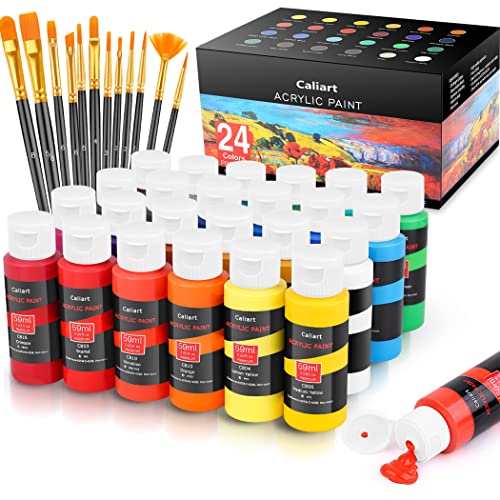
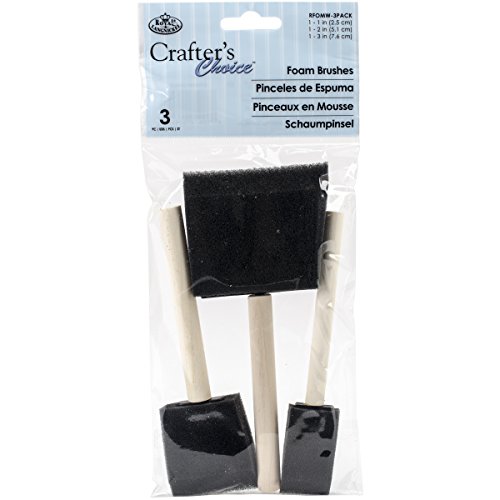
- Paint the volcano with acrylic paint.
- Follow the directions above to make your volcano erupt.
Acrylic PaintInstant Paper MacheChicken Wire NettingFoam Brush
How to Make a Volcano With Flour and Water
- In a bowl, combine 3 cups of flour, 1 cup of salt, 1 cup of water, and 2 tablespoons of canola oil.
- Stir together with a spoon until it’s mixed well.
- Add drops of food coloring to the dough to make it look more like a volcano.
- Glue the bottle onto a base (a scrap piece of wood, old baking tray, plastic cutting board).
- Use the dough to start molding a volcanic cone around the bottle, leaving the opening clear.
- Allow to dry completely.
- If you’d like, paint the volcano with acrylic paint.
- Follow the directions above to make your volcano erupt.
This short video that walks through a volcano science experiment.
Build a Volcano Kit
If your teens are looking for an easier way to build a volcano, consider buying a volcano making kit.
It’s a great way for kids to learn how a volcano works, without a lot of time and planning on your part.
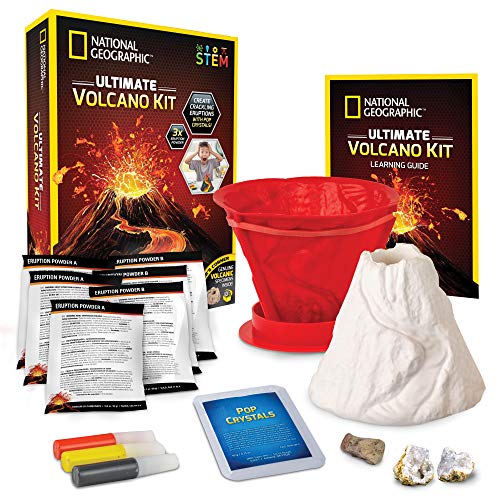
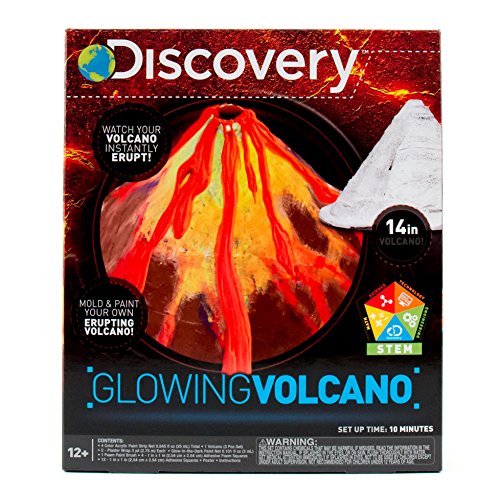
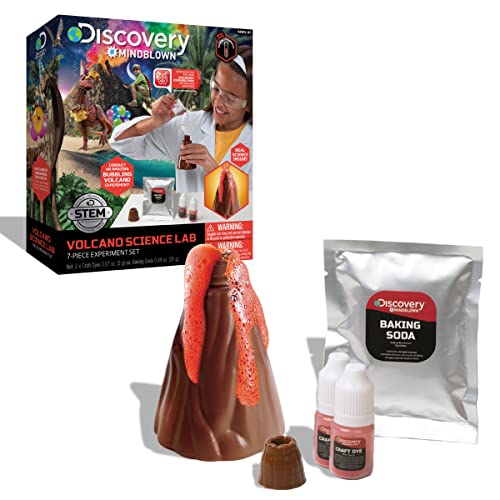
Ultimate Volcano KitBuild & Color Your Own VolcanoUnder Water Volcano EruptionVolcano Science Lab with Plastic Volcano

Volcano Project Ideas
Ready for even more fun ideas? Here are some things you can add to your study of volcanoes.
- Use maps to locate U.S. volcanoes and current activity alerts.
- Watch a simple experiment to see how a caldera (large volcanic depression) is formed.
- Build a Venn Diagram while learning about the different types of volcanoes.
- Use these worksheets as part of your volcanic and geothermic studies.
- Make an underwater volcano.
- Add a volcano study to your Ancient History lesson plans.
- Make a volcano in a cup with erupting wax to show how underwater volcanoes erupt and their hot by-products are cooled immediately.
- Bake chocolate volcano cupcakes.
- Build a volcano while reading Journey to the Center of the Earth. Give this ketchup and baking soda one a try.
- Add some sound to your DIY volcano by mixing in some pop rocks.
- Lava lamp science project.
If you’ve never made a volcano as part of your homeschool science or geography lesson plans, it’s time to break out the supplies.
This classic experiment is the perfect way to study these amazing natural disasters. It’s the perfect science lab activity and a great way to make geography fun for tweens.
What is your family’s favorite volcano activity?

Latest posts by Megan Zechman (see all)
- Easy Pumpkin Crafts - August 21, 2023
- Middle School Geography Curriculum - August 11, 2023
- Outdoor Geography Activities - August 4, 2023
5 Comments
Comments are closed.
My boys LOVE making volcanoes! We made them often and have learned so much about them; our favorite was the day we attended a college level class put on by one of our homeschooling friends where the boys learned all about using Google Earth to explore the world’s volcanoes, where they’re all located, and how to tell if they’re active or not. It was very neat. The teacher had so many additional slides and pictures of volcanoes that my boys were completely enthralled.